
Snagging furniture and joinery at villa handover
Published by Chaingkiat & Furniture — Nearly 30 years of hands-on carpentry, with our own workshop and crew on Koh Samui. · · 6 min read
Handover day is the one moment when everything wrong with a villa's joinery is somebody else's problem. The day after you sign, most of it quietly becomes yours. Builders and developers know this; buyers often learn it a season later, when the sticking drawer and the lifting sealant line have aged out of goodwill. The furniture and joinery slice of a handover inspection takes about an hour to do properly, and this guide is that hour.
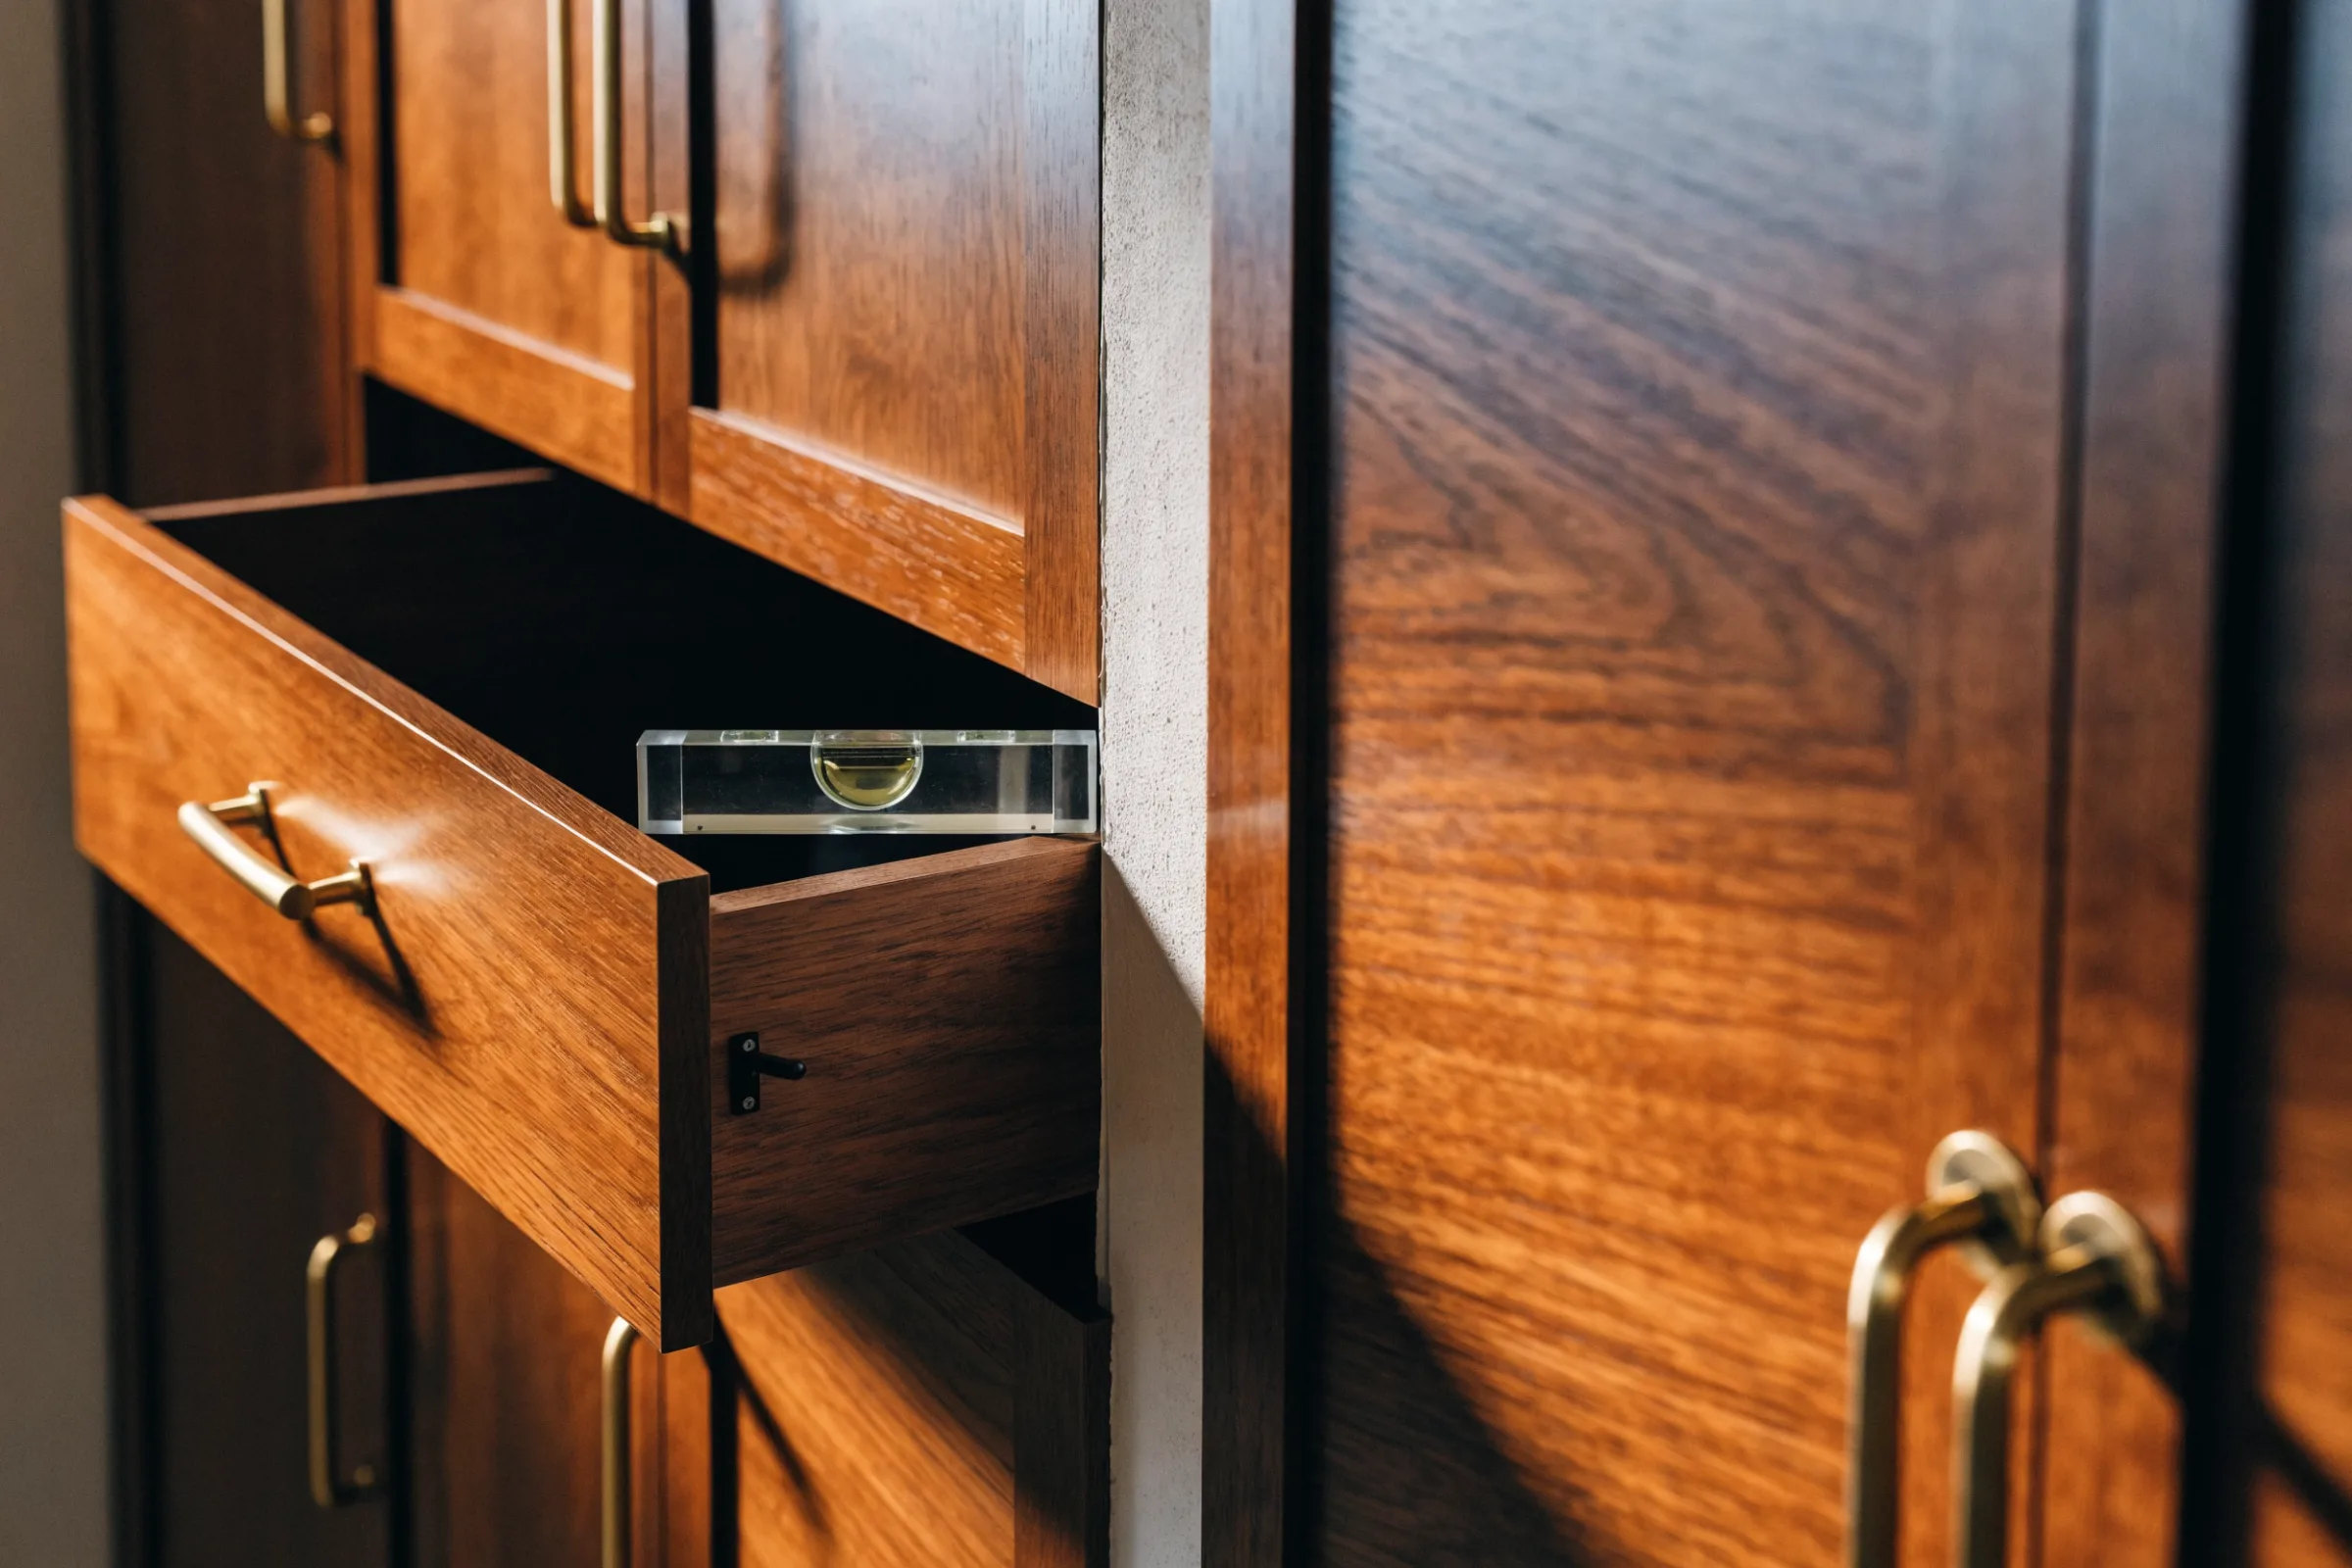
A workshop's disclosure first: we build and install joinery for a living, so this is written from the side that gets snagged. That is exactly why we know where to look. It is inspection knowledge, not a survey service, and the standard it describes is the one we hold our own handovers to: the standard we hand over to.
The kit, the light, and the snag list
Bring four things: a torch, a small spirit level, a roll of low-tack masking tape, and your phone. The torch raked sideways across a surface shows what ceiling light hides; the tape marks each fault where you find it; the phone photographs every marked item with something recognisable in frame for location. Write the faults as you go: a numbered snag list with photo references is the document the builder responds to, and a vague conversation is the document they forget. Do the inspection in daylight, unhurried, and alone enough to concentrate. An hour of pedantry here is worth more than any amount of charm later.
First pass: operate everything that moves
Open every door, pull every drawer, slide everything that slides, every single one, because the untested drawer is always the bad one. Doors should swing without catching, close without slamming or bouncing back, and rest flush with their neighbours; a door that stands proud at one corner is a hinge not yet adjusted, which is trivial now and an argument later. Read the gaps around doors and drawer fronts like a level: even and parallel means a square, well-fitted carcass, tapering means something was forced. Drawers should run their full length smoothly, close on their soft-close if fitted, and not rock side to side at full extension. An entrance door is judged against the same things, which is why what the leaf should have been built to do is worth reading before a door is commissioned for its opening.
Sliding systems get an extra minute each. Wardrobe sliders and pocket doors should run the whole track without a gritty patch or a spot where they drift open or closed on their own — a self-moving slider means the track is off level. Check top and bottom guides are actually fixed, and that soft-close mechanisms catch at both ends of travel.
Second pass: hardware, one piece at a time
Hardware is where corner-cutting hides, because it looks fine until it is used. Work the hinges: no creaks, no visible rust bloom or pitting. In coastal air, corrosion visible at handover only accelerates. Locks and catches should engage without lifting or shoving the door to help them. Handles and knobs get the wiggle test; anything loose now has a stripped screw or no thread to strip. Where drawer runners are the ball-bearing kind, listen: grinding at handover is grit or damage, not character. Tag every fault, however small — hardware faults are the cheapest category to fix and the most annoying to live with.
Third pass: how the joinery meets the building
Put the level on things. Worktops, shelves and cabinet runs should read level; a visible bubble error shows up later as rolling eggs and swinging doors. Where casework meets walls, look at the scribe line: a fitted piece should follow the wall's waviness with a tight, even junction or a clean cover fillet, not a caulk bead doing structural acting. Check plinths and kickboards are fitted and clipped, not resting in place.
Worktop interfaces deserve their own scrutiny, since water lives there. Joints between worktop sections should be tight, level across the seam, and sealed. The sealant line between worktop and splashback or wall should be continuous, smooth and unbroken. Gaps or thin patches in that line are a straight route for water into the carcass below, which is how a signed-off kitchen grows a swollen cabinet by the first rainy season. Around sinks and hobs, confirm the cut-outs are sealed at their edges; ask directly if you cannot see. All of that is easier to inspect when the decision was taken deliberately, and choosing the top before there is a joint to inspect is the upstream half of this check.
Custom furniture & carpentry
Made-to-measure furniture and woodwork designed and built for your space, from single pieces to full fit-outs.
Explore serviceFourth pass: interiors, finishes and what the torch finds
Open the wardrobes and look inside with the torch. Interior fittings (rails, shelves, drawer boxes) should be fixed, level and finished, not raw board hidden behind a nice door; run a hand over interior surfaces and the backs of doors, because unsealed faces inside closed storage are tomorrow's humidity problem. Confirm shelf pins sit in their holes properly and rails are fixed at both ends.
Then the finish pass, torch raked low: scratches, dents and rubbed-through patches from transit or site traffic, drips and runs in sprayed finishes, edge chips on doors and worktop edges, colour mismatch between adjacent components. While the light is out, look for moisture history too: swollen bottom edges, staining at kickboards, bubbled veneer, white clouding in finishes — any of which means water has already been where it should not, before you ever moved in. The same low light is also the moment for the termite signs worth knowing at handover: mud lines at plinths and skirtings, and timber that sounds hollow under a knuckle where it should sound solid. Site damage found at handover is the builder's; the identical mark found a month later is, in practice, yours.
Fifth pass: the tug test
Fitted furniture should be fixed to the building, and on this the polite inspection ends: grip tall units, wardrobes and wall-hung cabinets and pull, firmly. Nothing should tip, shift or flex away from the wall. Wall cabinets carry real load and their fixings are invisible, so ask what they are fixed into and with what — a straight question any competent installer answers without blinking. Check floating shelves for deflection under a pressing hand, and give stair balustrades and fitted seating the same firm treatment. A piece that moves at handover is a safety item, not a snag, and it goes at the top of the list.
The paperwork half: visits, dates and questions to ask
Before signing, pin down the process that follows the list. A final-adjustment visit is normal practice on fitted joinery — solid wood settles into a conditioned building over its first months, and a good installer expects to come back and realign doors and hardware once it has. Ask when that visit happens and what it covers. Then ask the defect-liability questions plainly and get the answers in writing: what are the defect-liability terms and dates, what counts as a defect versus wear, how are snags reported and by when, and who pays for access and materials. We are carpenters, not lawyers, and none of this is legal advice — for contract questions, ask someone qualified in Thai property law. What we can tell you is the trade reality: dated lists get fixed, undated conversations do not.
If remedial or replacement joinery does surface — a run that has to be rebuilt rather than adjusted — that is ordinary commissioned work, quoted per project like any other; the shape of such a quote is covered in how remedial joinery gets quoted. And once the list is closed and the villa is yours, the job changes from acceptance to upkeep: the ongoing routine once you've signed off is the guide for that. It also covers the sorting between snags, adjustments and real repairs when something surfaces long after handover day.
Related guides
- Custom furniture & carpentry
A room-by-room furnishing checklist for your Samui villa
A room-by-room checklist for furnishing a Koh Samui villa, entrance to bedrooms: what each space needs, what to build in, and the order to plan it in.Read the guide - Custom furniture & carpentry
Furnishing a rental villa on Koh Samui: what holds up
Choosing furniture that survives weekly guest turnover in a Koh Samui rental villa: durable materials, what to build in, and planning around handover dates.Read the guide - Custom furniture & carpentry
How to care for custom wood furniture: a practical maintenance guide
A practical care routine for wood furniture: cleaning that doesn't strip the finish, hardware checks, early warning signs, and when to call a carpenter.Read the guide

Tell us what you need built or installed.
Send a few photos and measurements — we'll get back to you with next steps.