
Fitting a flat-pack or imported kitchen in a room that isn't square
Published by Chaingkiat & Furniture — Nearly 30 years of hands-on carpentry, with our own workshop and crew on Koh Samui. · · 9 min read
A catalogue kitchen is drawn for a room that does not exist. Carcasses come in standard widths and right angles, on the assumption that the floor is flat, the walls are plumb and the corner is 90 degrees. Houses built in block and render are not that room — the floor falls a few millimetres across the run, one wall bows out in the middle, the corner is a degree open, and the boxes do not care.
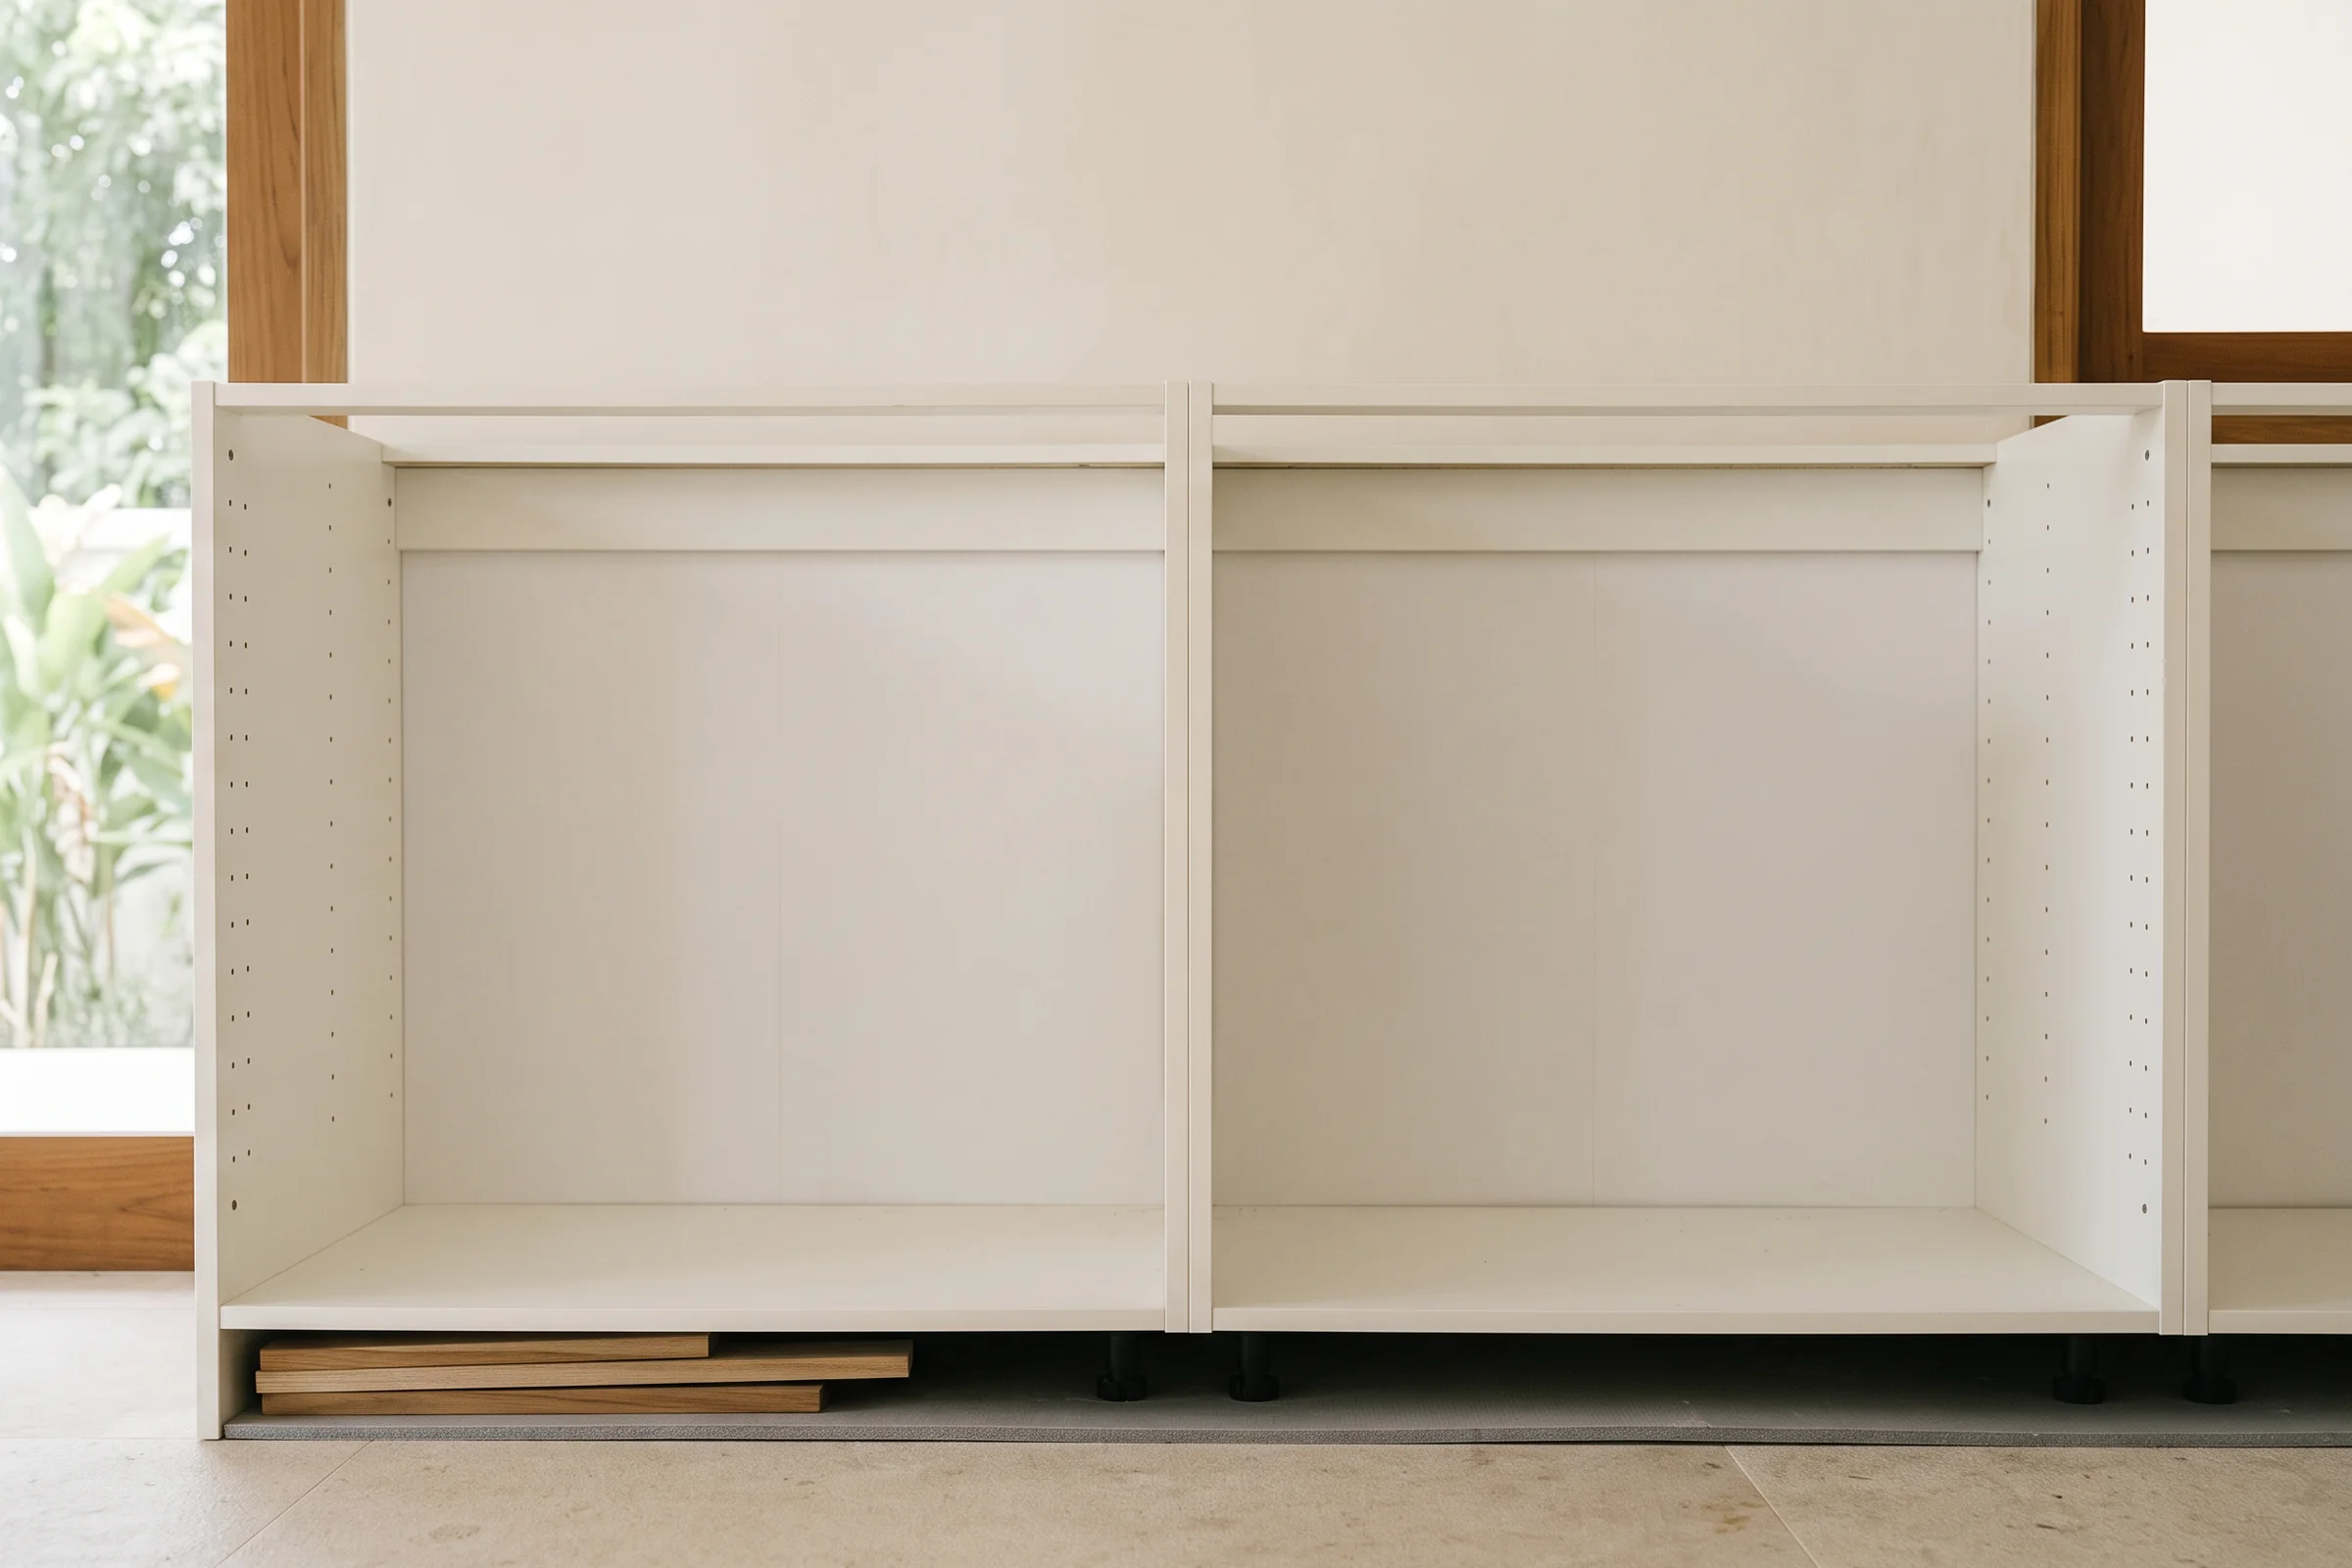
That gap between the product and the room is the whole job, and it is survivable: a bought kitchen fitted properly reads as straight as a made one. If you have not bought yet, the plan to make before you buy anything is the better place to start. If the cartons are already stacked in the living room, this is what happens next, and levelling and aligning a bought kitchen on site is the half of it we do.
The box kitchen and the real room
Flat-pack and imported kitchens are engineered products with tight tolerances by design. A carcass is a rectangle held square by its back panel and its fixings; a drawer runs on runners that expect two parallel sides; a door hangs on hinges with a few millimetres of adjustment in three directions. All of it works beautifully in the room the system was drawn for.
Put the same carcass on a floor that falls and the rectangle starts leaning. Push it against a wall that bows and the back panel takes a twist, which the sides pass to the runners and the runners pass to the drawer front. Nothing has broken — the run is simply no longer a set of parallel lines, and a kitchen is judged almost entirely on whether its lines are parallel.
So the honest way to think about a bought kitchen is that you purchased the components and not the result. The result is made in the room, by whoever sets the units out, and it is settled at the start of that work rather than at the end of it.
What a fitter actually does about it
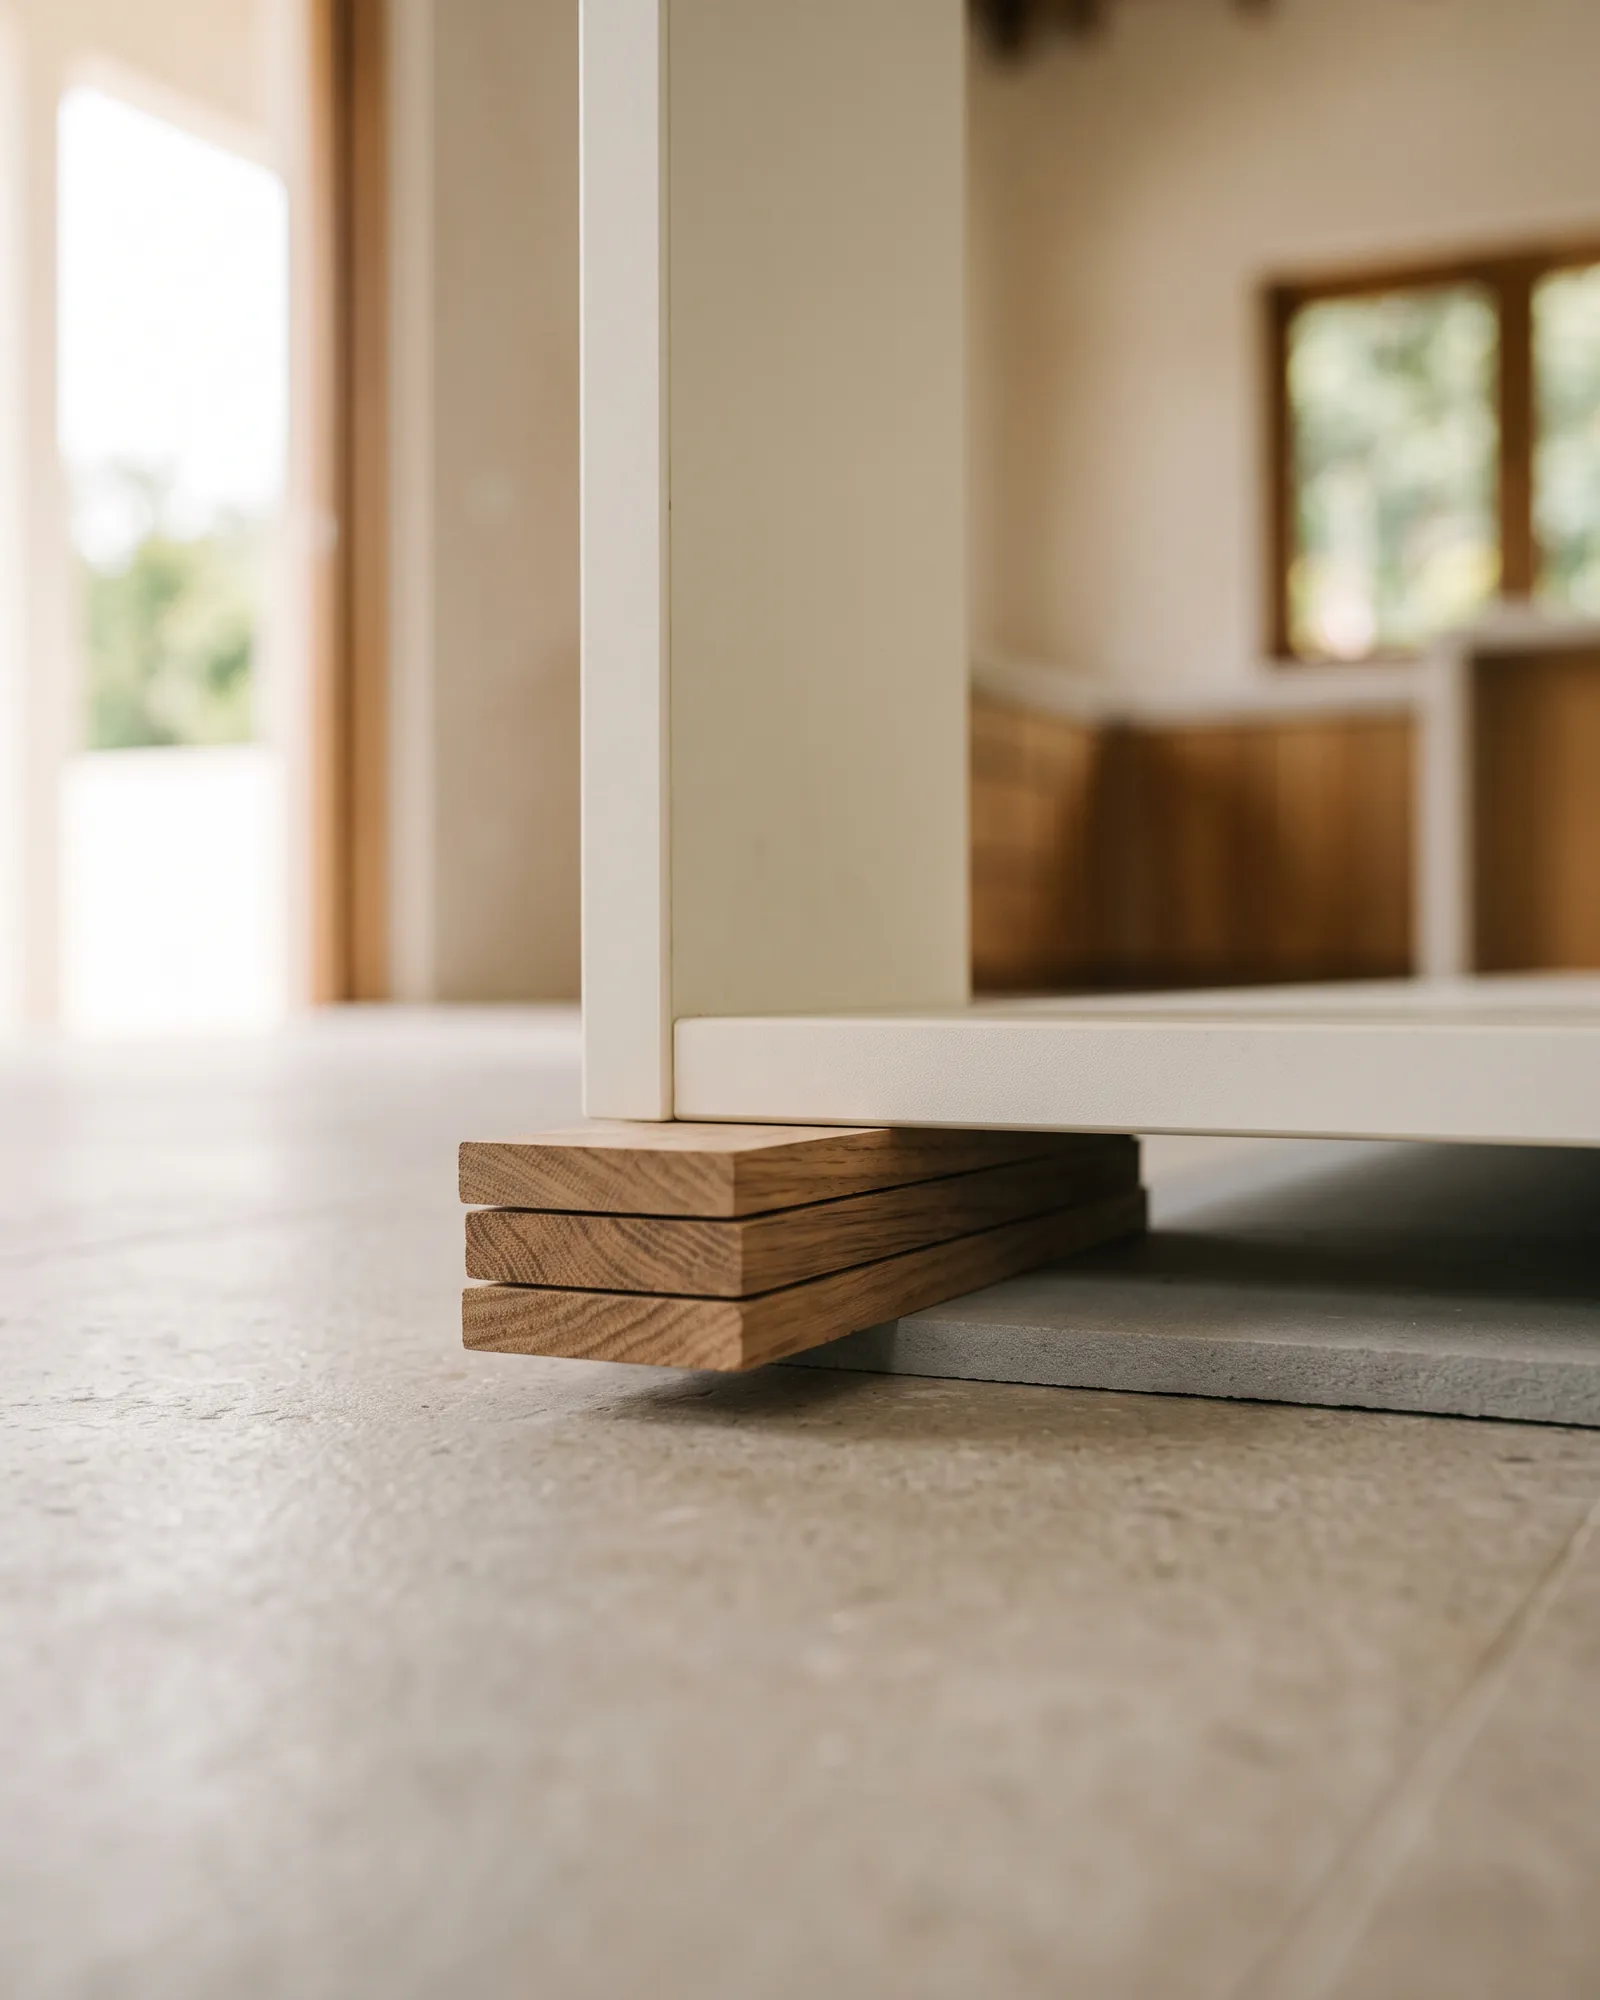
Almost all of it comes down to one principle: never measure up from the floor, because the floor is the thing that is wrong. A single level line is struck around the walls instead, and every carcass, rail and panel is set from that line. Where the floor falls away beneath it, the gap is taken up on the adjustable feet and hidden behind the plinth — which is exactly what a plinth is for.
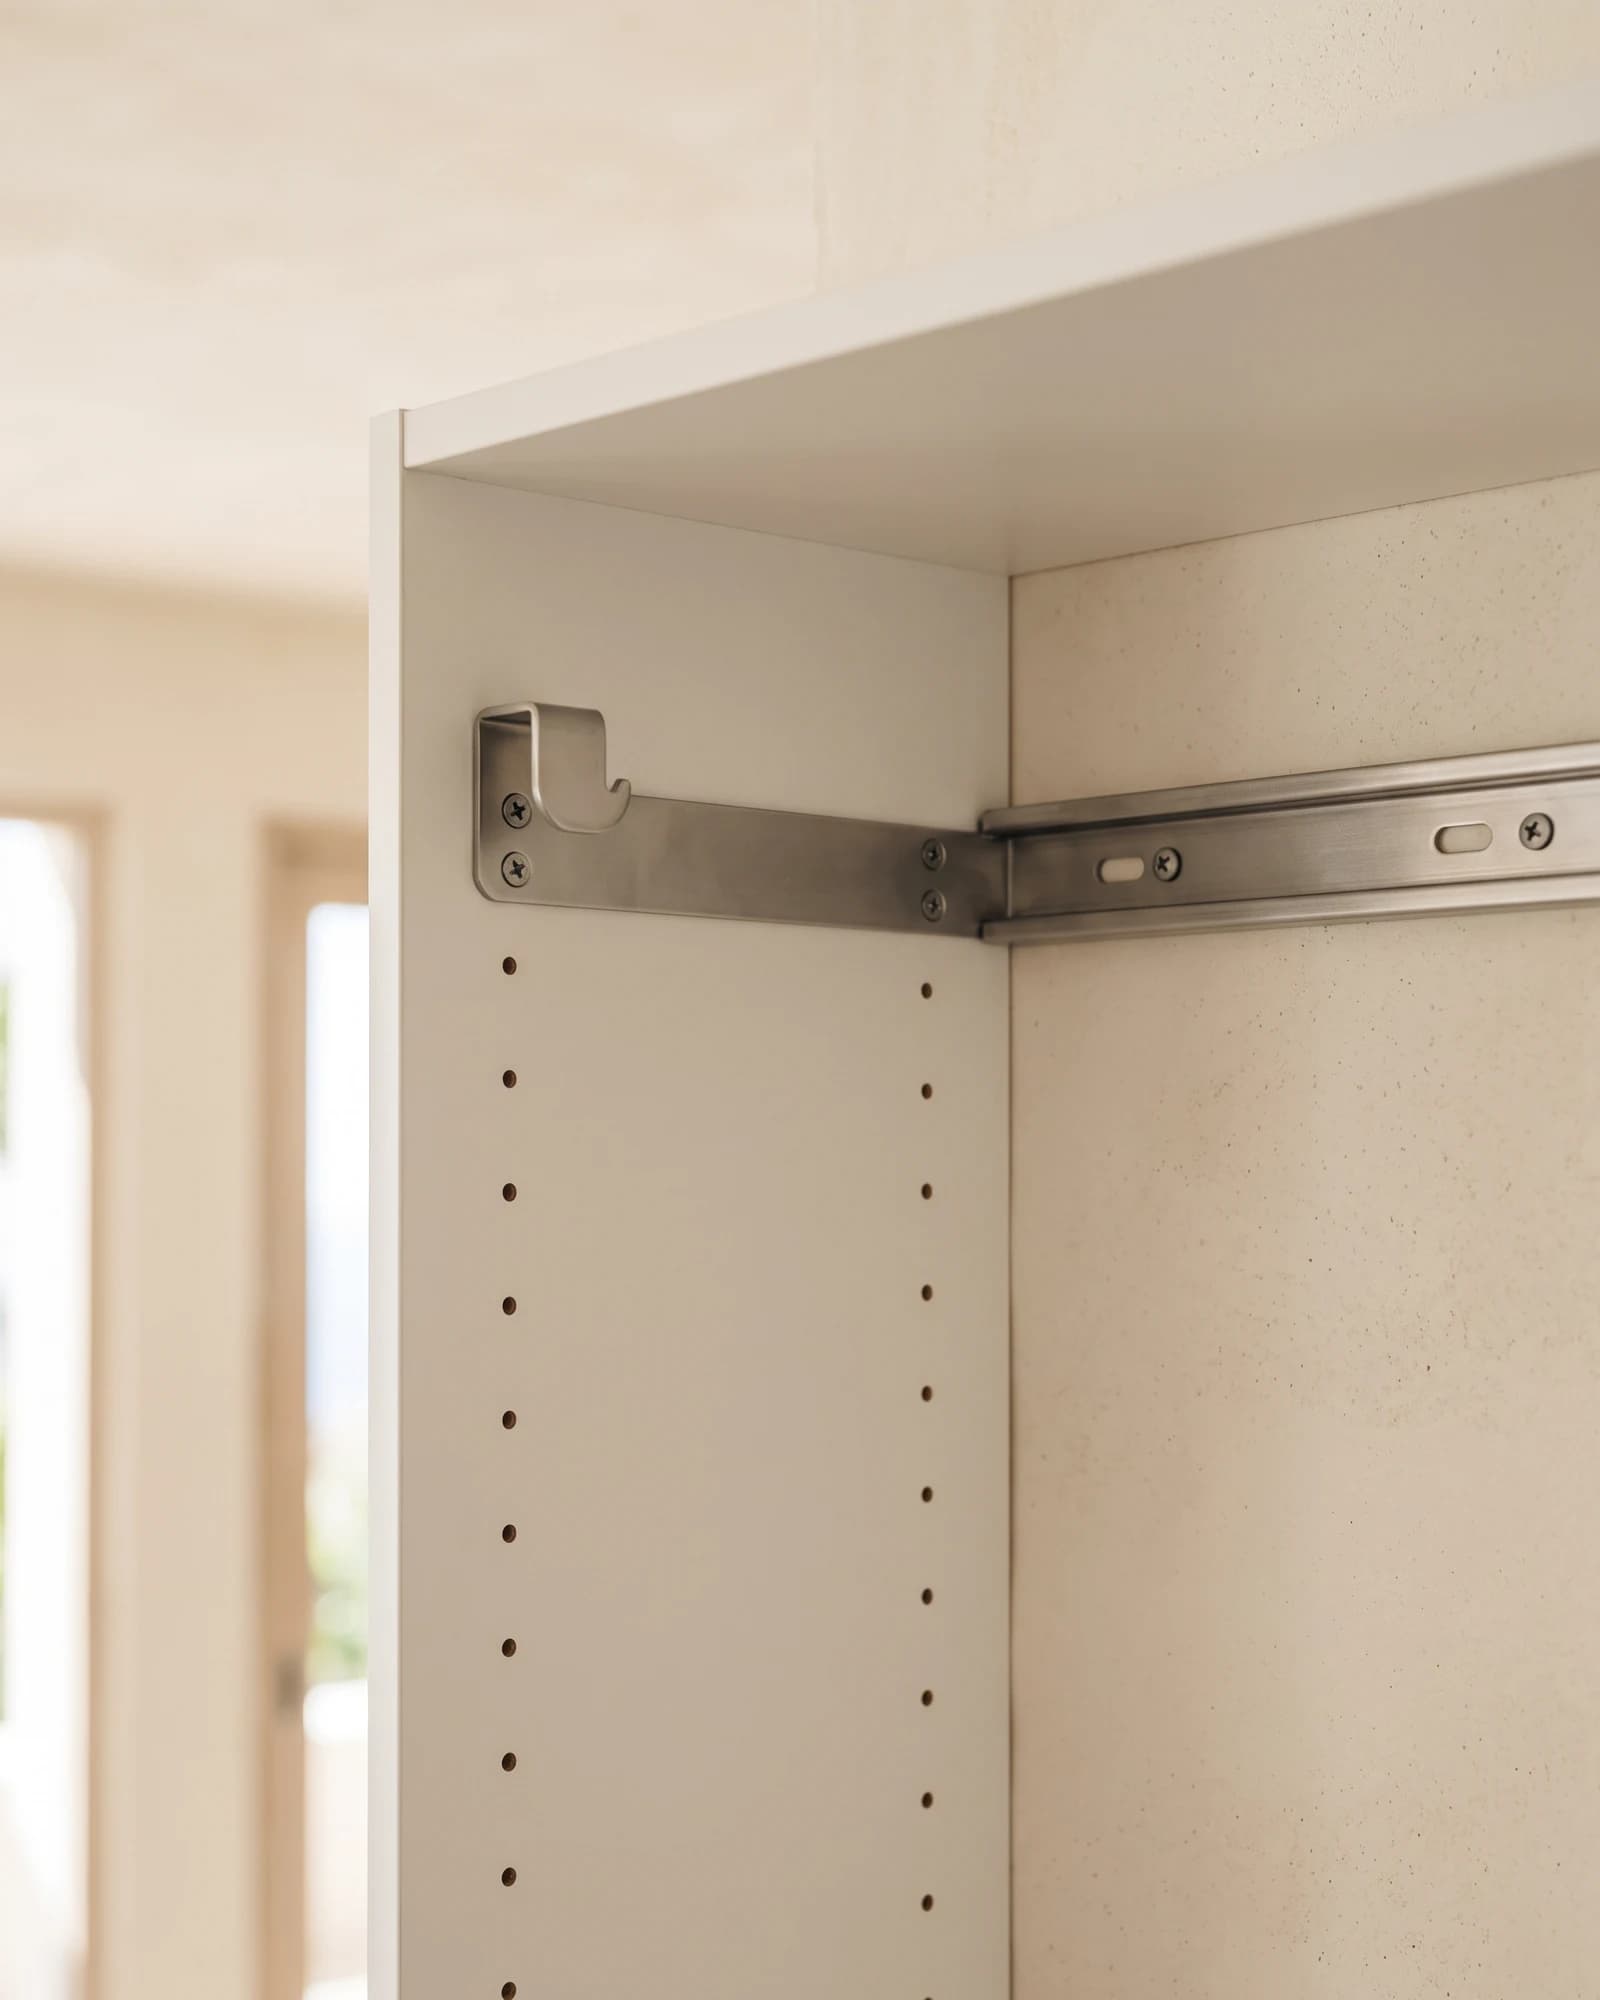
The wall gets the same treatment in the other axis. A hanging rail for the uppers is levelled to the datum and packed off the wall wherever the render is shy, so the wall units hang from one straight line rather than following the plaster. Base carcasses get thin packers behind them for the same reason: a packer in the right place takes the twist out of a box before the box passes it to a drawer. Then they are bolted to each other through their side panels, so a run of separate rectangles becomes one object, and only then fixed back to masonry.
Where the run meets a wall, the error gets sent somewhere deliberately. A filler or an end panel is scribed — cut along a line pencilled off the wall itself, so the panel follows the wall's shape instead of fighting it. The waviness ends up in a strip of timber where nobody looks, rather than in the gap beside a door where everybody does. Carcass assembly itself follows the general rules for anything that arrives flat, and one thing is worth knowing before the boxes are even opened: a fitted run is a fixture from the moment it is scribed and fixed, which makes it the one bought item that stays with the building when you eventually leave.

The order a fitter works in, not a DIY instruction sheet
What happens to catalogue units in a room that isn't square
- Read the room before a carton is openedStep one, alwaysLevel along the whole run, plumb on each wall, square at each corner, and where the pipes and cables actually come out of the wall.
- Dry-lay the run on the floorNothing assembled yetSet the carcasses out in order against the wall to find out whether the plan survives the real room, while changing it is still free.
- Strike one level datumOne line, whole roomA single level line round the walls that every carcass, rail and panel is set from, instead of measuring up off a floor that falls.
- Hang the rail, packed off the wallUppers firstThe wall-unit rail is levelled to the datum and packed wherever the render is shy, so the uppers hang from one straight line rather than from the plaster.
- Foot and shim the base runFeet, then packersAdjustable feet bring each carcass up to the datum; thin packers behind take out the twist a bowed wall puts into a box before it reaches a drawer.
- Bolt the carcasses into one objectThen fix to masonryCarcasses joined to each other through their side panels so the run moves as a unit, and only then fixed back into block or concrete.
- Scribe where the run meets the wallWhere the error goesFiller and end panels cut along a line pencilled off the wall itself, so the waviness lands in a strip nobody looks at rather than beside a door.
- Align every front in one pass at the endLast, never duringHinges and runners adjusted together once nothing is moving any more, so the gaps read as one line down the whole run.
What a catalogue unit cannot absorb: a carcass cut through the holes its hinges and runners mount into, a door narrowed away from its hinge geometry, and any cut edge left unsealed. Those are design limits rather than fitting problems.
Modifications that are honest, and ones that are not
Catalogue units can usually be made to fit: cut down in width or depth, scribed around a column, reconfigured to clear a pipe. We do that routinely. What is worth knowing is which cuts a unit absorbs quietly and which it only appears to absorb.
A carcass cut down on the side away from its fixings loses nothing it needed. One cut through the holes its hinge plates and runners mount into has lost the thing that was carrying the door, and no amount of care puts that back. Reducing a drawer box is a different job from reducing the carcass around it, because a runner has a length and it is not negotiable. And a door narrowed to suit a smaller opening keeps its original hinge geometry, which is why a cut-down door can be made to close and still never look right.
And every cut makes a new raw edge. A factory panel is sealed on the faces and banded where it shows; the moment a saw goes through it, the board core is open, and in a kitchen that edge is almost always somewhere wet. Sealing cut edges before the unit goes in is the difference between a modified unit and a modified unit that swells.
Fillers, end panels and where a bought kitchen shows its seams
Every bought kitchen has to end somewhere, and the places it ends are where you can tell how it was fitted. Catalogue systems come with their own answers, generous once you know what each is for.
A filler panel absorbs the leftover width when a wall run is not a whole number of cabinet widths, and it belongs at the end of a run or in an internal corner, not in the middle where the eye lands. An end panel closes the visible side of the last carcass and is the piece that gets scribed to a bowed wall. A cornice closes the line between the uppers and the ceiling, which in a room with a sagging ceiling is all that stands between you and a tapering shadow gap. A plinth closes the bottom; a rail or upstand closes the back.
Two corner decisions do more damage than all of those put together. A corner where two runs meet needs its gap worked out before the first carcass is fixed, because the error cannot be sent anywhere once both runs are in. And a tall unit built dead to a ceiling height measured at one end of the room will not stand up at the other — which is why tall carcasses are made a little short and closed with a trim above.
The cut edges nobody photographs
Coastal air does not attack a kitchen through its doors. It gets in where the factory never expected anyone to open the board up, and in a villa most of those places are below knee height.
The sink cabinet is the one to watch: drilled for the waste, notched for the pipework, and parked under the one fitting in the room that is certain to drip one day. Its cut edges get sealed before it goes in, or they do not get sealed at all. The kickboard area is next, standing closest to mop water with the same board behind it as everywhere else. Then the back panel, which may be against an external wall. None of this shows in a photograph of a finished kitchen, and all of it decides how the kitchen looks in a few years.
This is one place a bought kitchen is genuinely at a disadvantage, because the unit arrived finished for a drier climate and the cuts happen here. What happens to the fronts after that is a maintenance habit rather than a fitting decision, and keeping a bought kitchen's fronts alive here is the routine that goes with it.
The top is a separate job on a separate clock
Whatever the kitchen came with, the surface across the top of it is not part of the same operation. A rigid top is measured from the carcasses after they are fixed and level, so cabinets and top cannot land together and the room is unusable in between. A top that came flat-packed has the opposite problem: it is cut on site, and every cut is a fresh edge in the wettest part of the house.
Either way the run underneath has to be true first, because a rigid top will not follow a wavy line and a cut top shows the line it was cut against. Which surface to put up there is a comparison of its own: the top that has to sit across them makes it. Our own part is the run below, the set-out and the openings the sink and hob drop into, with the sequencing coordinated around your plumber and electrician rather than instead of them.
Kitchen assembly & installation
Kitchen cabinets and units assembled and installed — aligned, fixed, and finished ready for daily use.
Explore serviceBefore anybody starts: the boxes, and the numbers
A kitchen arrives as more cartons than anything else you will ever buy, so the inventory is the first job. Count carcasses against the plan rather than the order confirmation, because the two are not always the same drawing. Identify which panels are handed and which trims are cut-to-length, and find the fixings pack before it goes missing under the cardboard. A missing hinge is a nuisance; a missing end panel is a mainland order, and the run stops at the wall until it arrives.
The measurements that prevent most of this belong further upstream, and the numbers a fitter needs before a cabinet run is ordered is the method for taking them. If the order has not gone in yet, the island's delivery leg is worth understanding first, because it is the stage that produces damaged panels: how the best-known flat-pack range reaches Samui follows a carton the whole way.
When having the run made wins
There is a point where modifying bought units stops being thrifty, and it is easier to recognise than people expect: count the modifications. One filler in a corner and a scribed end panel is a normal kitchen. Three cut-down carcasses, a reduced tall unit, two fillers mid-run and a corner nobody can solve is not a bought kitchen any more — it is a made kitchen assembled out of the wrong parts, paid for twice.
The reverse is just as true, and worth saying because it goes against our own interest. A square-enough room whose walls happen to suit the module sizes is a perfectly good bought kitchen, and talking somebody out of one is not advice. What decides it is the room rather than the product: how many walls the run touches, how far out of true they are, and whether a column or a window reveal lands mid-run. when having the boxes made beats buying them sets out the comparison at the level of the whole decision.
Either route ends in the same place: a run that reads straight, with even gaps and doors that close the same way in year five. You can see what that looks like in kitchen runs we set out and installed, bought and built both. A kitchen is not finished when it is assembled. It is finished when it is aligned, and the room gave up arguing.
Related guides
- Kitchen assembly & installation
Planning a kitchen installation on Koh Samui, step by step
Planning a kitchen installation on Koh Samui: sequencing units, worktops and appliances, levelling on site-built walls, and choosing boards for coastal humidity.Read the guide - Kitchen assembly & installation
Which kitchen worktop survives a coastal climate?
How stone, quartz, solid surface, laminate and solid timber worktops behave in humid coastal air: joints, sealing, heat, and the cabinets underneath.Read the guide - Furniture assembly & installation
Getting furniture assembled on Koh Samui: a practical guide
How furniture assembly works on Koh Samui: flat-pack and imported deliveries, what to prepare, anchoring on concrete walls, and when to call a professional fitter.Read the guide
Related services
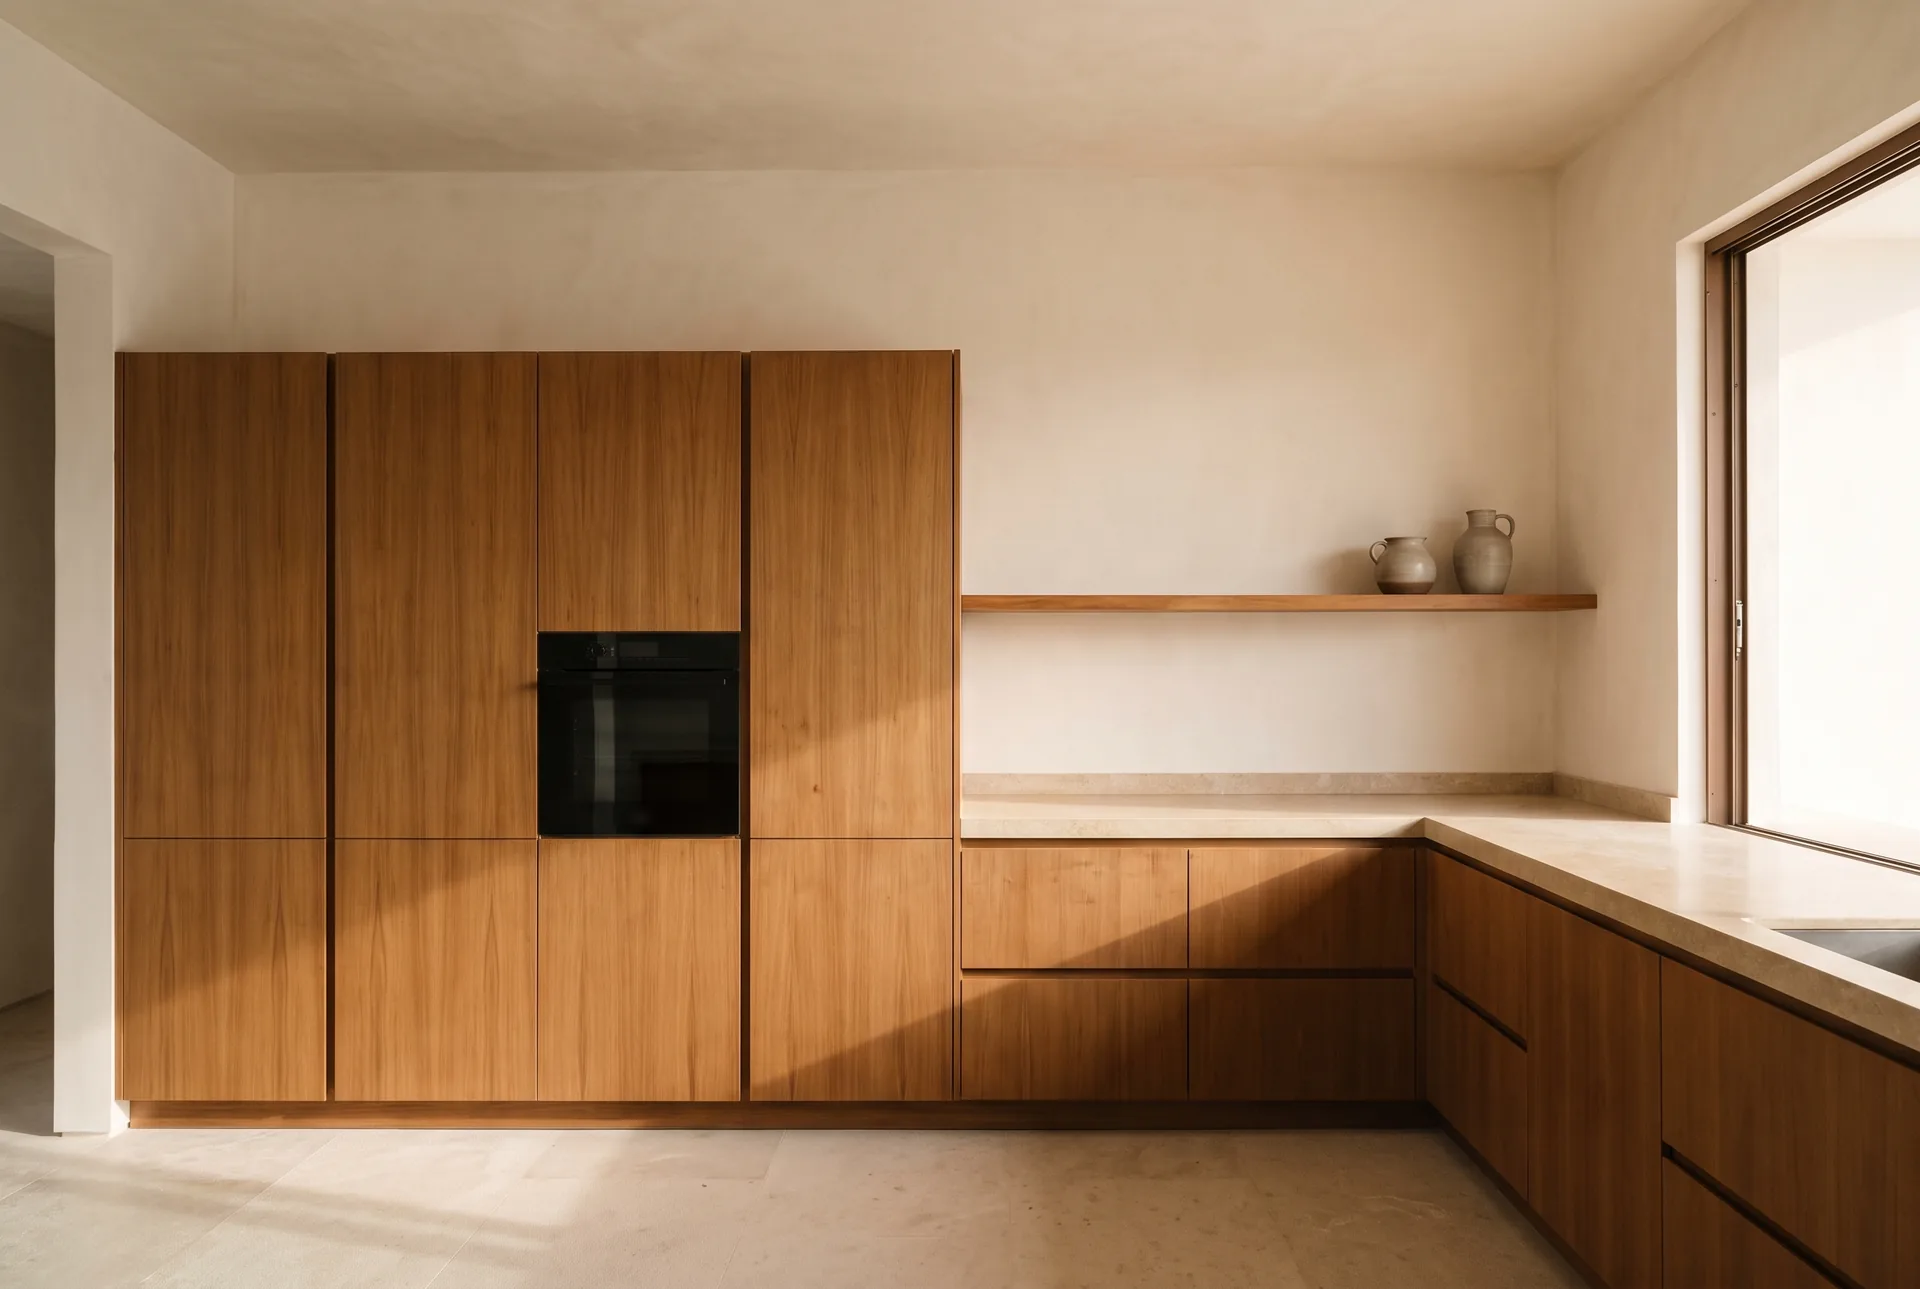
Kitchen assembly & installation
Kitchen cabinets and units assembled and installed — aligned, fixed, and finished ready for daily use.
Explore service
Custom furniture & carpentry
Made-to-measure furniture and woodwork designed and built for your space, from single pieces to full fit-outs.
Explore service
Built-in wardrobes & cabinets
Built-in wardrobes, closets and storage cabinets that use every centimetre. Measured, built, and installed.
Explore service
Tell us what you need built or installed.
Send a few photos and measurements — we'll get back to you with next steps.