
How to measure a room for built-in furniture
Published by Chaingkiat & Furniture — Nearly 30 years of hands-on carpentry, with our own workshop and crew on Koh Samui. · · 8 min read
A warning before the tape comes out. The numbers you take from this guide are for planning: deciding what fits, briefing a workshop, getting a quote that means something. They are not the numbers a piece gets built from. Every fitted piece we make is measured on site by our own people before fabrication, and any workshop worth hiring does the same, because a fitted piece is cut to the room as built rather than to a sketch of it. A maker willing to build a wardrobe from your tape measure alone is skipping the step that makes fitted furniture fit.
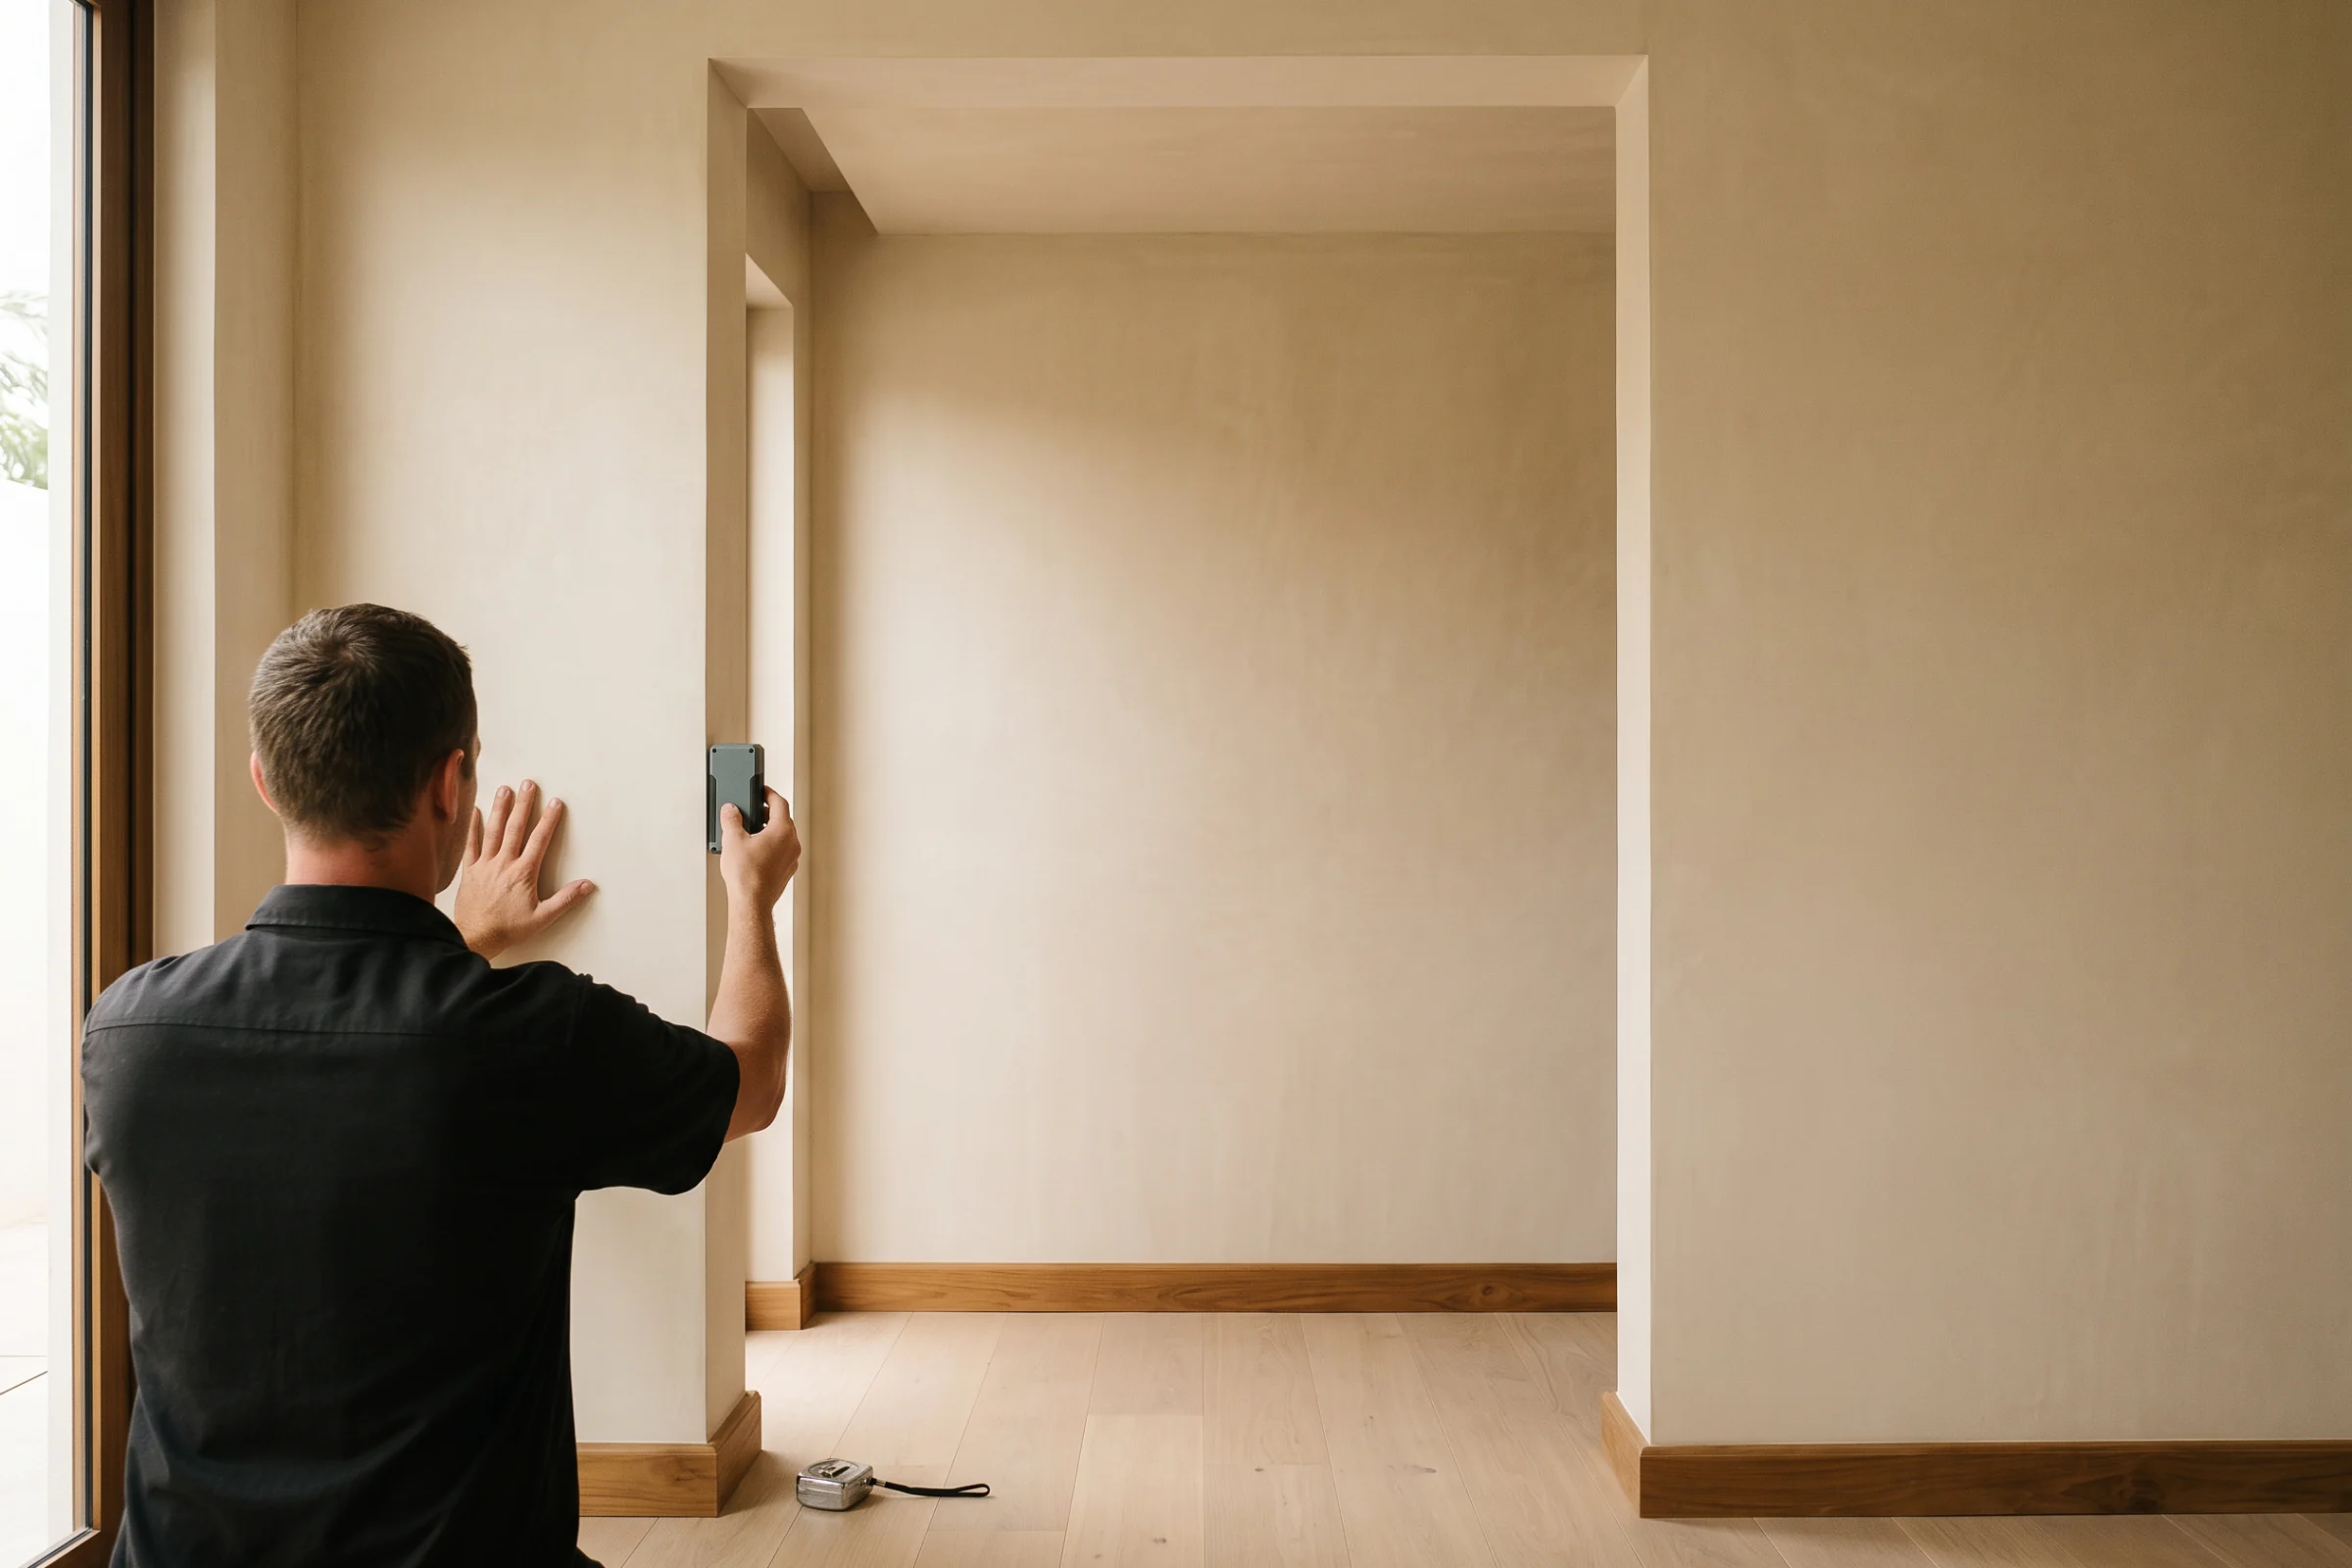
With that settled, a good homeowner measure is genuinely useful. It turns "a wardrobe on that wall" into a brief with dimensions, flags the problems early, and makes the visit from whoever ends up building the piece to fit faster and more precise. Here is how to take one that a workshop can actually use.
Width, height, depth: the three-point rule
One measurement per dimension is the classic mistake, because rooms are not boxes. Measure the width of an alcove or wall run at three heights: near the floor, at waist height, and near the ceiling. Measure the height at three points along the wall: left, middle, right. Measure depth at three heights too: top, middle and bottom of the recess. Write all nine down. The number a fitted piece must clear is the smallest of each set; the differences between them are the room's shape, and they tell the workshop how much scribing and packing the job will need.
Use a steel tape held taut and straight, read to the millimetre, and photograph the tape against the wall at each point if you can. A laser measure is quicker and fine for the long dimensions; keep the steel tape for depths and for checking the laser against itself. Note which unit you used and stay in it. A brief that mixes centimetres and inches has to be re-checked from scratch before anybody can work from it.
Walls that lean, floors that fall
The three-point rule exists because rendered blockwork and brick walls are rarely plumb or square, and island construction is no exception. Check the corners with a large set square or the 3-4-5 trick: measure 60 cm along one wall from the corner, 80 cm along the other, and the diagonal between those marks should be 100 cm. Longer or shorter tells you the corner is open or closed, and by how much. A wardrobe built square into an open corner shows a wedge of gap at the back; the workshop plans a scribed filler for exactly that, but only if it knows.
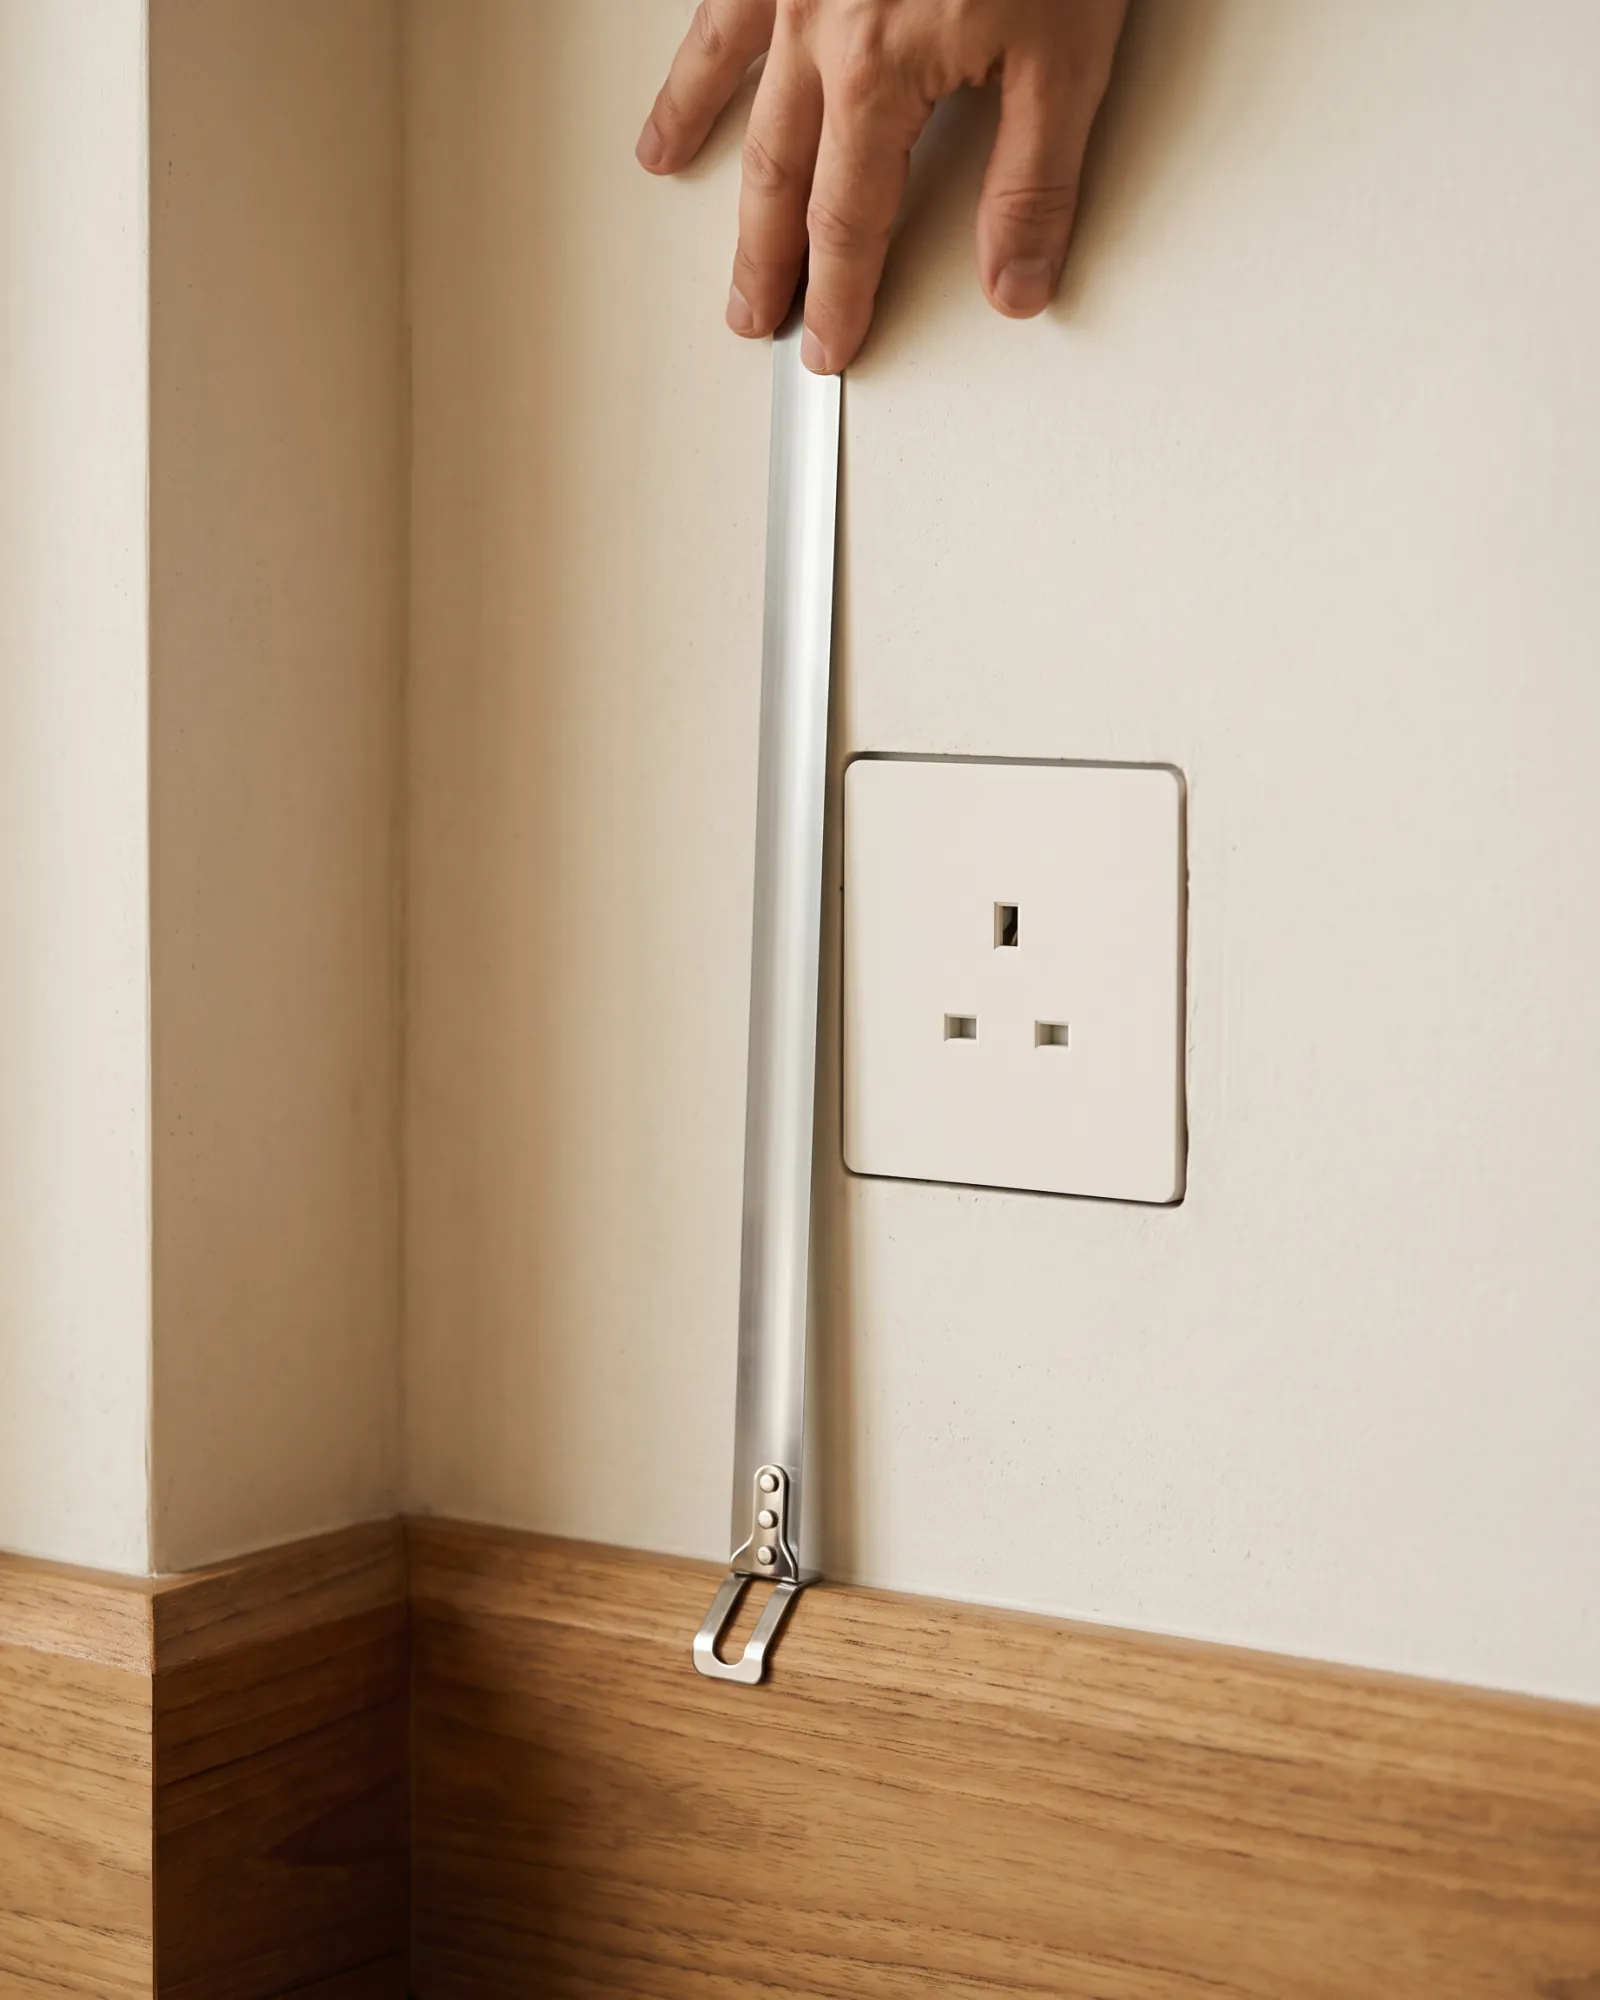
Plumb is the other half of the same check, and it is the half that sets the scribe. Take the longest spirit level you have, hold it vertically flat against the wall at one end of the run, and bring the bubble to centre: the level now touches the wall at one end and stands off it at the other, so measure that gap with the tape at whichever end has opened. Repeat at the other end of the run and anywhere the render looks proud. The biggest gap you find is the scribe allowance, the material a fitter has to plane or pack away before a panel will sit tight against that wall down its full height, and it is one of the most useful numbers a homeowner can hand over. Note which way each wall leans as well as by how much, because a wall that leans away at the top and one that leans in at the top are scribed from opposite edges.
Floors and ceilings have the same habit. Put a long level on the floor along the wall and note which way it falls. A bubble only tells you that the floor is out, never by how much, so put slivers of card or plywood under the low end of the level until the bubble sits centred, then measure the thickness of the packing: that figure is the fall across the length of the level, and it is what a workshop needs to plan a levelling plinth. Do the same overhead with the level pressed to the ceiling, or measure floor-to-ceiling at both ends and compare. A tall unit built to the ceiling height at one end and installed at the other is a piece that cannot go in, and it is the most expensive measuring mistake there is. There is a second version of the same trap, and it catches units that are exactly the right size: a full-height carcass arrives flat or on its back and has to be tilted upright in the room, so it is the carcass diagonal, not its height, that must clear the floor-to-ceiling dimension. A cabinet built dead to the ceiling height will jam against the ceiling halfway through the tilt. That is why tall units are made a little short and closed with a scribed filler above, or assembled standing in place. Skirting boards matter here too: measure their height and how far they stand off the wall, and note whether they can be removed behind the piece or whether the carcass must be notched around them.
Everything that opens, and everything that's wired or wet
Now map the things a fitted piece must live alongside. Doors and windows: their positions from the corners, their frames and architraves, and crucially their swing. Draw the arc of every door and casement in the room and see what it sweeps; a wardrobe door and a bedroom door that both open into the same space will meet, one day, with someone's fingers between them. Note the direction each window opens and whether a handle projects into the room.
Then the services. Mark every socket, switch, light point and data outlet with its height and distance from the nearest corner, and decide now which ones the piece will cover: sockets behind a fixed carcass may need moving by an electrician before installation, not after. Air-conditioning indoor units need the clearance their manual specifies above and around them for airflow, and their condensate drain has to keep falling; a cabinet that blocks the drain route is a cabinet with a wet back. Where plumbing runs, measure the position of pipes, valves and any access panel that has to stay reachable. Every one of these is cheap to design around and miserable to discover on installation day. Bathrooms concentrate all of it, and measuring around plumbing you must not move deals with the cabinets that have to fit around it.
Can it actually get in?
A piece that fits the wall still has to reach it. Walk the route the furniture will travel from the vehicle to the room and measure the tightest point of each stage: the front door width, corridor turns, the stair width and headroom at the turn, the lift car if there is one, and the doorway into the room itself. A full-height wardrobe carcass is a big, rigid object; it either turns the corner on the stairs or it does not. Workshops solve this by building in sections that assemble on site, but they can only plan the sections if they know the route. Hillside villas with external stairs and no vehicle access are a particular island speciality, so say so in the brief.
Custom furniture & carpentry
Made-to-measure furniture and woodwork designed and built for your space, from single pieces to full fit-outs.
Explore serviceMeasuring for a wardrobe
For a wardrobe, add three things to the general measure. Depth is the first: hanging clothes on a rail need roughly 55 to 60 cm of clear internal depth, so check that the recess allows it after the back panel and doors are accounted for, and whether the room can afford that depth without the bed or the door swing objecting. Ceiling height is the second, at the wardrobe wall specifically, since full-height doors are made to the smallest clear height and any drop across the wall becomes a filler at the top. The third is what goes in it: count long hanging, short hanging, folded stacks and shoes, because the internal layout is designed from that list. Planning the interior properly, including the storage depths that actually work, is its own subject; the service page for wardrobes measured and built to the alcove describes what the fitting crew records on its own visit.
Measuring a kitchen run
Kitchens multiply every rule above by the number of things that plug in. Measure each wall of the run at the three heights, note window positions and sill heights along the worktop wall, and record every service point: water in and out, the cooker or hob supply, extractor duct route, and sockets along the splashback line. Then the appliances, which are the thing homeowner measures most often miss: write down the exact model and dimensions of every appliance that will be built in, or accept that carcass sizes cannot be fixed until you have. Appliance openings are unforgiving, and two models that look identical on a shelf can differ by ten or fifteen millimetres. If you are at the point of planning cabinet layouts, a kitchen run measured by the fitting crew is what the installation actually gets built from, and the service page describes what they check on site before the first cabinet is hung. Owners who will not be on the island for that visit should read measuring before you leave the island first.
When the professional measure is not optional
The honest answer is: always, for anything that gets fabricated to fit. Your measure is the brief; the workshop's measure is the one the saw follows. Nothing we make gets a price or a cutting list until our own people have been to the room and inspected it, and the reasons are the ones this guide has been listing: the leaning wall we find with a laser and a straightedge, the floor that drops eighteen millimetres across the alcove, the socket hidden behind a curtain. A professional measure also records what a homeowner rarely thinks to, such as what the wall is made of and what the fixings will go into.
So use this guide to plan, to brief, and to get realistic quotes for furniture built to the room rather than the catalogue. Then let the people who will build it take the numbers that count. The measure is the first thing a good workshop does on any of the built-in work fitted to real rooms in our portfolio, and it is the one step no drawing, however careful, can replace; where drawings do exist, what the workshop does with a drawing set picks up the story from here.
Related guides
- Built-in wardrobes & cabinets
Planning built-in storage for humid island homes
How built-in cabinets turn awkward corners, niches and hallways into storage: planning depth, access, doors, lighting, and why millimetres decide the result.Read the guide - Custom furniture & carpentry
Planning custom furniture for a Koh Samui villa
What to decide before commissioning custom furniture for a Koh Samui villa: materials for island humidity, measuring, and how the build and installation work.Read the guide - Custom furniture & carpentry
How custom furniture gets built from your drawings
How a workshop turns architect or designer drawings into built joinery: shop drawings, site verification, tolerances, materials sign-off and installation.Read the guide
Related services
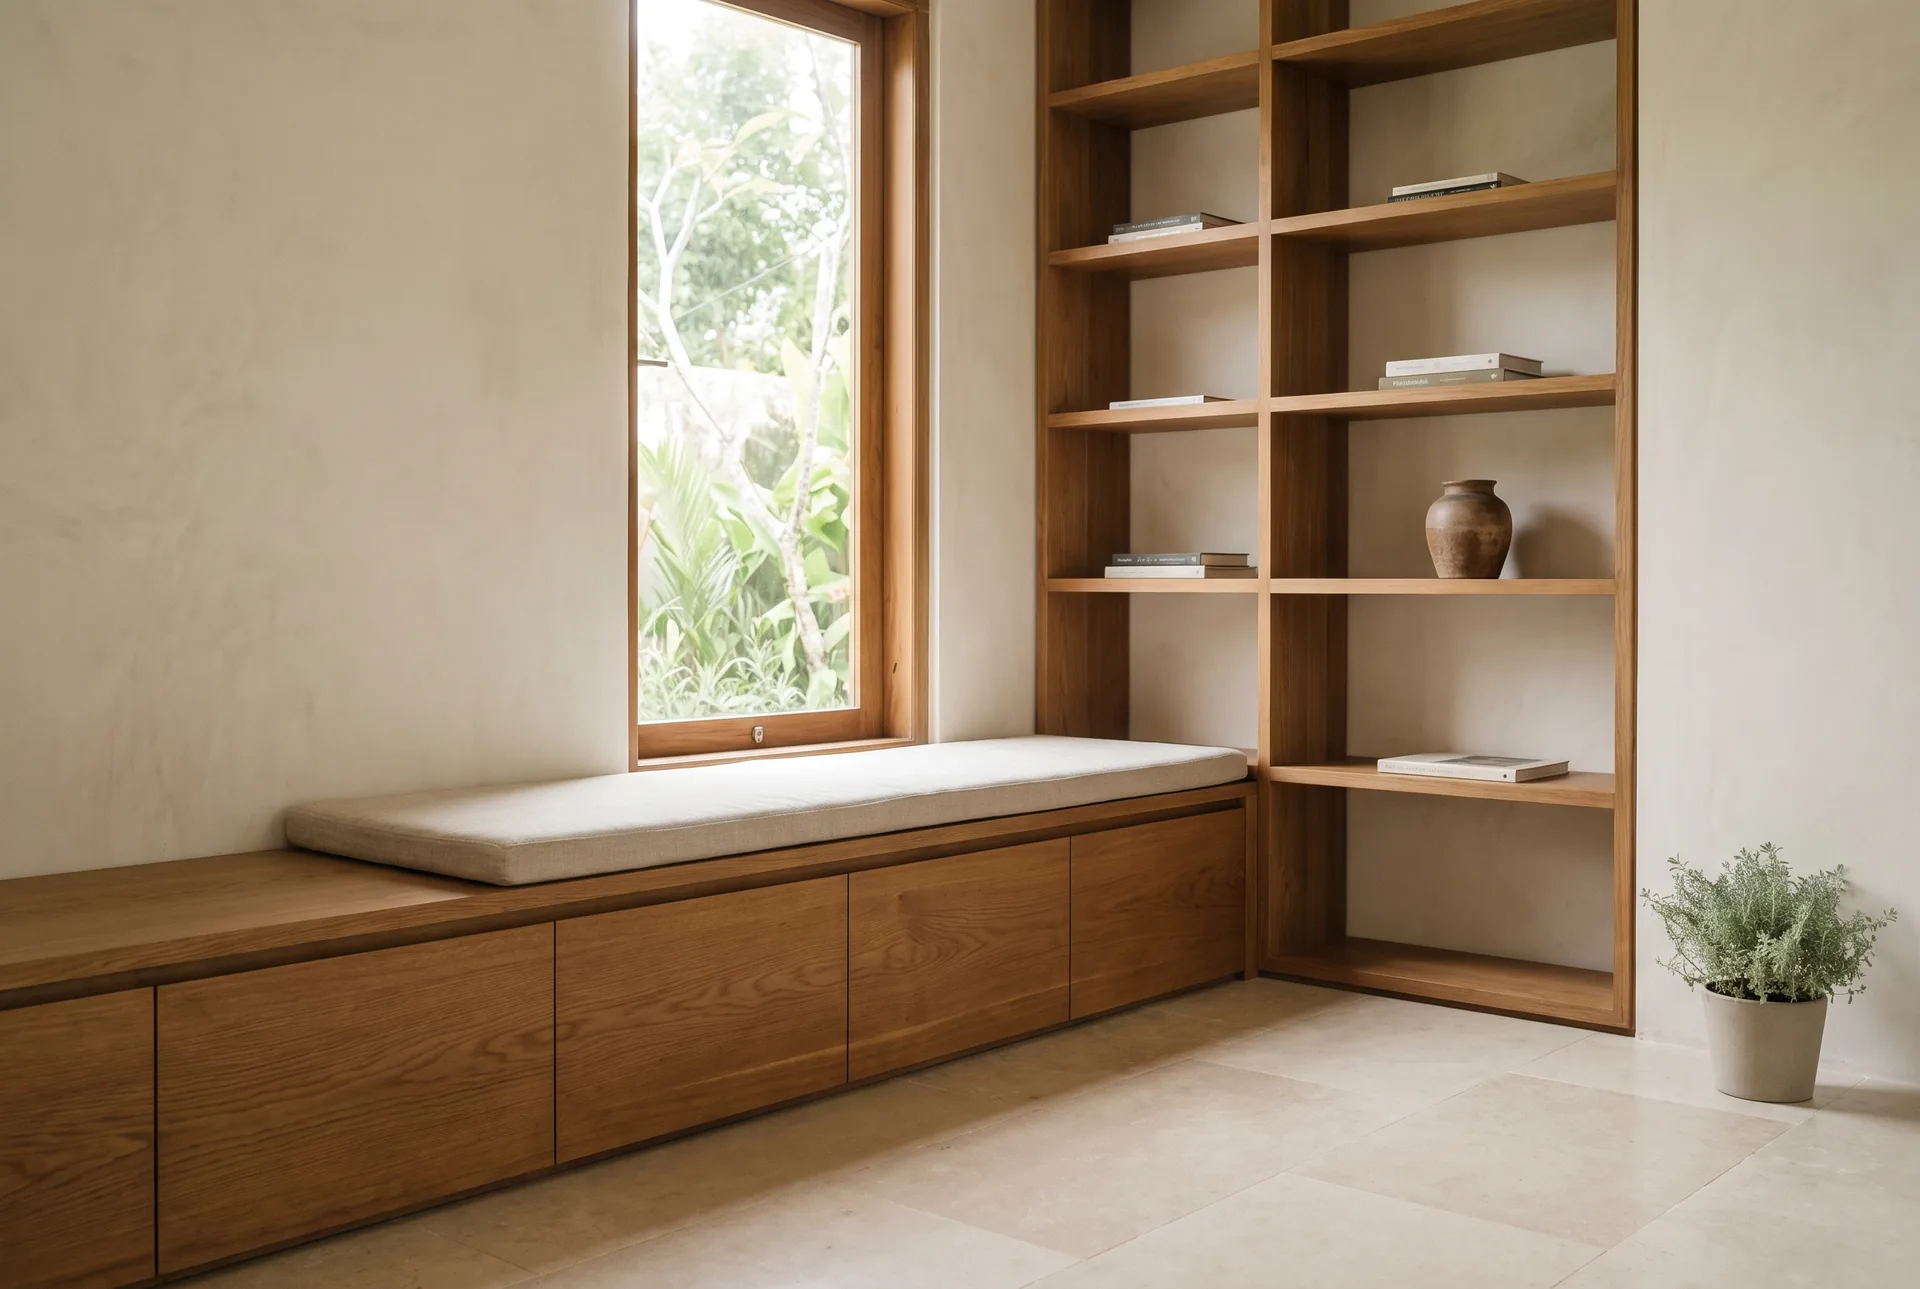
Custom furniture & carpentry
Made-to-measure furniture and woodwork designed and built for your space, from single pieces to full fit-outs.
Explore service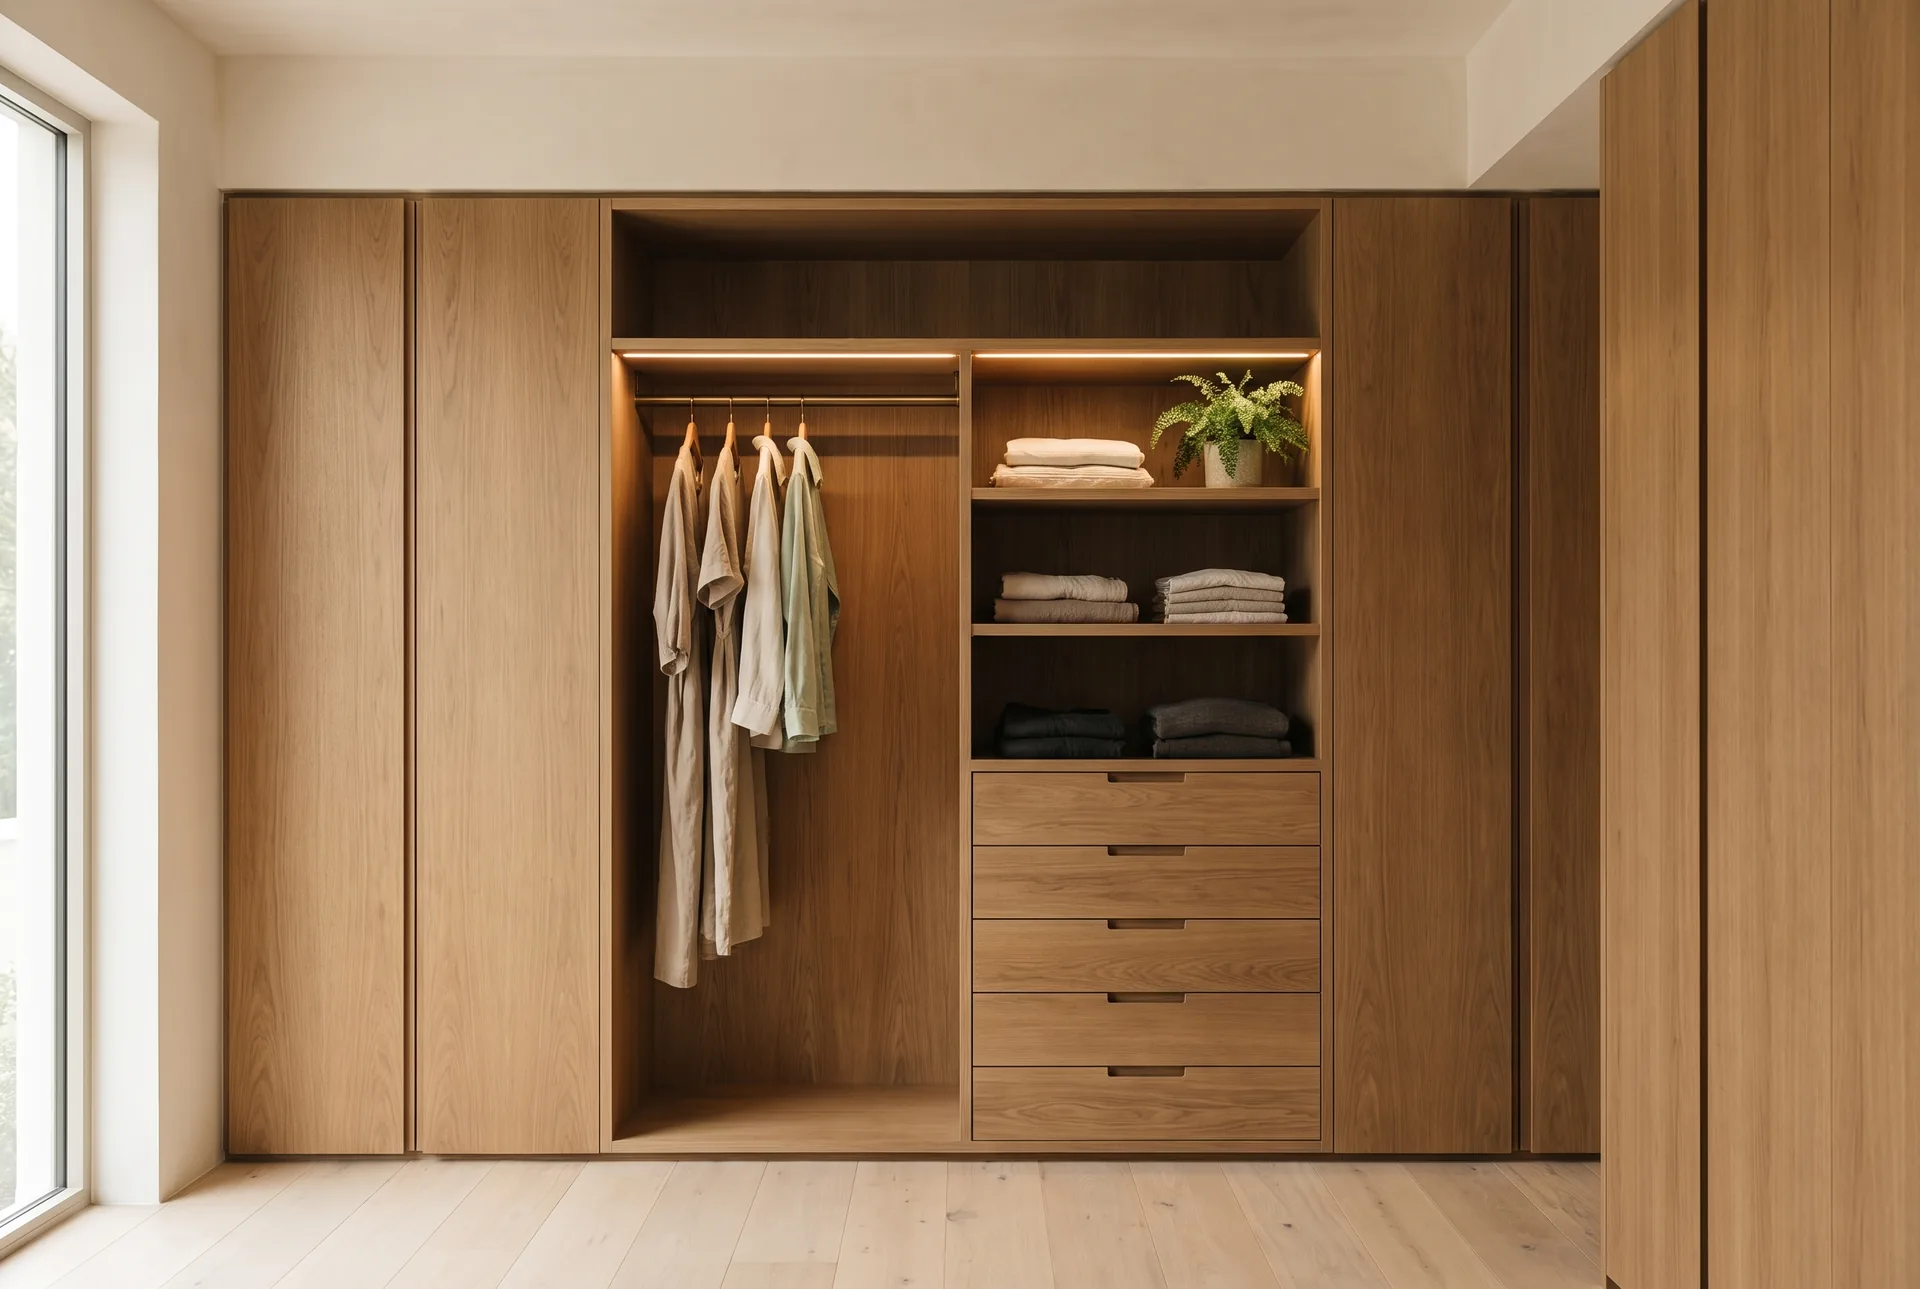
Built-in wardrobes & cabinets
Built-in wardrobes, closets and storage cabinets that use every centimetre. Measured, built, and installed.
Explore service
Kitchen assembly & installation
Kitchen cabinets and units assembled and installed — aligned, fixed, and finished ready for daily use.
Explore service
Tell us what you need built or installed.
Send a few photos and measurements — we'll get back to you with next steps.