
Bathroom cabinets and vanities that survive a wet room
Published by Chaingkiat & Furniture — Nearly 30 years of hands-on carpentry, with our own workshop and crew on Koh Samui. · · 9 min read
You can date a bathroom cabinet by its bottom edge. The door fronts usually still look fine. Open it, crouch down, and run a thumb along the underside of the carcass and the back of the plinth: that is where a cabinet in a wet room gives up first, and it gives up from below rather than from the steam everybody blames.
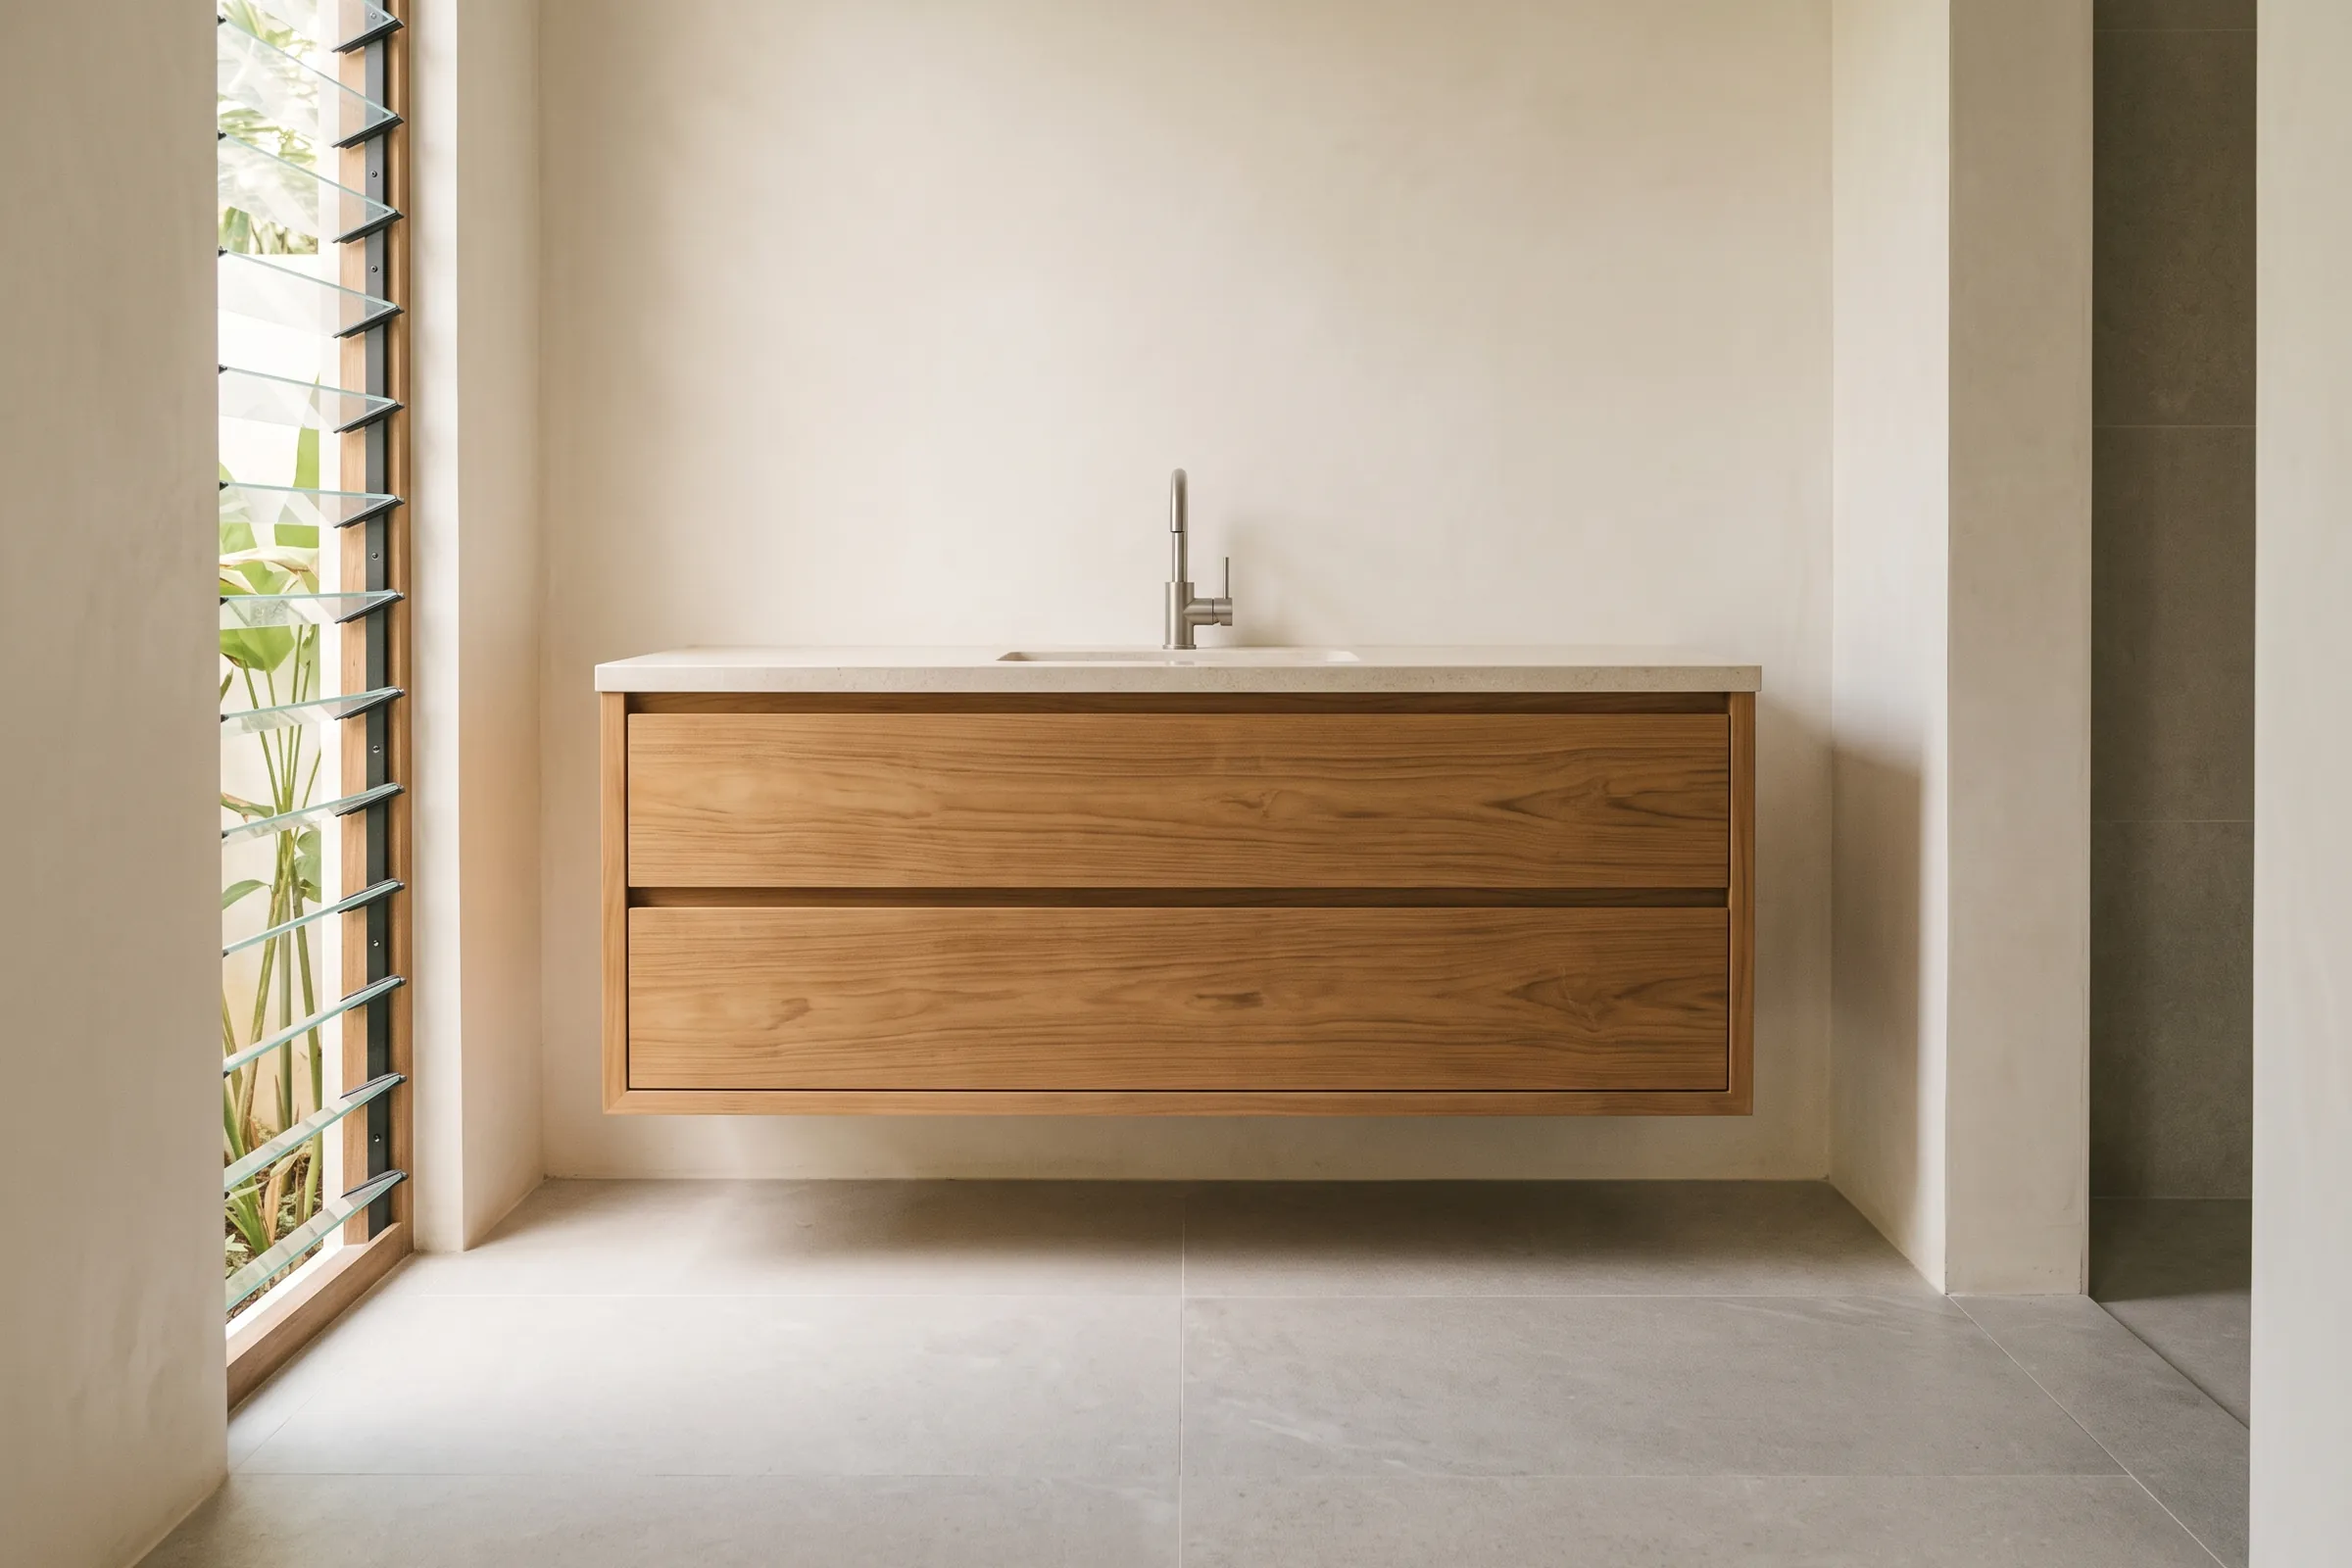
This page is about the decisions that settle whether that happens: board grade, where in the room the cabinet sits, the edges and the holes, what is underneath it, and the air. It is not about cleaning up afterwards, because that is a different job with a different answer and when it is already growing in a closed cupboard handles it. cabinets built for the room they have to live in is the work this is written out of.
A bathroom is not a humid bedroom
A bedroom cabinet fights vapour. The air is damp, surfaces cool below the dew point, and water condenses out of the air onto them. The answer there is airflow and keeping a closed box off a cold wall, which is a design lesson with its own page: designing a closed cupboard so it can breathe covers it properly and this page does not repeat it.
A bathroom cabinet fights liquid water, and liquid water behaves nothing like vapour. It arrives in quantity, from above and from the side, at speed, and then it runs downhill and sits. It arrives as spray from a shower, as splash from a tap, as the sheet a wet person leaves walking to a towel, as mop water across the floor, and as the slow drip from a connection nobody has looked at. None of that is condensation, and airflow on its own answers none of it.
That is the reframing to carry through the rest of this page. In a bedroom, damp is a risk to design against. In a bathroom it is the brief.
Map the zones before choosing anything
Before any material question, work out where in the room the cabinet actually sits. Bathrooms have zones, and they stop being subtle the moment you look for them.
The shower's spray zone is wet several times a day and stays wet. The basin's splash range is a surprisingly wide arc, wider on the tap side and widest where a mixer with a long spout meets a shallow bowl. The floor has a mop line: a band low on every vertical surface that gets wiped with a wet cloth and then left to dry on its own. And most bathrooms have a genuinely dry corner, usually furthest from both the shower and the door.
Match the ambition to the zone. Full-height cabinets, open shelving, a visible timber face, anything you would be annoyed to replace: all of that belongs in the dry corner. The vanity unit under the basin is in the splash zone by definition and gets the full specification, not a reduced one. And a cabinet is almost never the right thing to put inside a shower's spray zone at all, whatever it is made of.
Grade before species
Clients ask which wood. The question that decides the outcome is which grade. A moisture-resistant board and a standard board can carry the same veneer, the same paint and the same price from a seller who has not been asked the question, and they behave entirely differently under a basin.
Moisture-resistant grades of MDF and particleboard use adhesives made for humid air. Marine-grade plywood adds waterproof glue lines and a core with no hidden voids, which is why it is the carcass material to reach for where water is a certainty rather than a risk. Standard MDF under a basin is the one specification with no defence at all: it is the material that becomes a swollen, crumbling edge, and once it has there is no repair, only a replacement. The depth on board types belongs to board grades, and the edges nobody thinks to seal; what belongs here is that a bathroom quote saying only 'MDF' or only 'plywood' has not yet answered anything.
Faces and edges are a separate decision from the core. A sprayed, sealed or laminated face does most of the work on the outside, while the inside of the carcass, the shelf edges and the back panel are where a corner gets cut quietly. what to seal a wet-area cabinet with covers the coating side of it. The rule for this room is that an unsealed edge does not exist in a bathroom cabinet, including every edge nobody will ever see.

Decisions in order, before anything is ordered
A wet-area cabinet checklist
- Dry the wall firstBefore anything is orderedA cabinet fitted against a wall still releasing building water starts its life wet.
- Check for active moistureFind the sourceA damp patch that returns in one place is the room talking, and no specification answers it.
- Choose the board gradeGrade, then faceMoisture-resistant and marine grades exist for exactly this room; standard board does not belong under a basin.
- Seal every edge and cut-outIncluding the hidden onesHinge bores, shelf-pin holes, the basin cut-out, the waste notch and the back edge all count.
- Lift the carcass off the floorKeep the underside dryA recessed or removable plinth, legs, or a wall-hung carcass, so the floor can dry underneath.
- Specify hardware for the airCorrosion firstSteam reaches the hinge before it reaches anything you can see.
- Give the inside a way to dryAir, not only sealingExtraction that runs on after the room is empty, and a cabinet that is not airtight.
- Keep it upOngoingWipe the area under the basin, keep the sealant line continuous, and open the doors after a hot shower.
Cabinet decisions only. Everything on the water side of the cabinet belongs to the building trades.
The three places a vanity dies
Failures in this room are repetitive enough to list, which is unusual and useful. Almost every dead vanity unit died in one of three places.
The basin cut-out
A basin needs a hole in the top, and that hole is cut end grain in whatever the top is made of, sitting directly under the one fitting in the room guaranteed to leak eventually. It has to be sealed on the cut face and on the underside, not only where the silicone shows. An inset bowl adds a rim and a bead of sealant to maintain; an undermounted or integrated bowl removes the rim, and in a wet room that is the better detail for exactly that reason. the same cut-out problem, one room over works through the kitchen version, where the choice of materials is wider and the water is constant.
The plinth and the underside
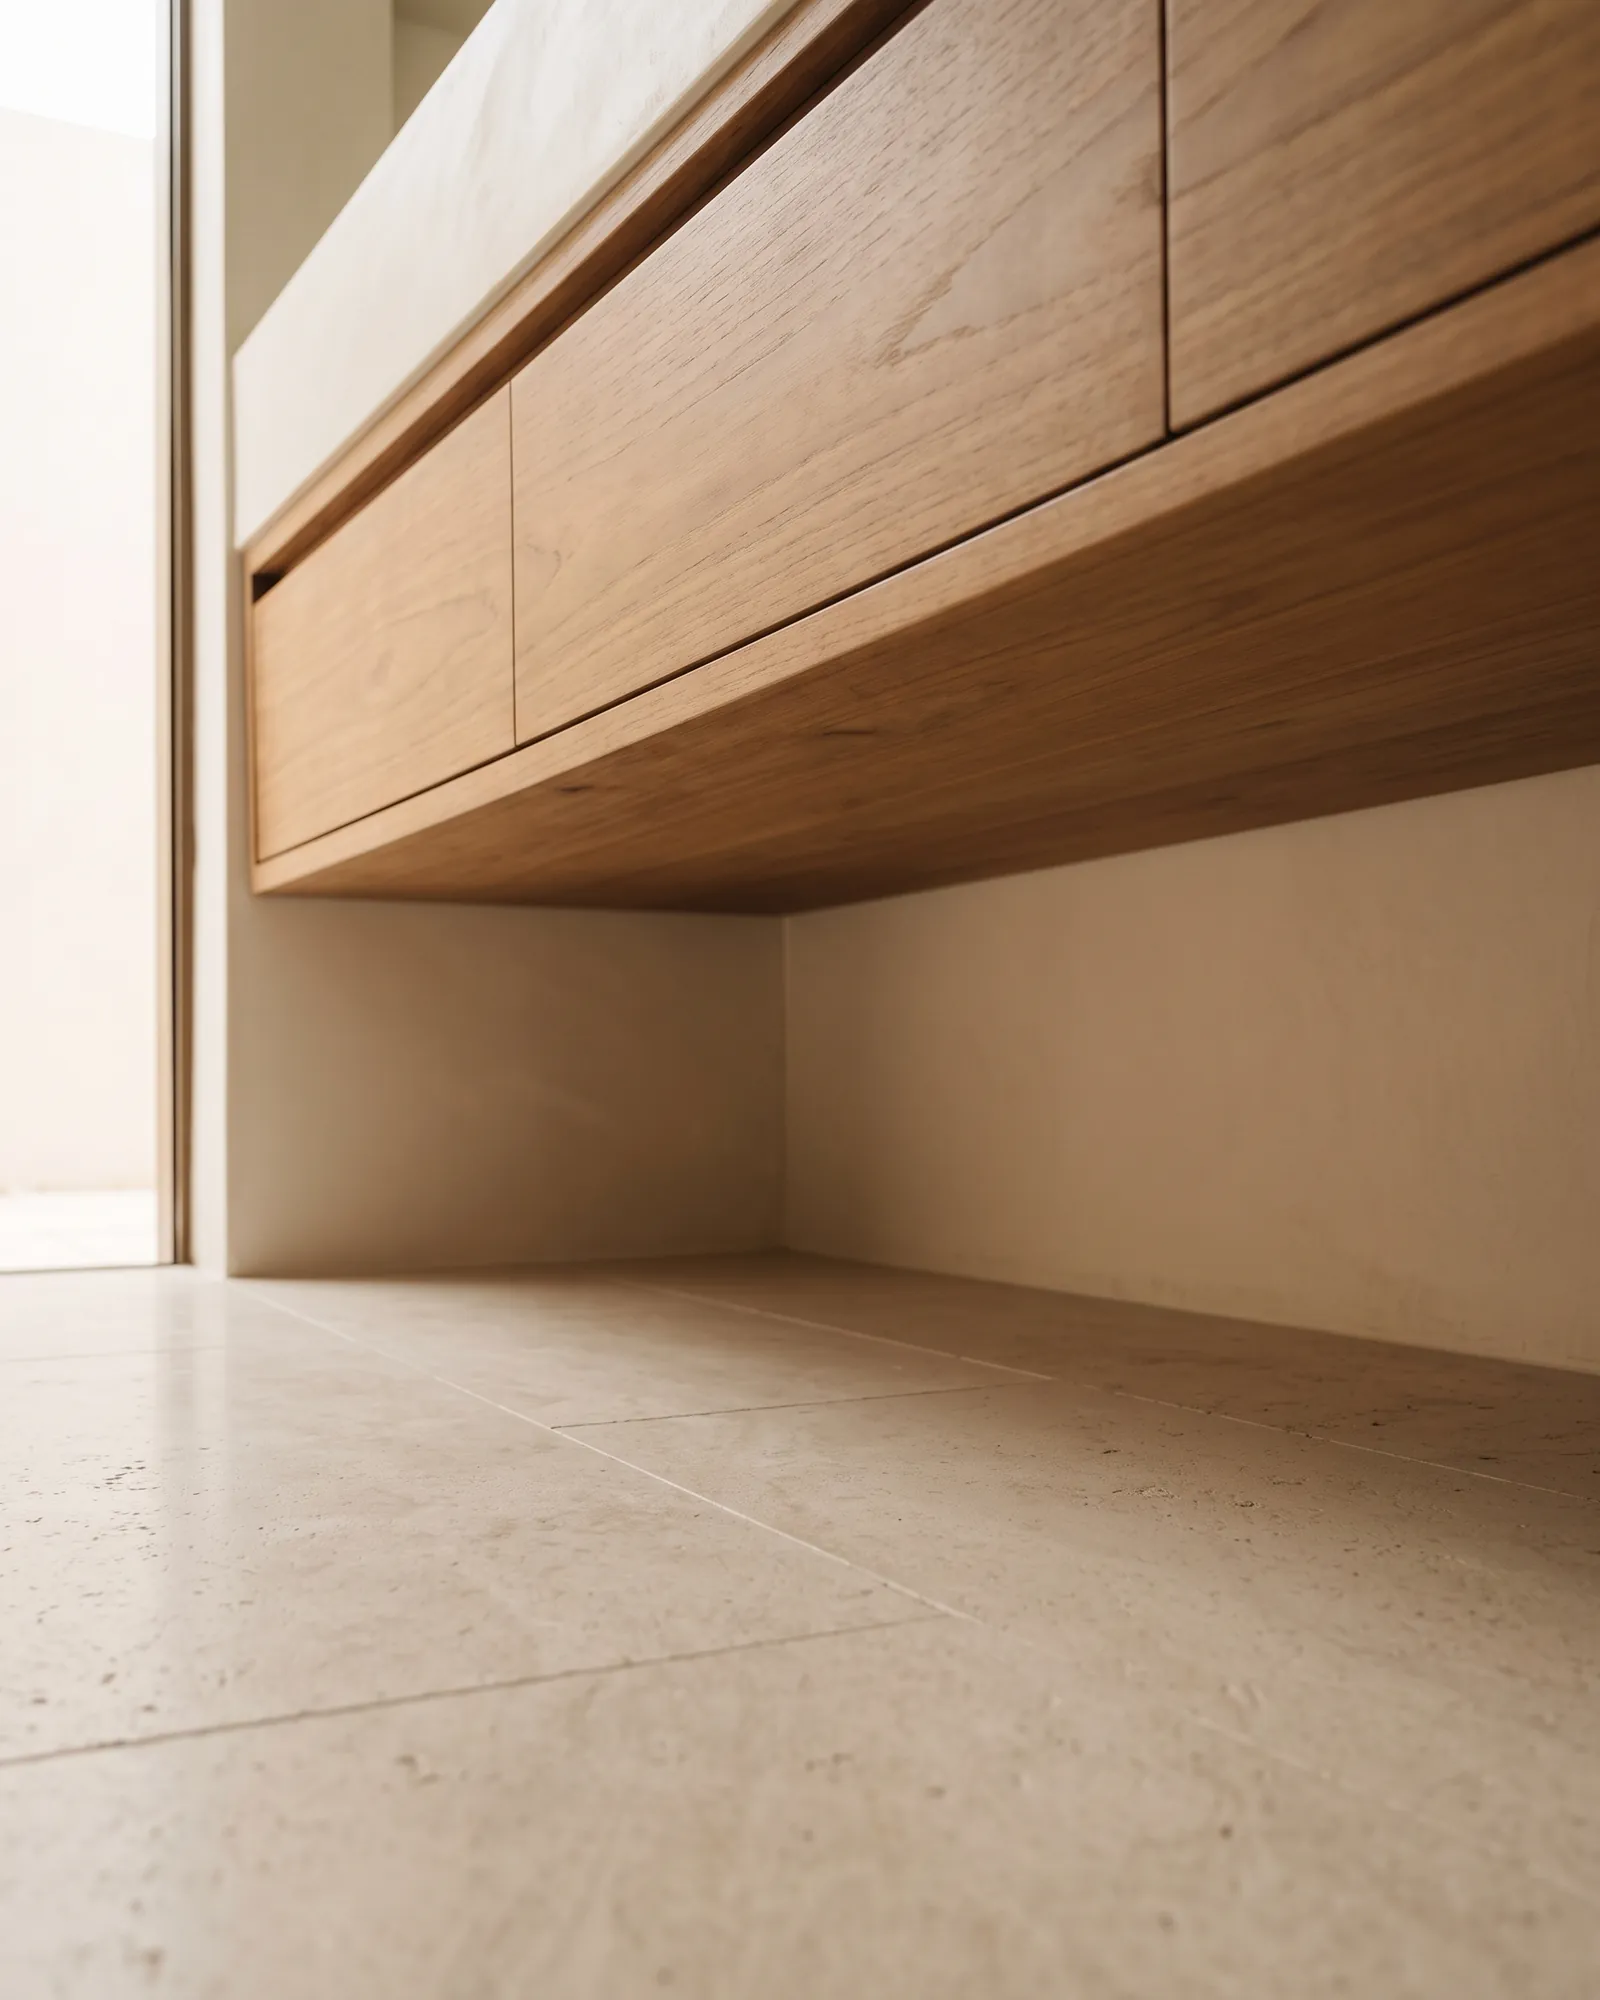
This is the one that actually kills cabinets, and it is the easiest to design out. A carcass whose base sits flat on the floor sits in every drop of mop water, every shower overspill and every drip, with no airflow underneath and no way to dry. So lift it. A plinth recessed back from the front, a removable plinth, or legs with a clip-on front panel all keep the board clear of the floor and let the floor dry underneath. A wall-hung carcass does it best of all. Then seal the underside of the base panel like any other face, because it is the face most likely to meet water and the only one nobody ever inspects.
The back, against a wet wall
A cabinet pressed flat against the wall behind a basin traps a film of water that never dries, and if that wall is shared with a shower it may be passing moisture through from the other side. Hold the carcass off the wall where the fixing allows it, seal the back panel on both faces, and keep the panel out of direct contact with grout lines, which is where water tracks sideways once it is in the wall.
The water side you design around, not move
Everything on the water side of the cabinet belongs to the building trades, and the only sensible posture is to design around it.
In practice that means clearance and access. The trap under a basin needs room to be unscrewed by hand and with a tool, not merely room to exist. Shut-off valves have to stay reachable without unbuilding anything. A cabinet back or drawer carried around a waste pipe needs the notch cut generously, so the pipe never touches the board, and sealed around the opening, because a notch cut tight is a notch that wicks water into the core. And any access panel the building trades need has to still be an access panel after we have finished.
The sequence is the opposite of what people assume. Positions are confirmed from the room as built, and the cabinet is drawn around them. Asking for pipework to be moved so it suits a cabinet drawing is how a bathroom becomes expensive, and it is not work we take on.
Hardware in shower steam
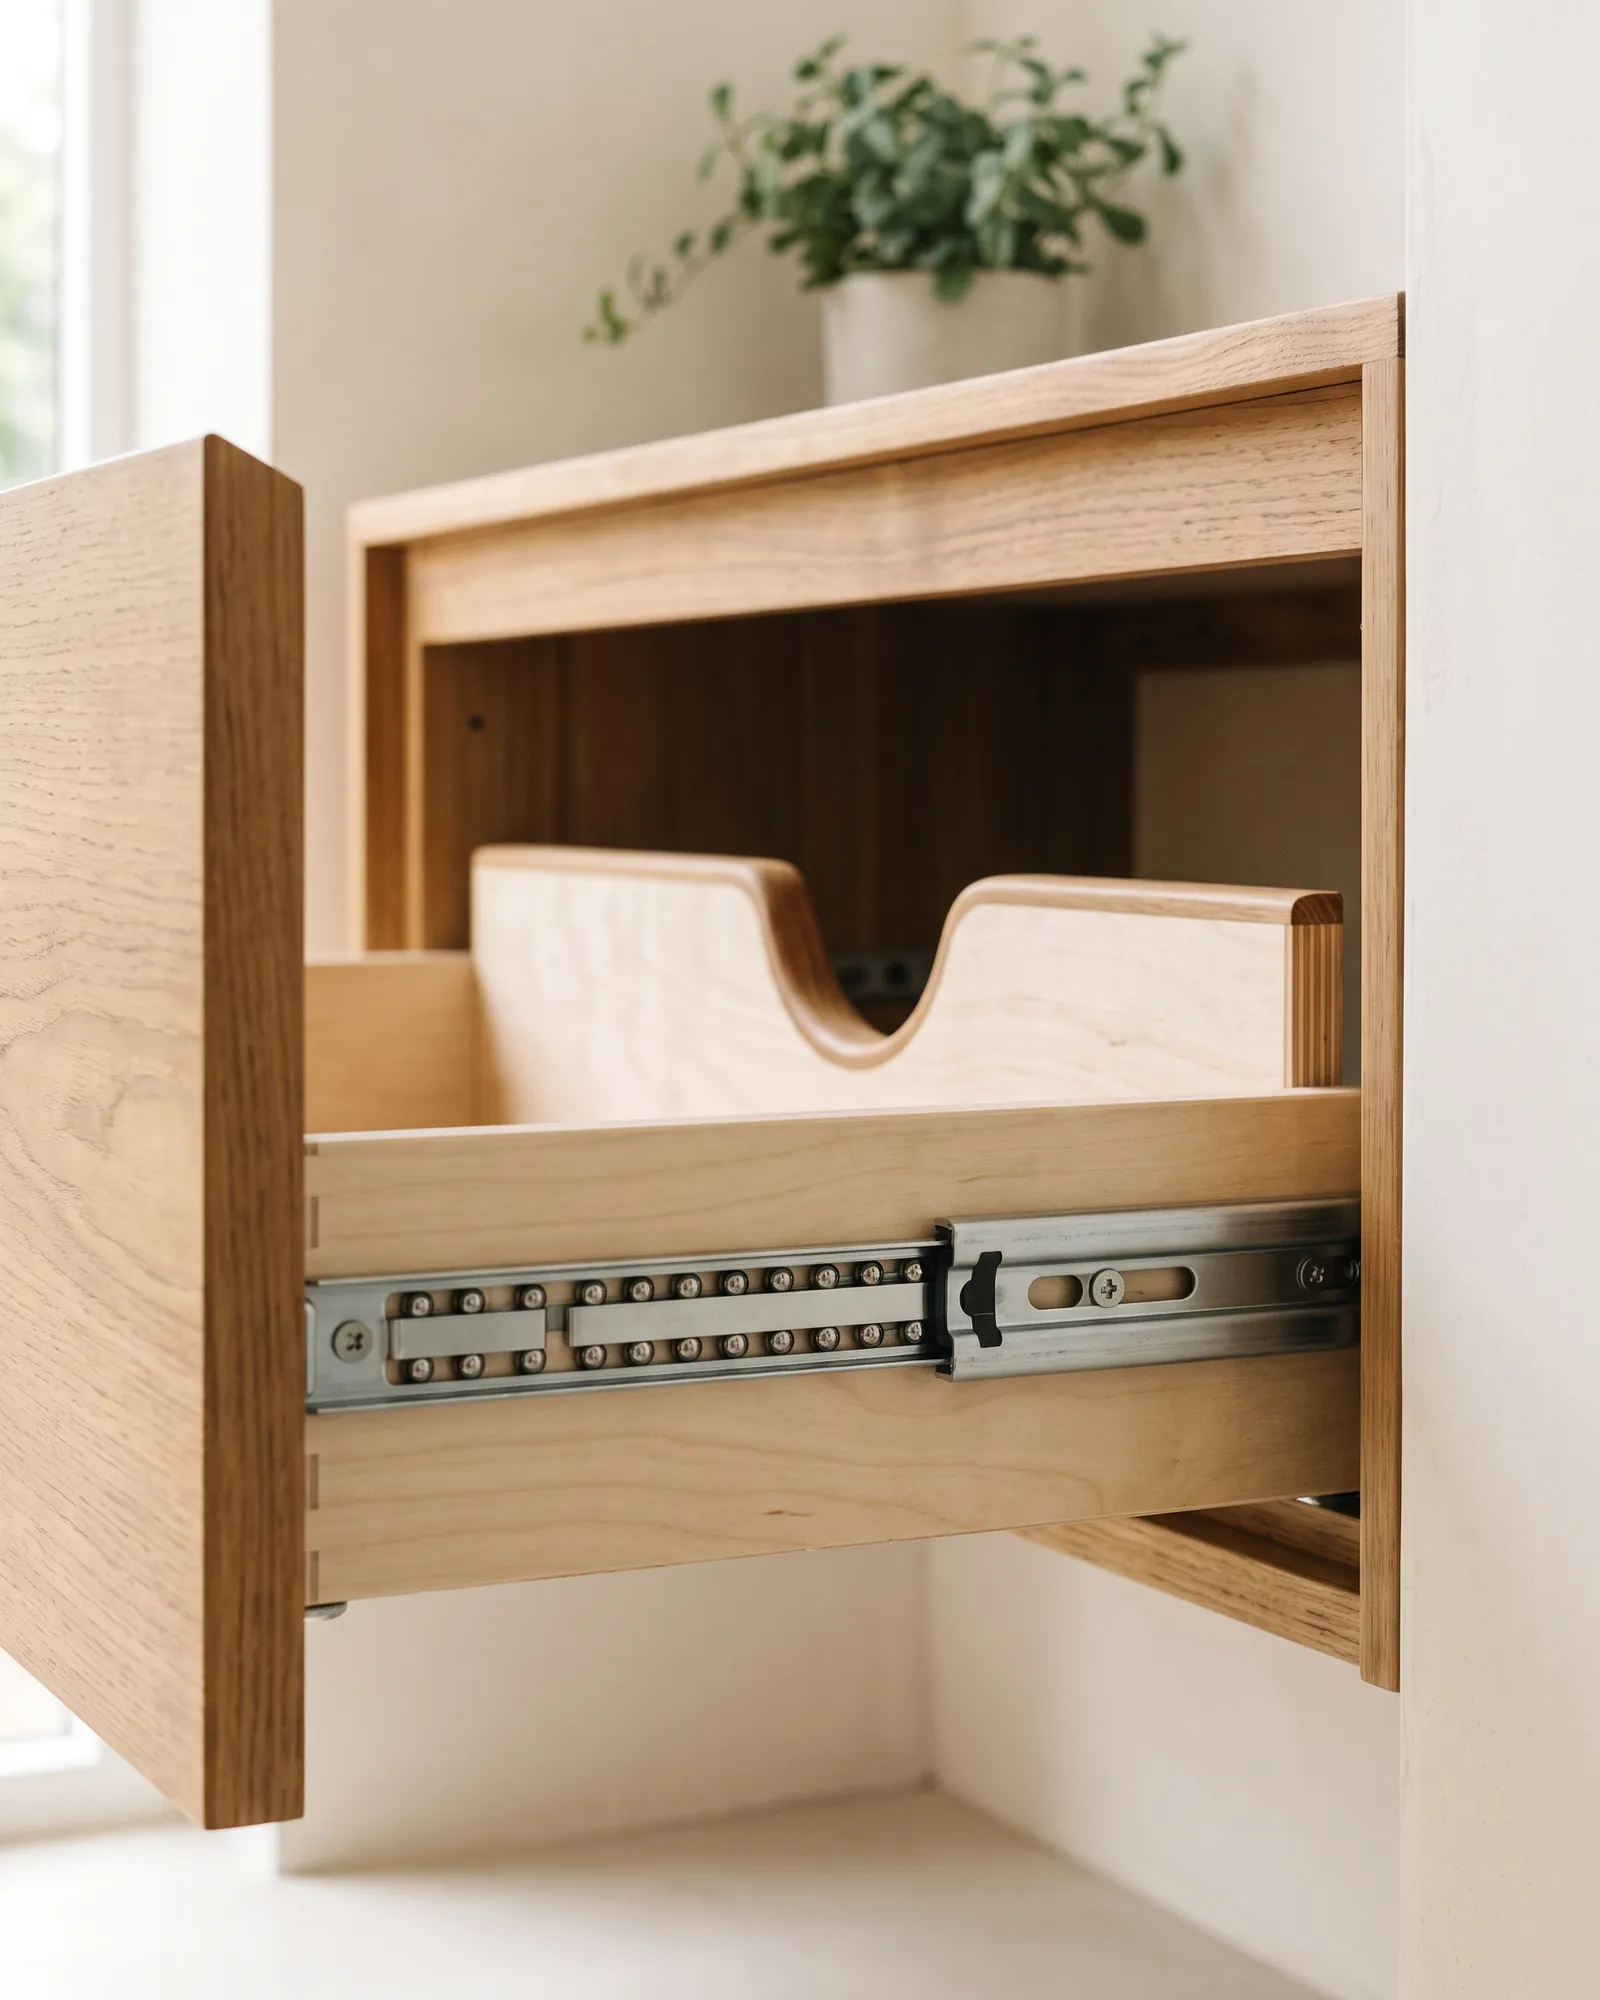
Steam reaches a hinge before it reaches anything you can see, and the inside of a bathroom cabinet is where a plated fitting shows its first white bloom. This is the room where the corrosion-resistant option stops being an upgrade and becomes the specification. corrosion classes, grade by grade sets out which metals and platings do what, and why a scratch matters more on some than on others.
Two notes specific to this room. Fixings are hardware too, and a hinge plate held by a plated screw into a swollen edge fails at the screw rather than at the hinge. And soft-close earns its money here more than anywhere: a bathroom cabinet is opened with wet hands and closed with a hip, and a door that slams loosens its own fixings over a season.
Built-in wardrobes & cabinets
Built-in wardrobes, closets and storage cabinets that use every centimetre. Measured, built, and installed.
Explore serviceAir, and the mirror cabinet that sweats
Sealing a cabinet keeps water out of the board. It does nothing about the air inside it, and a well-sealed cabinet full of damp air is still a cabinet full of damp air. The two jobs are separate and both have to be done.
Extraction is the main lever and it is not ours to install, but it is worth knowing what good looks like from the cabinet side. A fan that runs on after the room is empty rather than switching off with the light. A door undercut or a vent that lets replacement air in, because an extract with no inlet moves very little air. There is a local limit on all of it: on Koh Samui the replacement air is often nearly as wet as the air being removed, so a fan rarely dries a bathroom on its own and the cabinet specification has to carry more of the load. A bathroom that does dry out between uses is one where that specification is a margin of safety rather than a rescue attempt.
The mirror cabinet is its own case and it is the most common failure after the plinth. It is a cold glass face over a closed box, usually on an external wall, directly above the basin. That is a condensation trap by construction, and if the glass fogs on the outside the inside is wet too. Keep its back off the wall, make sure the box is not airtight, and treat the glass-to-carcass junction as a sealed detail. Heated mirror pads exist and are an electrical item for somebody else to fit; the cabinet-side decision is simply to stop building a sealed cold box in the wettest corner of the room.
Utility and laundry cabinets: same rules, lower stakes
A utility or laundry cupboard sees less liquid water than a bathroom and more heat and vapour than a bedroom, which puts it in between. Everything above still applies with the volume turned down: a moisture-resistant carcass, sealed edges, the base lifted clear of the floor, sensible hardware, and a way for the air to move.
Two additions belong to that room specifically. A washing machine or dryer behind doors needs ventilation of its own or it slowly cooks the cabinet around it, and it needs the same trap and valve access a basin does. And a drying rack inside a closed cupboard is a humidifier: if clothes are going to dry in there, the cupboard needs a way to lose the water they give up.
These are the decisions most easily left to the day and the most expensive to revisit once a room is finished, which is why they belong in writing. If a cabinet has already swollen at an edge or dropped a door, that is past the point maintenance helps, and the point where a cabinet needs a carpenter, not a cloth draws the line honestly.
Related guides
- Built-in wardrobes & cabinets
Stopping mould in wardrobes and closed storage
Why mould grows inside wardrobes and closed storage in humid climates, and how to stop it: airflow, moisture sources, finishes, and when to rebuild.Read the guide - Custom furniture & carpentry
What wood survives a humid coastal climate?
How teak, other hardwoods and modern boards cope with humidity and salt air: what swells, what lasts, and how makers choose materials for coastal homes.Read the guide - Built-in wardrobes & cabinets
Choosing hinges, drawer runners and hardware for custom furniture
A plain guide to cabinet hardware: hinge types, drawer runners, soft-close, handles and push-to-open — and which finishes and materials survive humid, salty air.Read the guide
Related services
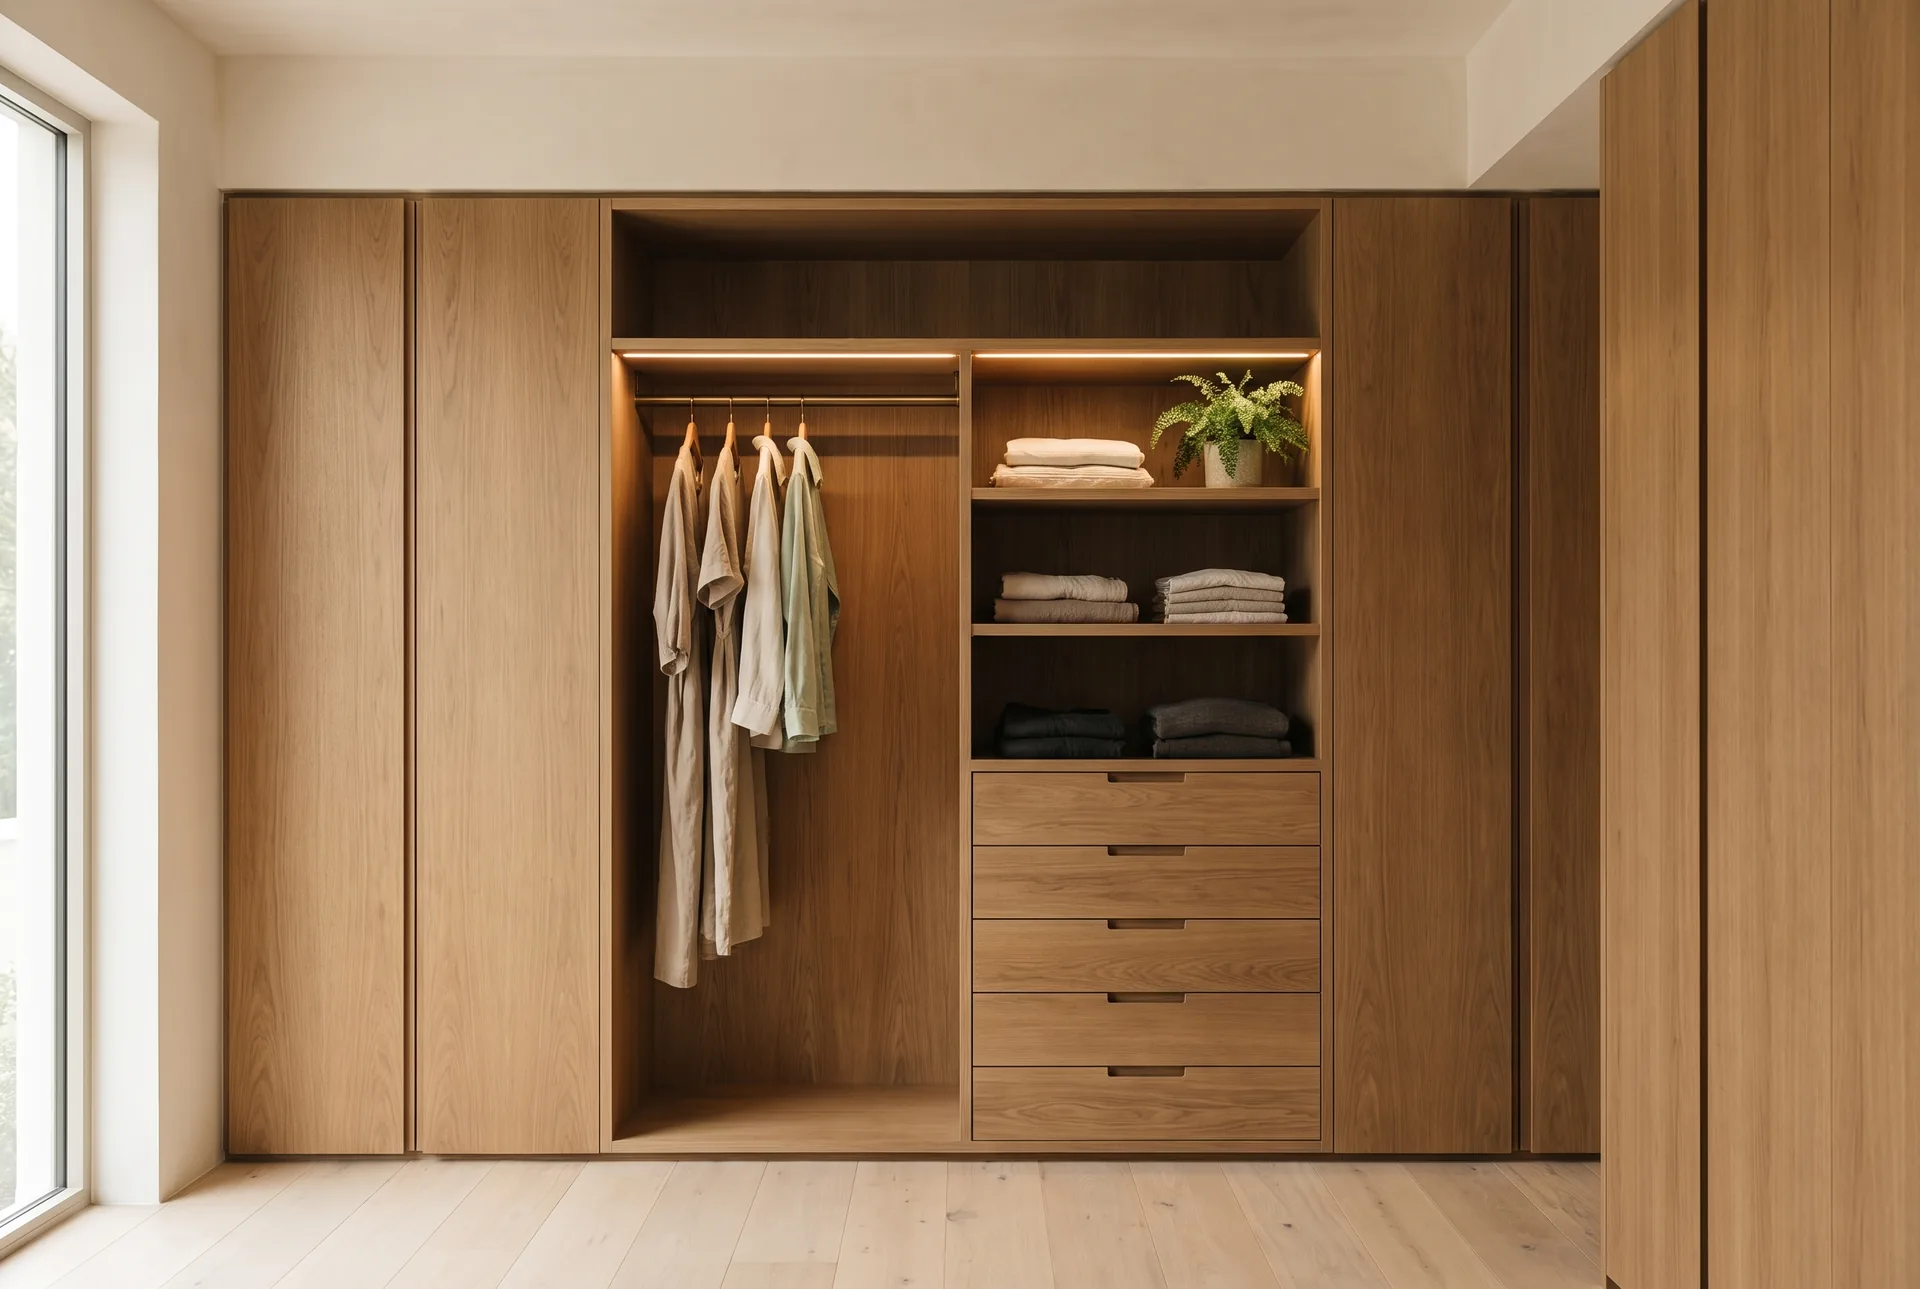
Built-in wardrobes & cabinets
Built-in wardrobes, closets and storage cabinets that use every centimetre. Measured, built, and installed.
Explore service
Custom furniture & carpentry
Made-to-measure furniture and woodwork designed and built for your space, from single pieces to full fit-outs.
Explore service
Tell us what you need built or installed.
Send a few photos and measurements — we'll get back to you with next steps.