
How to care for wooden kitchen cabinets in a humid climate
Published by Chaingkiat & Furniture — Nearly 30 years of hands-on carpentry, with our own workshop and crew on Koh Samui. · · 5 min read
Kitchen cabinets live a harder life than any other joinery in the house. The wardrobe stands in still air; the cabinets stand over steam, beside a sink, around a dishwasher that exhales hot fog twice a day, all of it in a climate that was already humid before anyone boiled water. They are also the woodwork you touch most, with hands that were just holding a chicken.
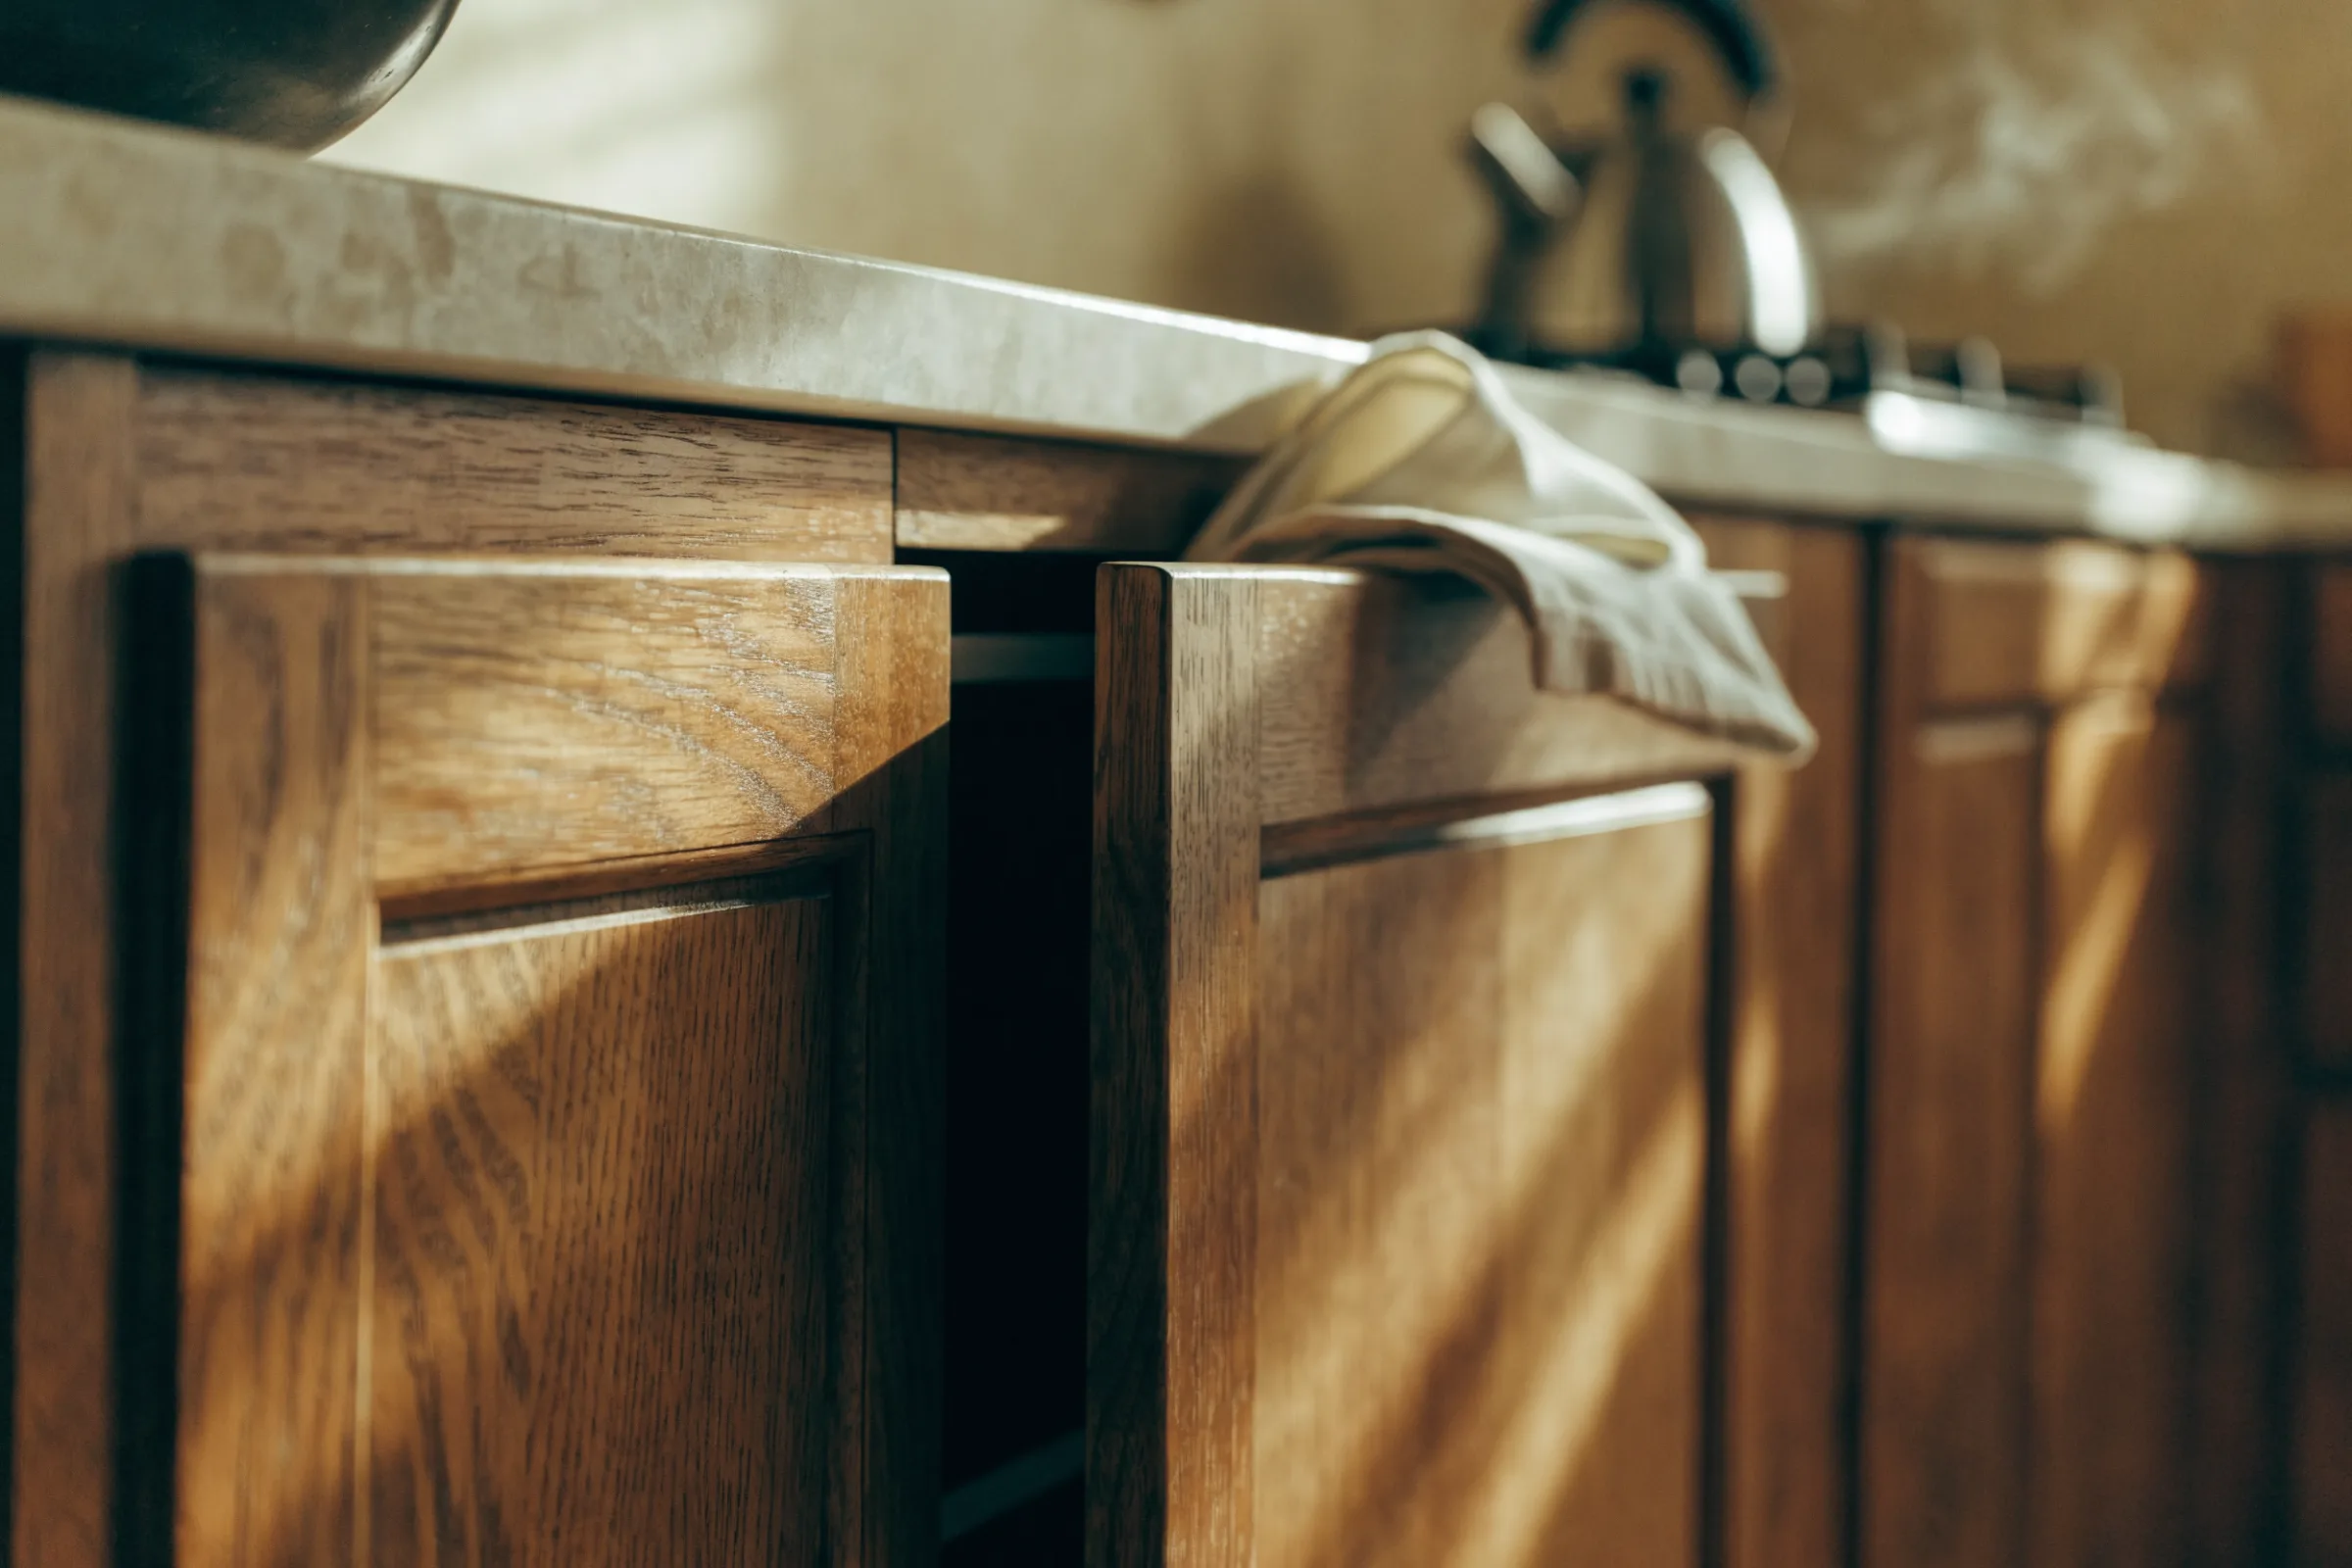
The routine that keeps them right is short, but it has to respect the room. A kitchen is really several small climates sharing one ceiling, and each zone asks for something slightly different. This guide walks the zones, the weekly wipe-down, the hardware, and the early signs that a front is taking on water — the same things we check when we go back to fitted kitchens we've built, photographed in place, and the same lessons drive how we build and fit kitchens for this climate.
One room, four climates
Map your kitchen before you clean it. The steam zone sits above and beside the kettle and the hob: fronts here collect an invisible film of vaporised grease that hardens with time. The splash zone surrounds the sink, where water hits fronts and kickboards directly. The fog zone is wherever the dishwasher door swings, because every opened cycle rolls a cloud of hot wet air up the nearest door. And the still zone is everything else, corner units and tall cupboards, which mostly just need dusting and airflow.
Knowing the map changes your effort. Ninety per cent of cabinet wear happens in the first three zones, on perhaps a quarter of the doors. Those fronts get the weekly attention. The rest can live on a monthly pass without ever looking neglected.
The wipe-down that beats the grease
Grease plus steam is the kitchen's signature attack: alone, each is manageable, together they lay down a sticky film that slowly softens and dulls a finish. The counter is boring and effective. Once a week, wipe the working-zone fronts with a cloth wrung out in warm water and a little mild dish soap, barely damp, then follow with a dry cloth straight away. Work the door edges and the strip under the worktop overhang, where the film builds thickest and hands go least.
Use one mild cleaner and stop there — never combine products, and leave the aggressive degreasers for the oven racks, because what strips fat also strips lacquer, one application at a time. Exactly what a front tolerates depends on what it is finished with, so if you are unsure what is on yours, start with cleaning that suits the front's finish and test anything new on an inside face first.
The sink cabinet is the canary
If moisture is going to beat a kitchen anywhere, it starts under the sink. Once a month, empty the cabinet enough to see the base and the back: you are looking for damp, staining, or the sweet musty smell that arrives before either. Check the trap connections by touch, run a finger along the base panel edges, and look at the kickboards below, since they stand closest to mopping water and swell first when a slow leak finds the floor.
Standing water on the worktop deserves the same discipline as on a dining table, with one kitchen-specific addition: the joint line where the worktop meets the fronts. Water that sits on that seam finds the top edge of the doors below. Wipe the seam dry after the washing-up, and the cabinets below will never know the sink exists. How forgiving that seam is depends on what the surface beside them is made of, and why it matters.
Kitchen assembly & installation
Kitchen cabinets and units assembled and installed — aligned, fixed, and finished ready for daily use.
Explore serviceLet the steam leave the room
Ventilation is cabinet care you do with switches. Run the extractor whenever pans are steaming, not only when something smells, and let it run a few minutes after the cooking stops; the fog you can no longer see is still settling on the doors. Open the dishwasher fully at the end of a cycle rather than leaving it ajar breathing on one front for an hour, and if the kettle lives under a wall cabinet, slide it forward so its column of steam clears the door bottom. In a room this wet, every bit of moving air is a coat of protection nobody had to apply.
Hinges and runners: the two-minute month
Kitchen hardware works ten times harder than bedroom hardware and complains earlier. Monthly, swing every working-zone door and pull every drawer: a door that has dropped, a soft-close that slams, a drawer that grinds over crumbs in its runner. Most of it is maintenance you can do — brush the runner clear, snug the hinge screws, walk a dropped door back into line on its adjusters while you watch its gap against the neighbouring front. Handles loosen fastest on the doors opened with wet hands, and a handle dealt with while it is merely loose is a different job from one dealt with after the thread has gone. If the kitchen is still being specified, choosing hinges and runners that will take this climate is the decision that makes most of this maintenance unnecessary.
Reading a swollen front early
Cabinet fronts announce water damage at their edges. A bottom rail that looks slightly fatter than its neighbours, edge banding starting to lift at a corner, a door that suddenly rubs its frame at the base, a matt bloom low on a glossy front: all of these say moisture is getting in, and all of them are cheap problems at this stage. The first response is always the same — find and stop the water, dry the area, and only then judge what the wood does next. A front that stays swollen once its zone is dry has taken water into the board itself, and at that point cleaning has stopped being the question; our care guide picks the story up from there, if a carcass or hinge needs a carpenter's hands.
The short list of nevers
Kitchens attract cleaning enthusiasm, and cabinets pay for it. No scouring pads or cream abrasives on wooden fronts, ever; the scratches are permanent and the sheen never comes back evenly. No steam cleaners near joinery — pressurised steam drives moisture into exactly the edges you have been protecting. No soaking, no dripping cloths left over door tops, no oven cleaner within a spray's drift of a finished front. And no mystery products on a finish you cannot name. A damp cloth, mild soap, and a dry cloth after: nothing sold in a brighter bottle does the job better, and most of it does the job worse.
Related guides
- Custom furniture & carpentry
How to care for custom wood furniture: a practical maintenance guide
A practical care routine for wood furniture: cleaning that doesn't strip the finish, hardware checks, early warning signs, and when to call a carpenter.Read the guide - Custom furniture & carpentry
How to protect wooden furniture in a tropical climate
How to protect wooden furniture from tropical humidity: placement, airflow, finishes that seal, aircon habits, and the fixes for swelling and sticking.Read the guide - Kitchen assembly & installation
Planning a kitchen installation on Koh Samui, step by step
Planning a kitchen installation on Koh Samui: sequencing units, worktops and appliances, levelling on site-built walls, and choosing boards for coastal humidity.Read the guide

Tell us what you need built or installed.
Send a few photos and measurements — we'll get back to you with next steps.