
Wood wall panelling in tropical villas: planning a slatted feature wall that lasts
Published by Chaingkiat & Furniture — Nearly 30 years of hands-on carpentry, with our own workshop and crew on Koh Samui. · · 11 min read
A timber wall changes a room faster than anything you could stand in front of it, which is why it is the most photographed move in tropical interiors and one of the most casually bought. Boards get chosen from a picture, fixed to whatever the wall turns out to be made of, and the sockets, corners and air behind them are left to solve themselves on installation day. The picture survives about one wet season of that.
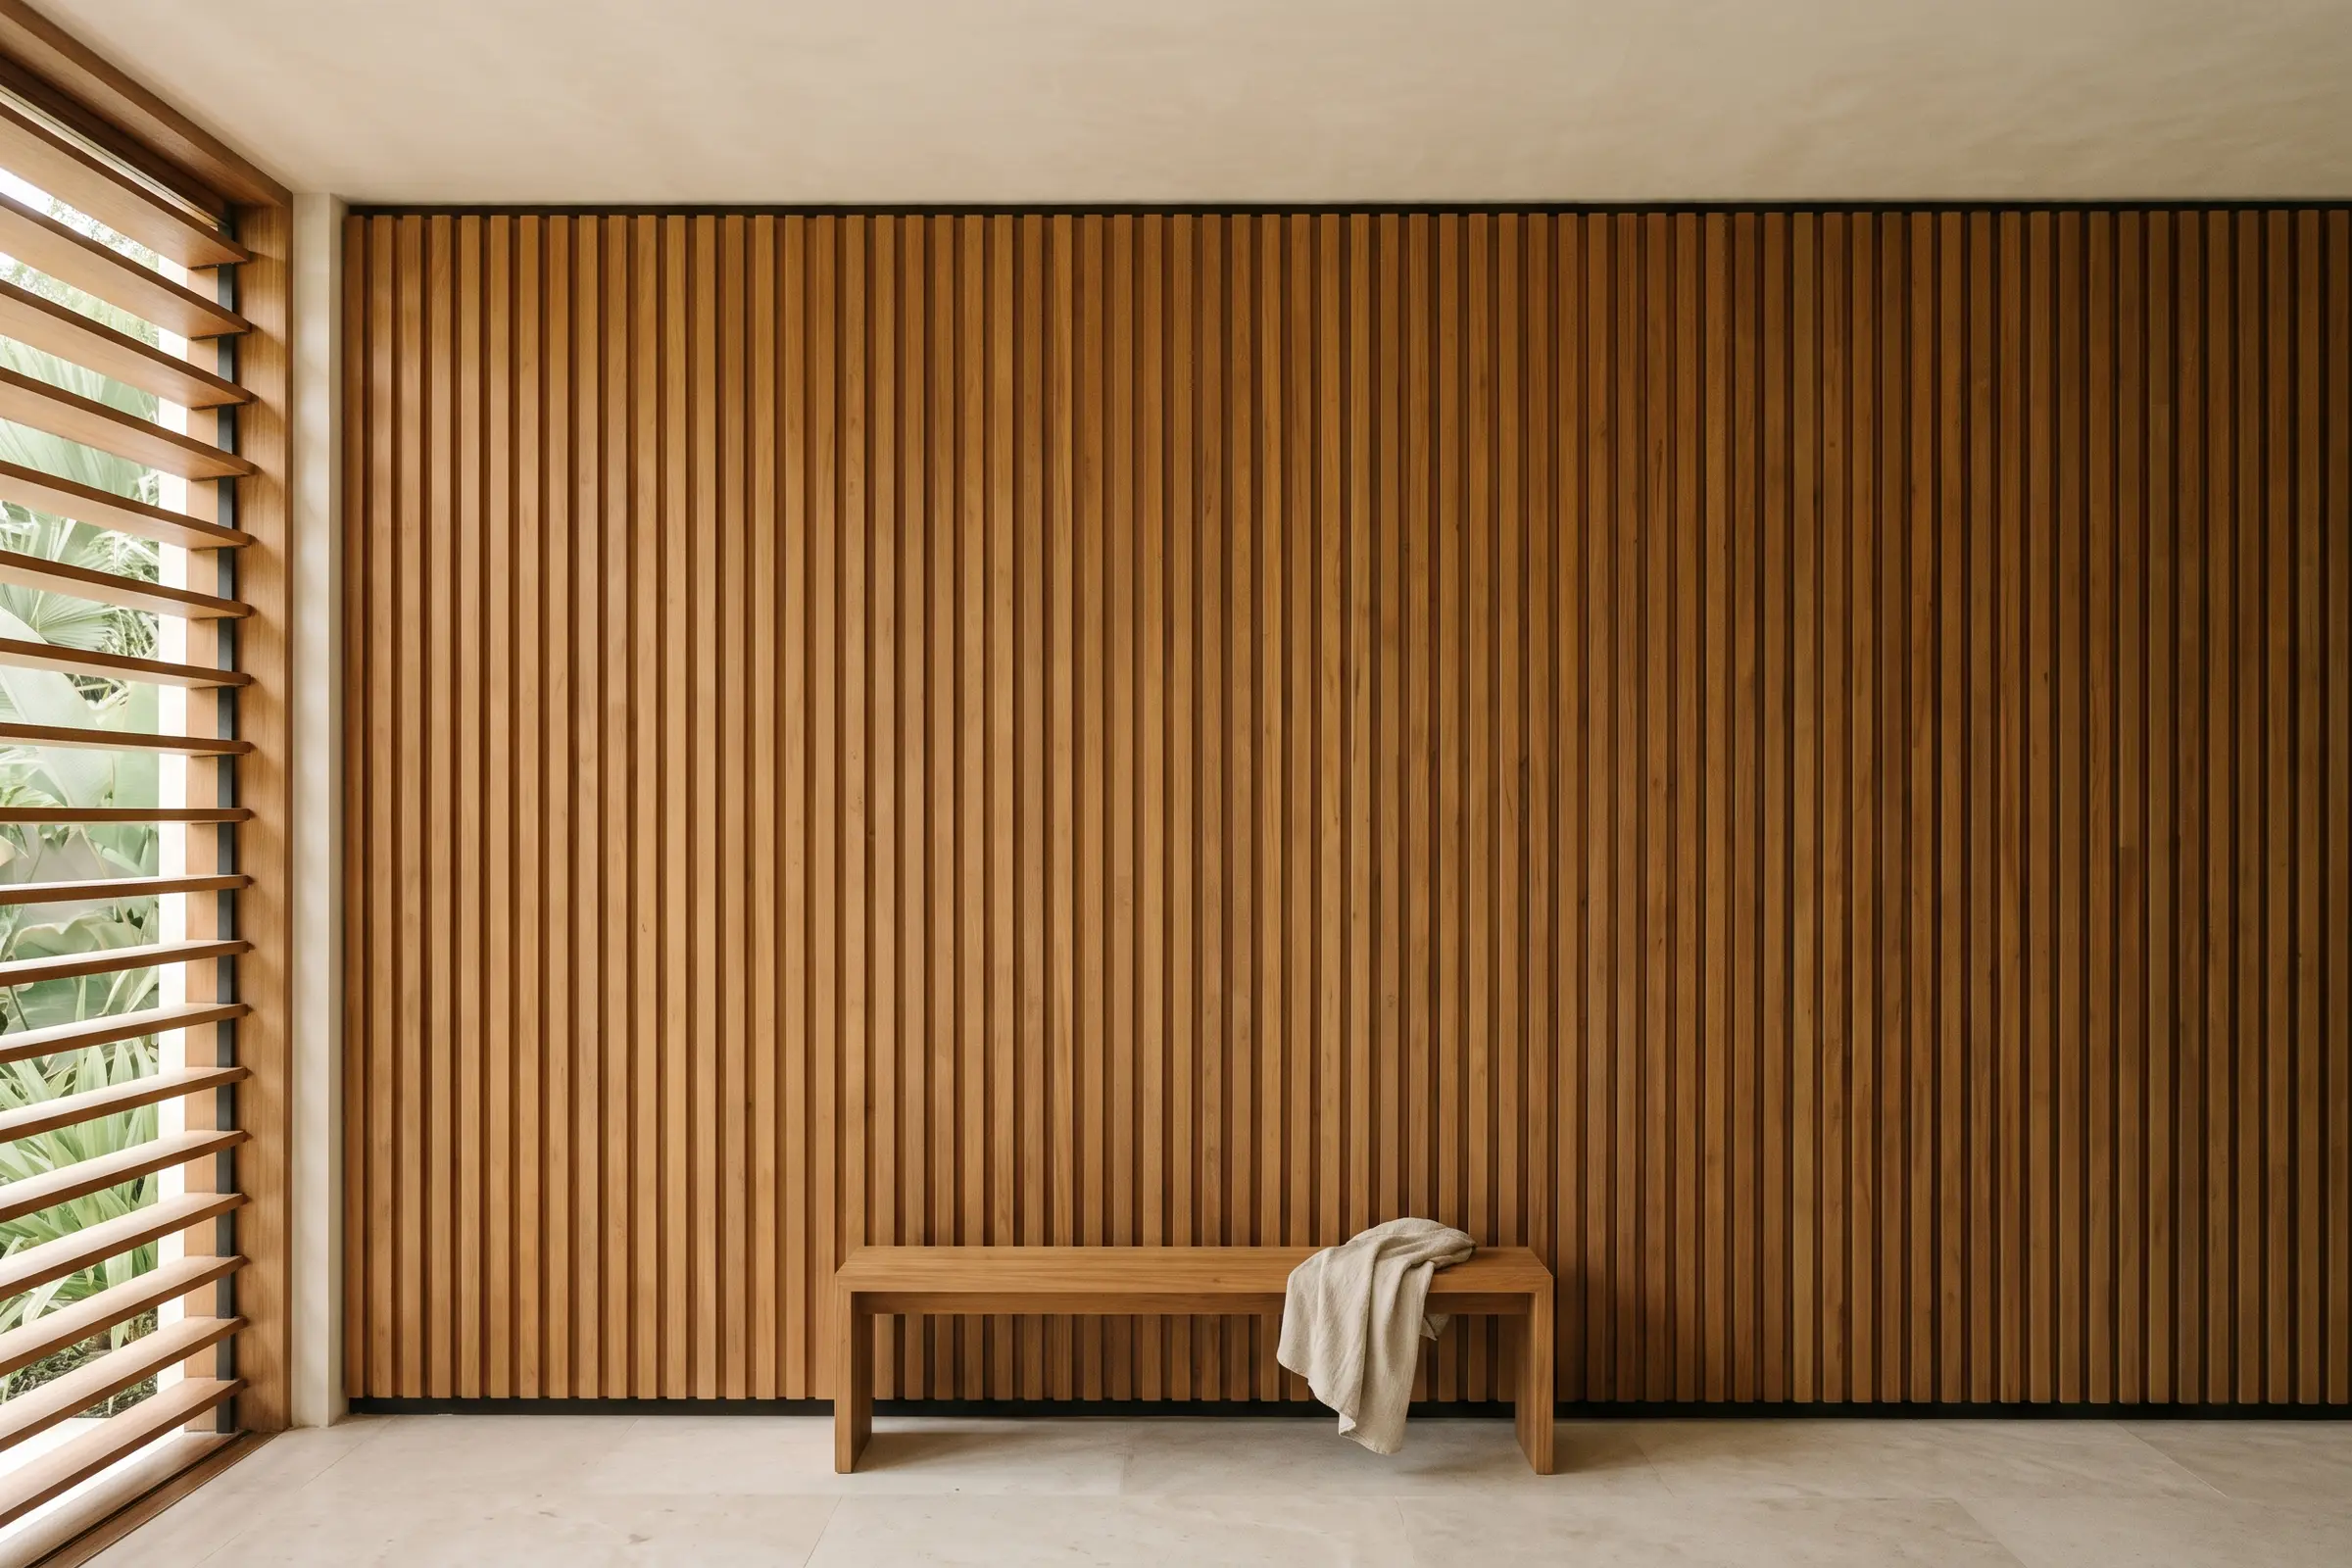
This guide is the planning that belongs before the picture, in the order the decisions actually arrive on a real job. It is how we prepare the wall panelling and slatted ceilings our carpenters build, and every step exists because skipping it has a specific, visible cost. None of it assumes one method fits every wall, because no method does.
One wall, or the whole room
A feature wall is the high-return version of this work. One plane of timber against render and glass carries the whole room, the budget concentrates where the eye already goes, and the junction count stays small: two corners, one floor line, one ceiling line. Which wall earns it is decided by what the wall has to do rather than by symmetry. The wall behind the bed, the one the sofa faces, the plane that marks the dining end of an open plan. A wall that takes low afternoon sun through glass is usually the worst candidate, because raking light is the harshest inspector a timber surface will ever have.
Panelling a whole room is not four feature walls. It changes the acoustics and the light of the space, it multiplies every junction by the number of doors, windows and switches in the room, and it has to be drawn as a set of elevations, one per wall, so the pattern lands on each opening deliberately. The expensive mistake is the third wall added because the carpenters are already there: each extra wall adds junctions faster than it adds timber, and junctions are where the money and the risk live.
Slats, flush boards or framed panels
The same timber can become three very different walls. Slats, flush boards and framed panels ask for different wall preparation, different joinery hours and different tolerance from the substrate, so the form is chosen before anyone talks species or finish.
Vertical slats
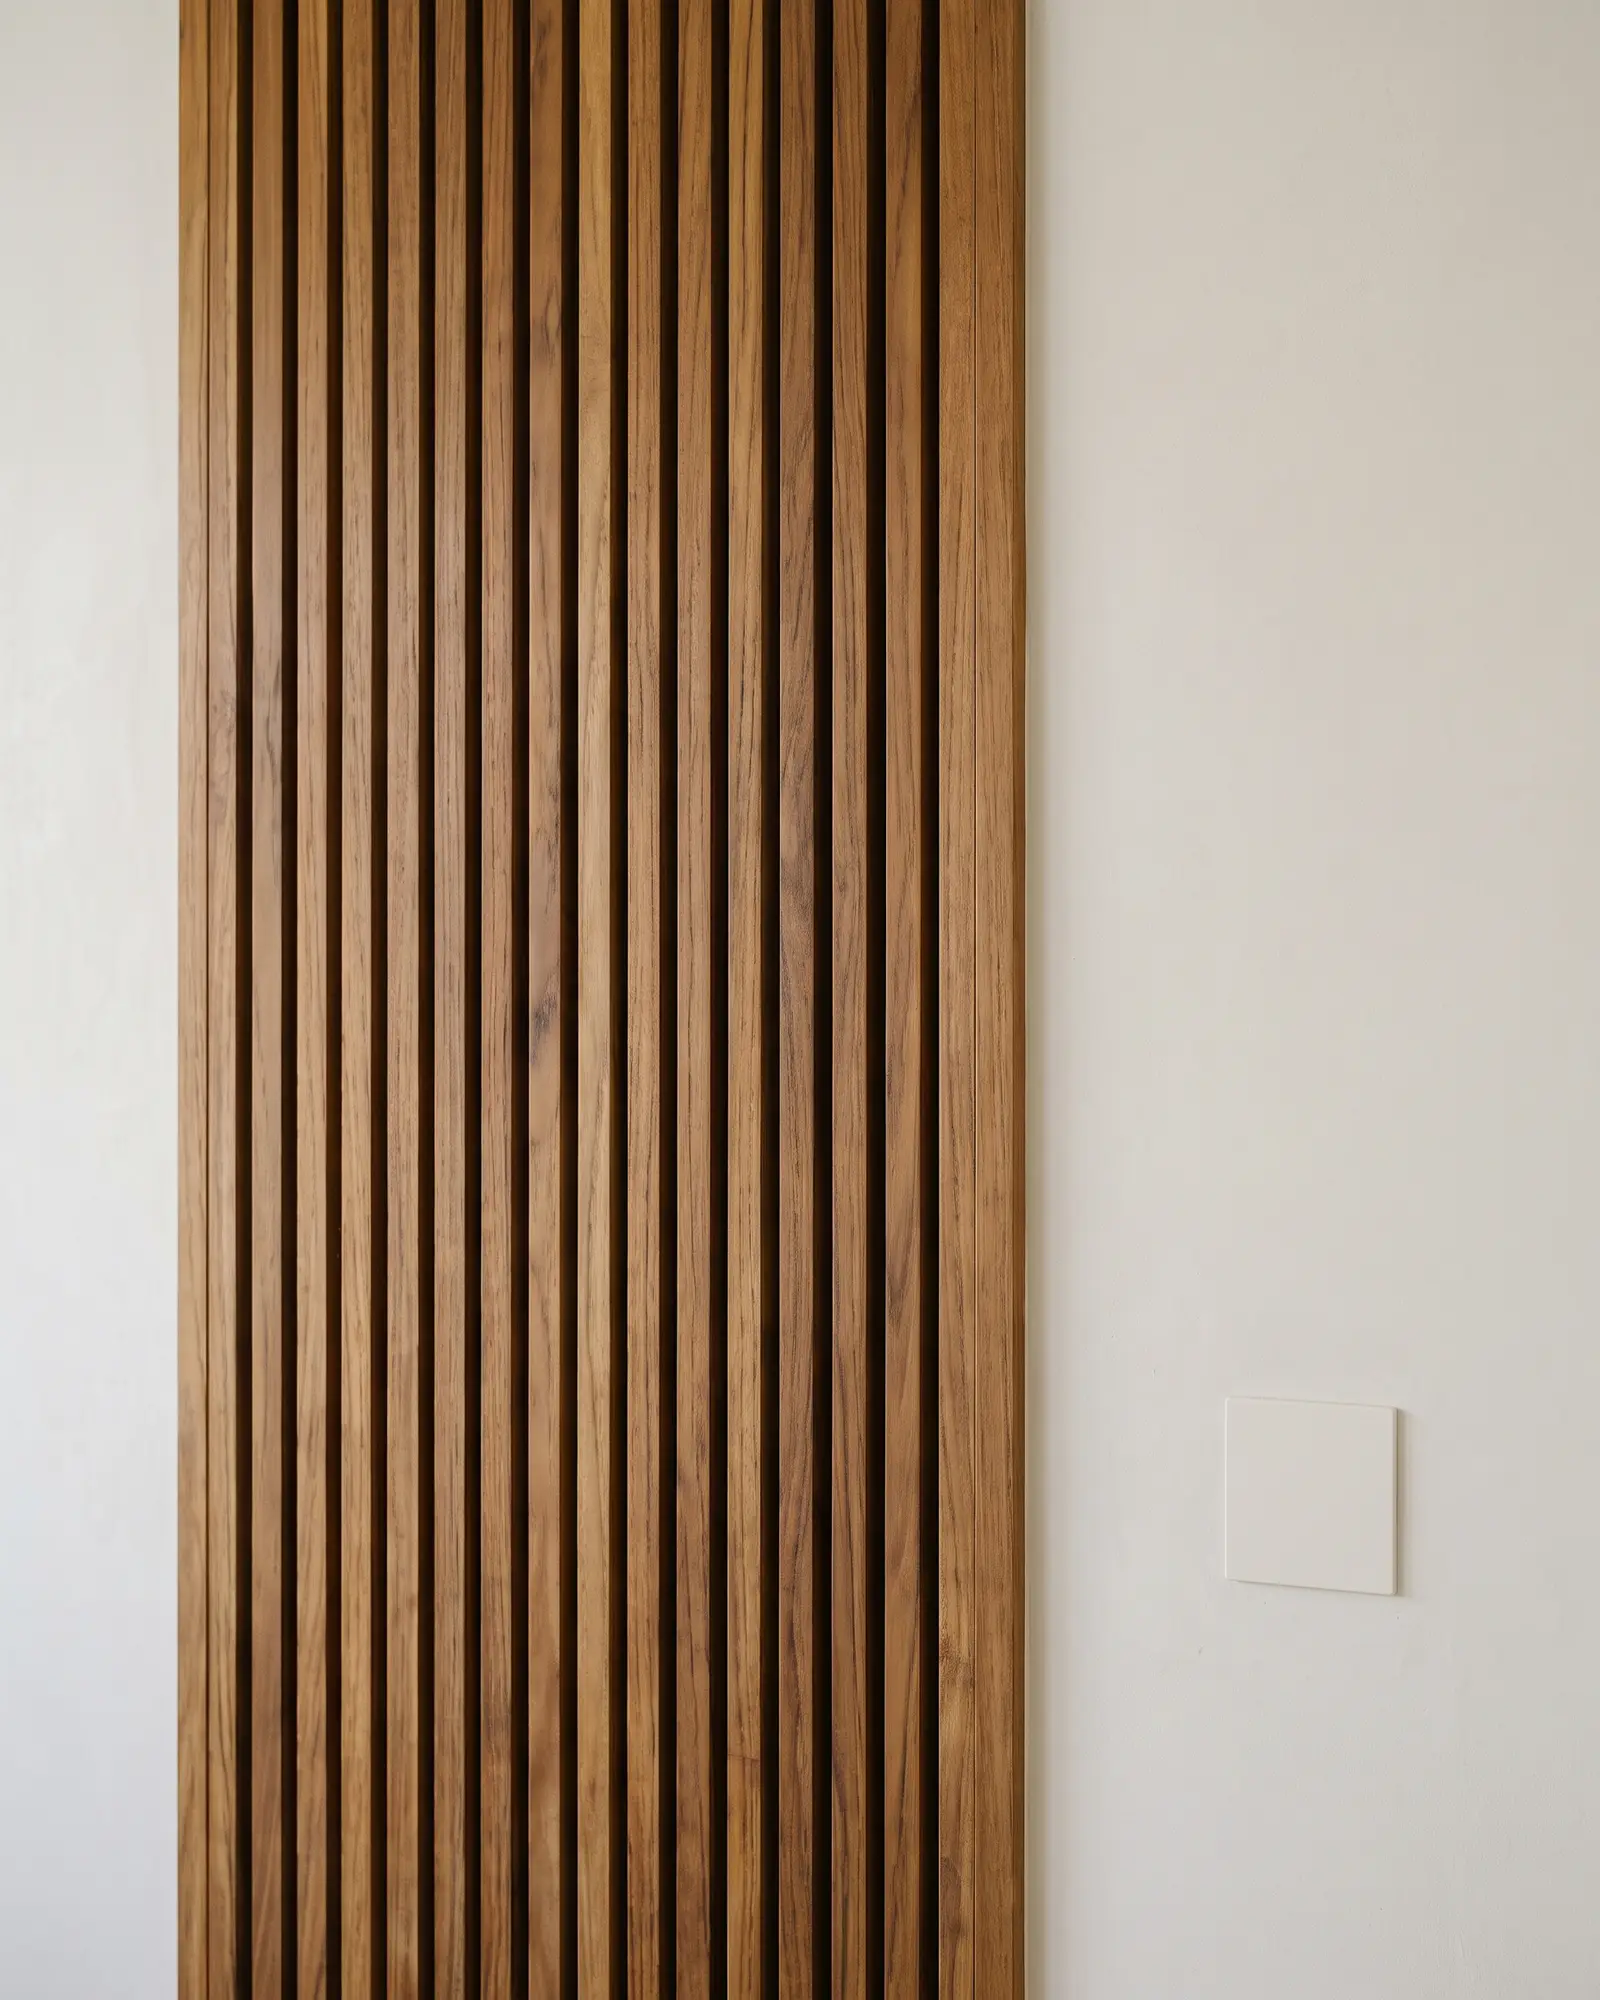
A slat wall is a rhythm: the slat section and the gap between slats set the character, from fine and tight to deep and architectural. Two consequences follow. The backing shows between every pair of slats, so its colour and material are a decision rather than a leftover; a shadow-dark panel reads calm, raw render reads unfinished. And because the slats hang on a battened frame that can be trued with packing, slats are the most forgiving form on a wavy wall. The budget goes into metres: every slat is machined, sanded and finished on all faces, and a three-metre wall can carry several hundred metres of finished edge.
Flush boards
A flush wall is one continuous timber plane, boards or veneered panels set edge to edge with the joints as the only drawing. It is the least forgiving form: the eye reads the surface as one object, so every bump in the substrate telegraphs, and raking light finds what the straightedge missed. The joints have to be designed, an open shadow gap, a V-groove, or sheet seams that land on battens, because a joint that merely happens is the first thing a visitor's eye lands on. Flush work wants the flattest wall in the house, or the patience to build one in front of it.
Framed panels
Framed panelling is rails and stiles around floating panels, the same construction logic as a panel door turned into a wall. The frame absorbs the wall's error and the panels absorb the climate, because each one can move in its grooves without opening a joint. It is the right answer where the interior leans classic rather than tropical-modern, and it carries the most joinery hours of the three forms: every intersection is a joint somebody cuts, fits and finishes.
Solid timber or a veneered panel
Solid boards and veneered panels both make honest walls; they fail in different ways. Solid timber moves with the seasons for as long as it exists, so a solid wall is designed around movement: gaps that can breathe, fixings that let boards swell without buckling. Veneered engineered board holds a large flat face still, which is exactly what a flush wall wants, but every cut edge is open core, and an edge that is not sealed is a straw for damp air. Which species and which board grade belong on which part of the wall is a comparison of its own, and which species and board types stay flat in humid air makes it properly; this page only needs the rule of thumb.
The rule of thumb: slats favour solid sections, flush fields favour veneered panels, and framed panelling mixes both, a solid frame with veneered or solid panels by budget and look. None of the three is better in the abstract. Each is better on a particular wall.
The wall underneath
Panelling is only as good as the wall it is fixed to, and nobody budgets for the wall because nobody has looked at it. In villas here the usual substrate is render over blockwork, which takes anchors well but is rarely flat and is sometimes hollow: knock along the wall and listen, because render that has separated from the block will hold a screw exactly until the wall is asked to carry weight. Stud-and-plasterboard partitions carry panelling too, but the battens must land on the studs, and a slat wall is far heavier than its photograph suggests.
Old paint matters less than people fear and damp matters more. Paint under a mechanically fixed batten is not a bonding problem, though a wall that flakes and powders is still worth asking why. A damp patch is a full stop. Timber fixed over an unexplained stain hides the leak until the boards announce it by cupping, and by then the repair includes the panelling. The source gets found and fixed first, a roofer's or plumber's job rather than ours, and the wall gets trued after: packing and counter-battens turn a bowed wall into a flat plane for whichever form is going onto it.
Wooden ceilings & architectural woodwork
Timber ceilings and architectural woodwork that bring warmth and detail to interiors.
Explore serviceAir, movement and the space behind the boards
Timber keeps exchanging moisture with the air for as long as it is timber, so the wall is built to let it. Boards arrive early and acclimatise stacked in the room they will live in; the perimeter keeps movement gaps, hidden inside shadow lines rather than caulked shut; and every board is sealed on all faces before it goes up, backs included, because the back of a fixed board is unreachable for the life of the wall.
The battens create a cavity, and the cavity has a climate of its own. Against an internal wall it is benign. Against a wall that is cooled hard on one side and tropical on the other, or a wall shared with a bathroom, still trapped air condenses where nobody sees it, so the cavity is left a way to breathe, usually an open shadow gap at top and bottom, instead of being sealed dead. One more reason not to seal it: a removable section keeps the cavity inspectable, which in this climate is also how insect trouble gets caught while it is still small. On Koh Samui the first wet season audits all of this whether anyone planned for it or not.
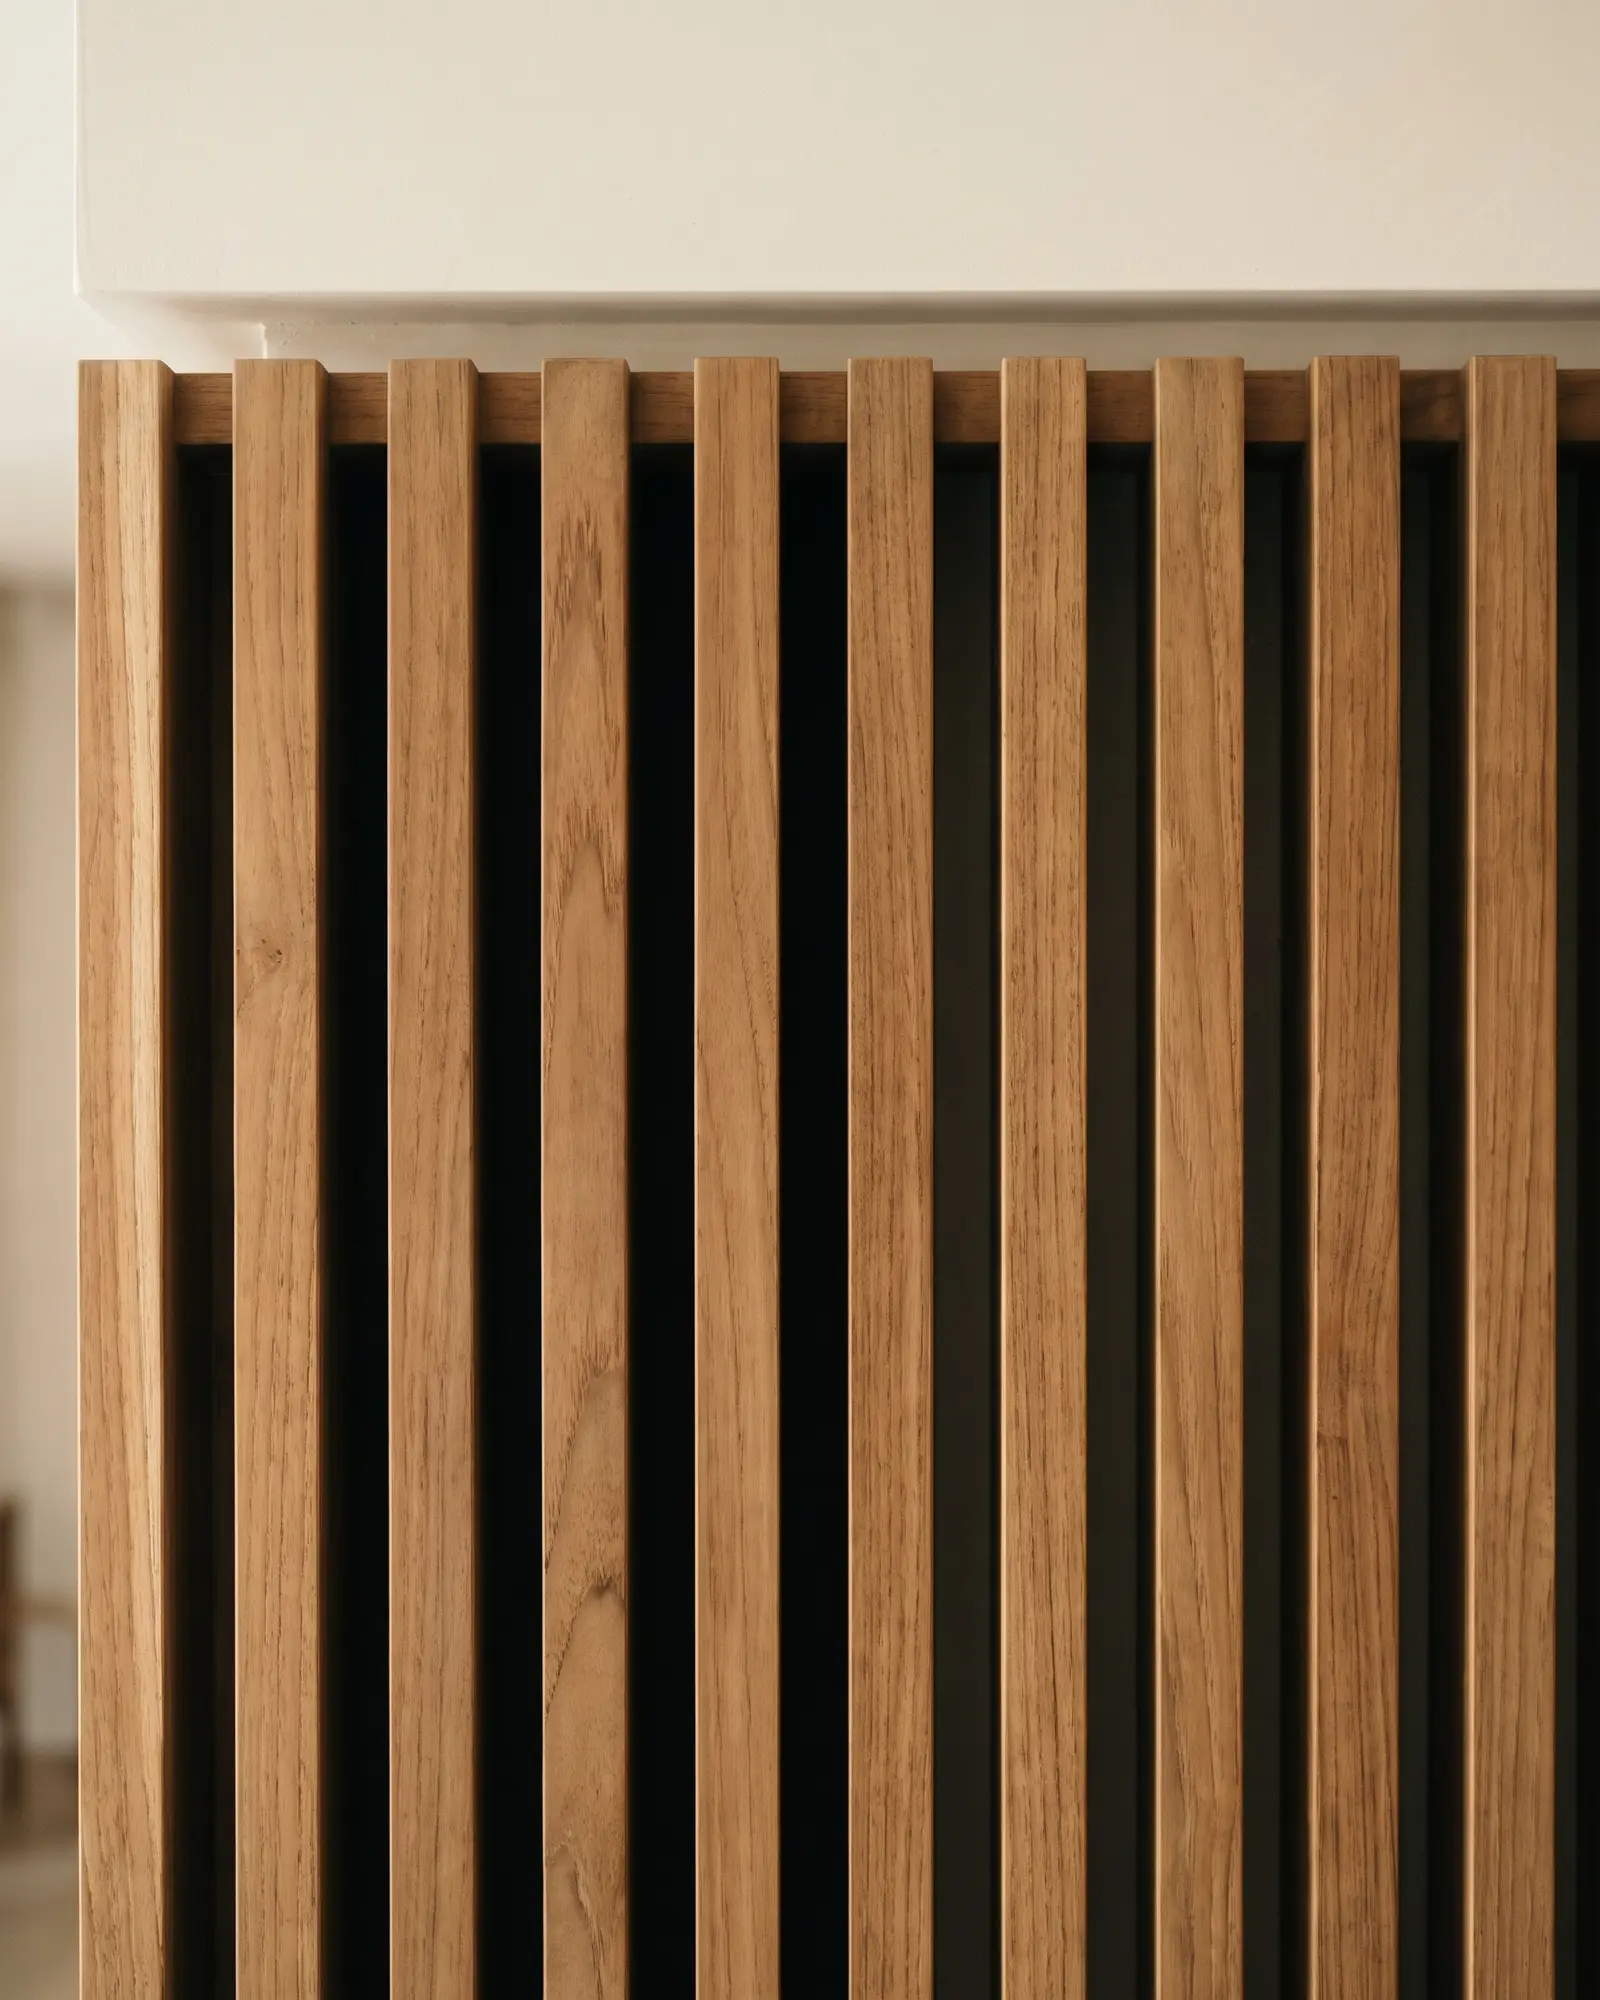
Everything in the wall comes through the layout
A panelled wall does not hide its services; it relocates them onto a new plane, and every one of them has to be resolved on the setting-out drawing before fabrication. Sockets and switches get extended through proper boxes to the finished face, your electrician's work, sequenced before the boards close the wall. A socket discovered mid-slat on installation day offers two bad options, cutting the pattern around it or moving a circuit, and both are drawing mistakes being paid for in the room.
The rest follows the same logic. A TV on the wall means conduit sized for the plugs as well as the cables, and solid blocking in the frame where the bracket lands. Wall lights fix into backing behind the boards, never into the boards alone. Concealed LED is the classic trap: the strip is easy, but the driver has to live somewhere a hand can reach, so its access is drawn before anyone falls in love with the light. Air-conditioning controls and sensors read the room; behind timber they read the cavity, so they move onto the panelling or off the wall entirely, on the drawing. And anything serviceable that stays behind the boards, a valve or a junction box, gets an access panel designed into the pattern rather than cut into it later as an apology.
Corners, reveals and the junctions above and below
A panelled wall is judged at its edges, and each edge is a decision. An external corner is mitred, wrapped or closed with a corner profile, and slats in particular are set out from the corner, because a corner that lands mid-gap tells everyone where the drawing stopped. At doors and windows the panelling either stops against the architrave or runs into the reveal, and the two options need different architraves, so the choice is made before the boards are cut, with the door and window trim in the same conversation.
The top and bottom lines carry the room's geometry. A wall that stops short of the ceiling needs its shadow gap dead level even when the ceiling is not, which means it is set from a datum line and never measured down from the ceiling itself. At the floor, the skirting question has no neutral answer: either the skirting comes off and the panelling takes over the base of the wall with its own detail, or the boards stop above the existing skirting and permanently look like they arrived later. Whichever way it goes, the skirting line continues around the room, so the neighbouring walls are part of the decision too.
Matching the doors, the cabinetry and the ceiling
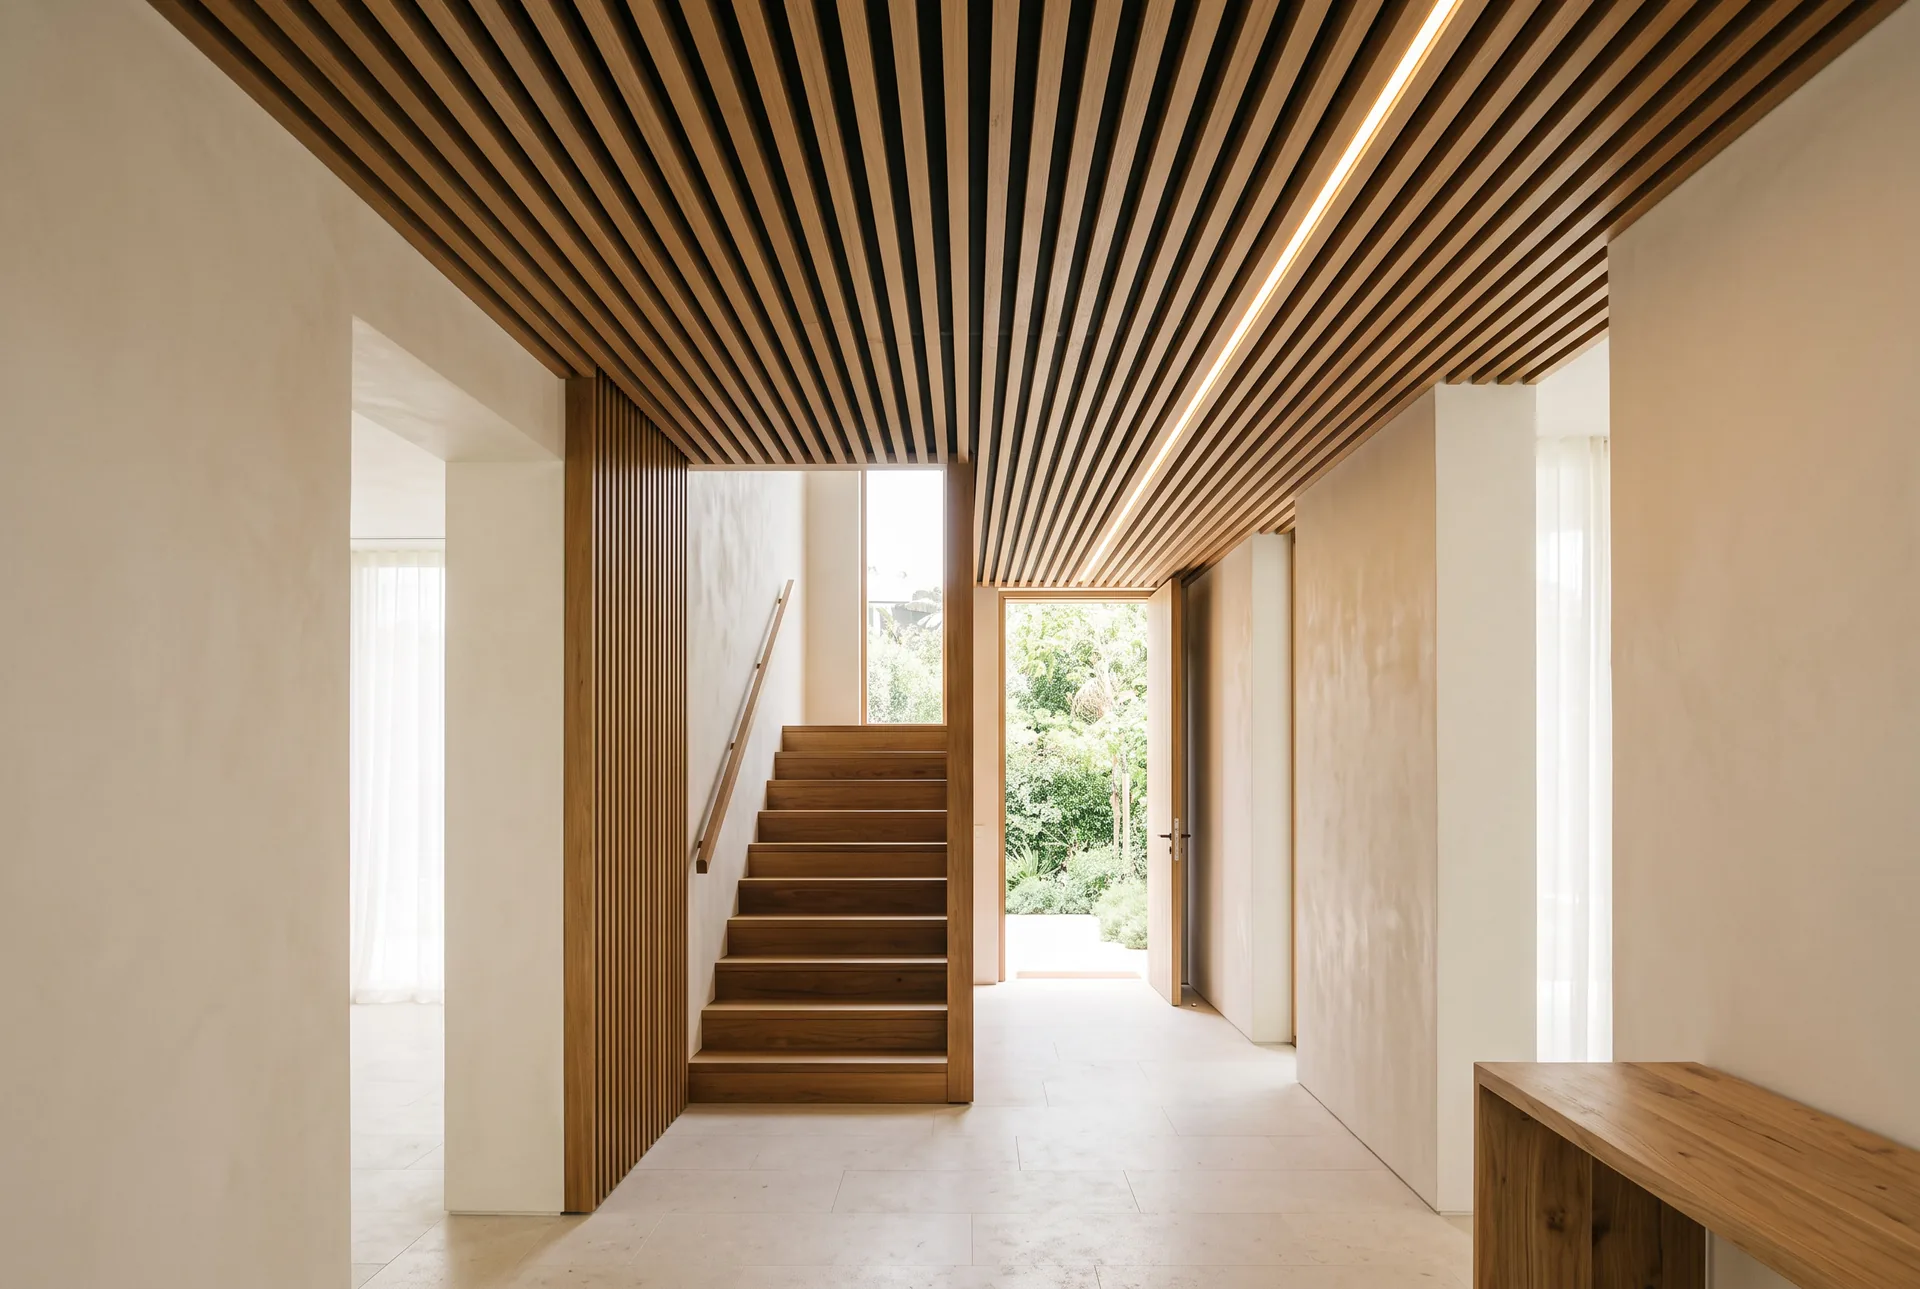
A timber wall rarely arrives in an empty room. There are doors in it or beside it, wardrobe fronts a few metres away, sometimes timber overhead, and the room reads as one composition whether anyone planned it or not. Tone and grain direction get decided across all of them together: matching, or deliberately contrasting, but never accidentally close. The restraint rule from ceiling work applies on walls too, one strong timber gesture per room, supported by quieter ones.
The strongest version of this wall keeps going, up a headboard wall and over, or folding down from a ceiling to become the panelling. The overhead half of that move is its own set of decisions, and what the same timber is asked to do overhead covers them. On interiors with an architect or designer attached, the drawings for all of this already exist in some form, and our place in that arrangement is the joinery trade inside a programme the designer runs: we build to the setting-out, and flag what it has not decided yet.
The finish, decided before the wall goes up
An interior wall leads the easiest life timber can have: no hands, no water, no sun if the glazing is kind. The finish is therefore chosen for sheen and colour rather than armour, matte or close to it, because a wall is lit along its surface and anything glossier turns raking light into glare. The real decisions are tone, and whether the system can be repaired board by board; the comparison between oils and films is a page of its own, and how oils and films behave on interior woodwork makes it. Our part is that boards get finished flat in the workshop before installation, every face coated, so site day is fixing and aligning rather than painting in your living room.
Day to day, a panelled wall asks for a dusting along the boards and almost nothing else, and the care routine for ceilings, panelling and trim owns that whole subject.
Measure first, then the checklist
Fabrication starts from numbers rather than from the drawing's intent. The wall gets measured at several heights, checked for plumb and flatness with a straightedge, its diagonals compared, and the real positions of every socket, opening and fixed object recorded; the method is how a room is measured before anything is fabricated, and whoever will build the wall should be the one holding the tape. Where the work lands in the wider job matters just as much: panelling follows the wet trades and first-fix electrics, and where a panelled wall sits in the whole-interior sequence places it among the other trades.
Before fabrication is ordered, this is the list we would want answered, and any workshop worth hiring will ask most of it unprompted:
• The wall is chosen and its job is named: what stands against it, what hangs on it, what it has to zone.
• The form is on paper: slats, flush boards or framed panels, with the slat section and gap, or the joint detail, drawn at full size.
• The substrate is verified: render knocked for hollows, studs found on partition walls, and any damp explained and fixed, not covered.
• Every socket, switch, light, sensor and conduit is frozen on the setting-out drawing, and the electrician has seen it.
• All four edges are drawn: both corners, the ceiling junction, the skirting line, every door and window reveal.
• Access exists for everything that stays serviceable behind the boards, LED drivers included.
• The timber is on site early enough to acclimatise, and finished on all faces before fixing day.
Bring that list to the first conversation and the conversation starts at the wall instead of at the catalogue, which is where a wall that still looks right in year ten always begins.
Related guides
- Wooden ceilings & architectural woodwork
Why tropical villas use wooden ceilings
Why tropical villas use wooden ceilings: heat and acoustics, timber and batten options, and what installing one over a finished interior involves.Read the guide - Wooden ceilings & architectural woodwork
Planning interior woodwork: from measurements to installation
The sequence behind villa interior woodwork: survey and measurements, deciding the built-in elements, lighting, trade coordination, production, installation.Read the guide - Custom furniture & carpentry
What wood survives a humid coastal climate?
How teak, other hardwoods and modern boards cope with humidity and salt air: what swells, what lasts, and how makers choose materials for coastal homes.Read the guide
Related services
Tell us what you need built or installed.
Send a few photos and measurements — we'll get back to you with next steps.