
How to plan a built-in TV and media wall for a villa
Published by Chaingkiat & Furniture — Nearly 30 years of hands-on carpentry, with our own workshop and crew on Koh Samui. · · 11 min read
Most televisions in villas hang on a bracket, with a cabinet pushed underneath and a power strip doing quiet work behind it. A media wall is the opposite idea: the screen, the storage, the equipment, the cables and the lighting planned as one piece of joinery that happens to hold a television. Built that way, the largest black rectangle in the house stops being an appliance on a wall and becomes part of the room's architecture.
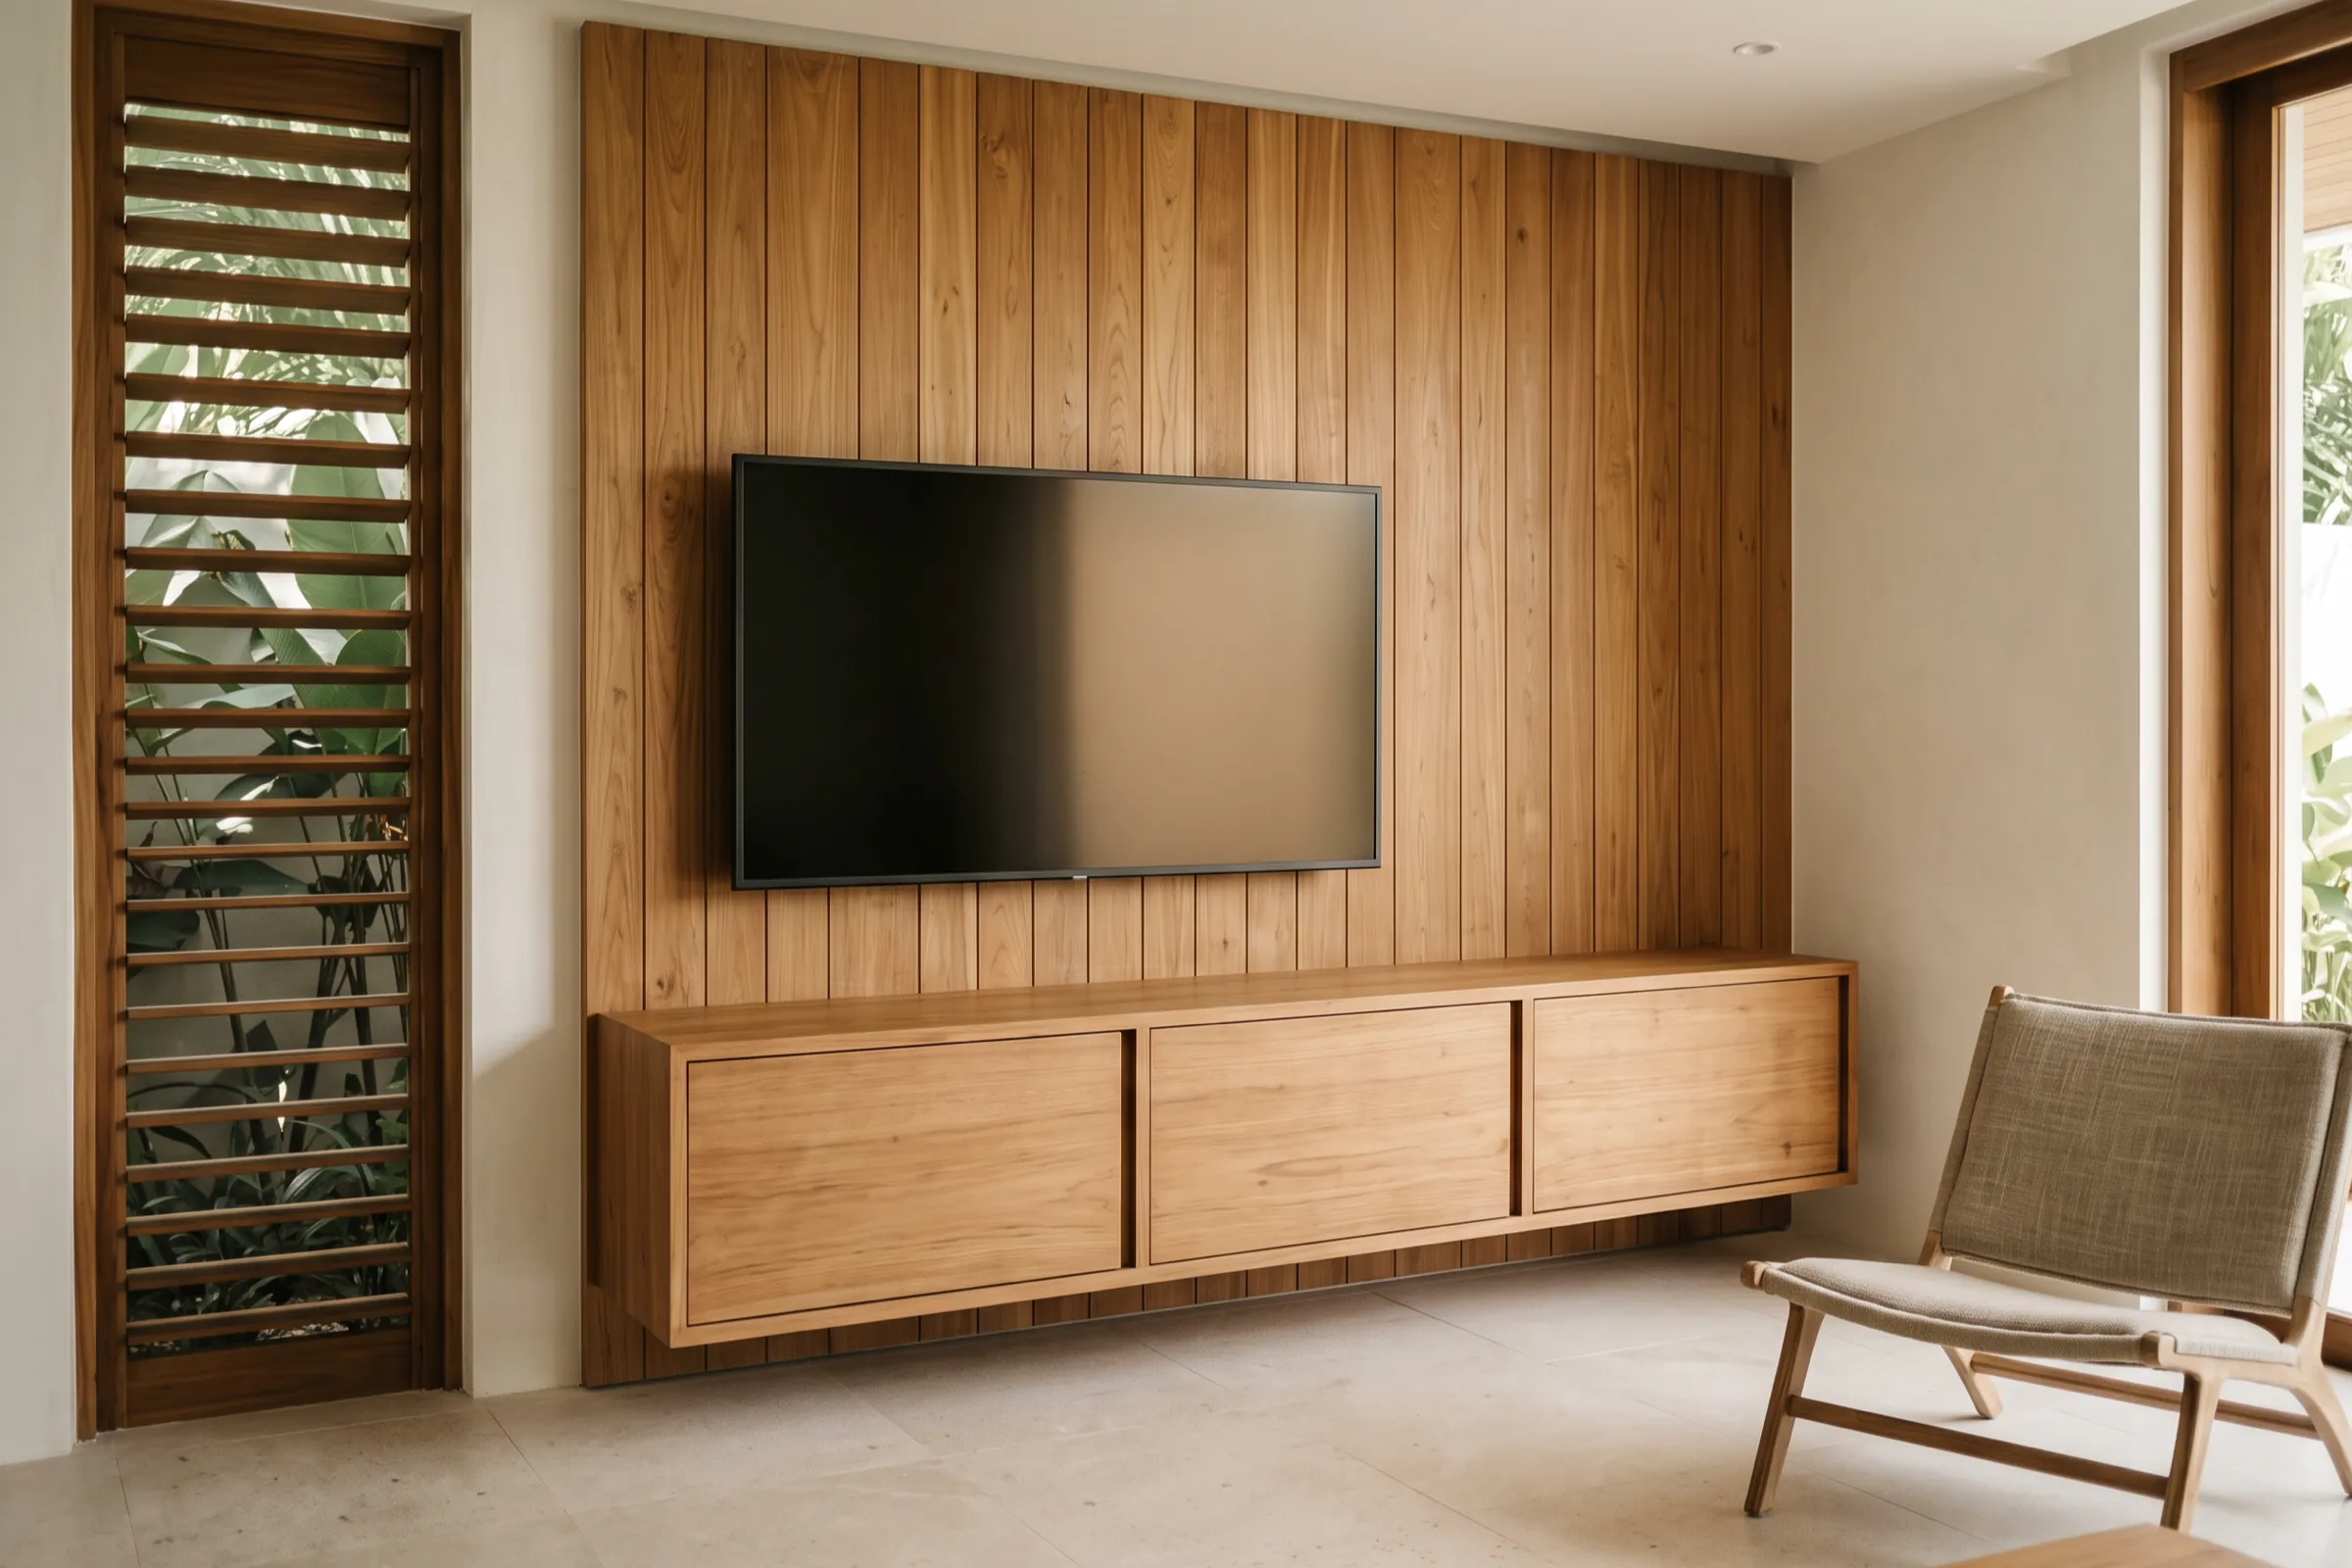
The planning is the whole difference, because nearly everything that makes a media wall disappointing — the dangling cable, the amplifier cooking behind a closed door, the socket nobody can reach — was settled before anything was cut. This guide walks the decisions in the order they arrive. The building half is ours: the TV and media walls we build as fitted cabinetry come out of the same workshop as our wardrobes, and what follows is the conversation we have before any of them is drawn.
The screen and the wall it sits in
A television is sold by its diagonal; a wall is experienced by its width and height. The same screen reads modest across a five-metre living-room wall and overwhelming in a two-and-a-half-metre alcove, so the first decision is proportion, and it is made with the wall's dimensions in hand rather than in a showroom. The joinery is what controls that proportion: timber left and right of the screen, a shelf line below it, cabinets that carry the eye past the dark rectangle. A screen that fills its niche edge to edge has no frame, and it shows.
Plan for the screen after this one, too. Cabinetry outlives televisions several times over, and the household that buys a 55-inch screen this year is rarely buying a smaller one next time. A niche drawn one size generous, with its fixings and cable exits placed for the bigger screen, costs almost nothing now; a niche cut exact to today's model turns the next upgrade into carpentry.
Viewing height is a design input, not a standard
Ask the internet what height to hang a television and you get a number. Ask a workshop and you get questions: how high is the seat, how far is it from the wall, how big is the screen, and does anyone actually sit upright on that sofa? Eye level on a low lounge sofa, a dining bench and a daybed are three different lines, and distance changes what the neck forgives — a screen that sits comfortably high across a long room is a strain from two metres. There is no universal mounting height, and a media wall drawn around one is drawn around somebody else's sofa.
The honest method costs a roll of tape. Sit where you will actually watch, in the actual furniture, and have someone tape the screen's outline on the wall. Live with it for an evening, move it until it stops being noticeable, and measure. That number goes on the drawing first, because everything else on the wall — the shelf lines, the cabinet tops, the soundbar — is composed around where the screen ended up.
Floating cabinet or cabinet on the floor
The low cabinet under the screen comes in two species. A floating cabinet hangs clear of the floor: the room reads larger, the floor finish runs through, and a shadow line appears where a plinth would be. It also creates a duty — that gap will be cleaned, so it must be tall enough for whatever cleans it. In most villas that is a robot vacuum, whose dock also needs a socket and a flat, out-of-sight home: a planning line now, an extension lead later. And every kilogram in a floating cabinet goes into the wall, so the wall's construction decides how far the idea can be pushed.
A floor-standing cabinet carries its load on the floor instead, swallows deeper drawers and heavier equipment, and is the calmer choice when the wall is weak or the storage list is long. Its plinth is scribed to the real floor, which is exactly where a correction hides when the floor is not level. Neither version is the better one in general; the choice follows what the cabinet must hold, what the wall can carry, and what will be driving around underneath it.
Open shelves, closed doors, and what lives where
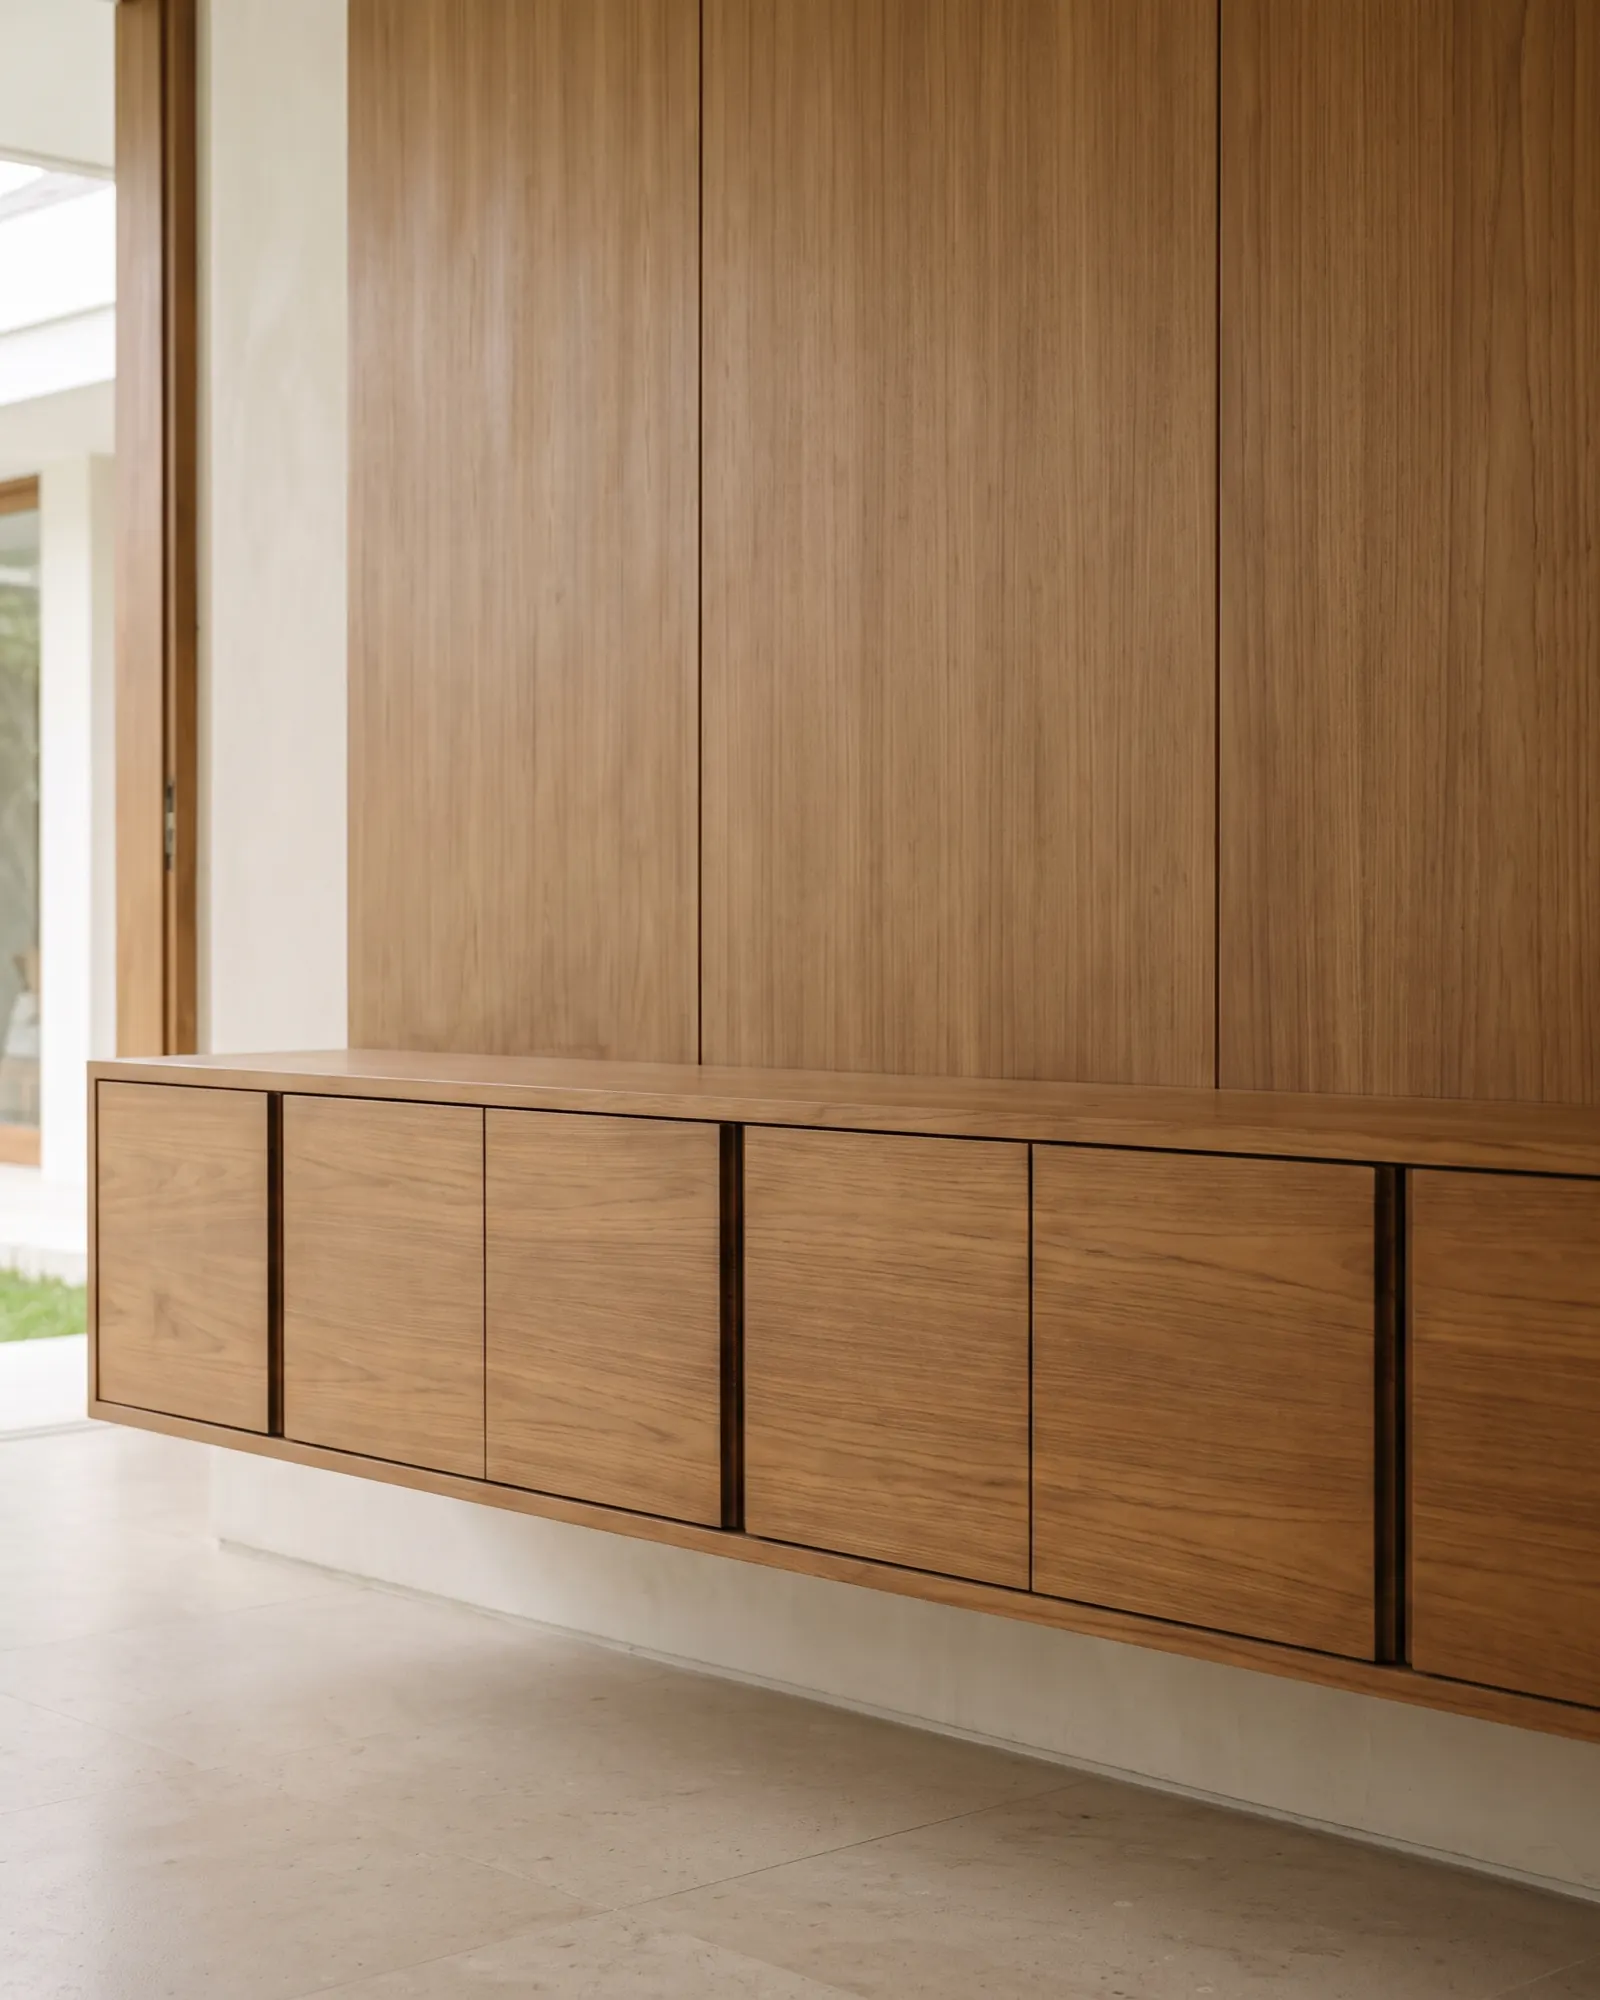
A media wall stores two kinds of things: objects worth looking at, and equipment that is not. Routers, consoles, controllers and their chargers are clutter however tidy the household; books and a few chosen pieces are display. How much of the wall to close is a judgement we make piece by piece, and the starting arithmetic is argued in the closed-to-open ratio for a living-room storage wall rather than repeated here — it holds for a TV wall as written, with one addition: the screen is already the biggest open element, so the shelving around it can afford to be calm.
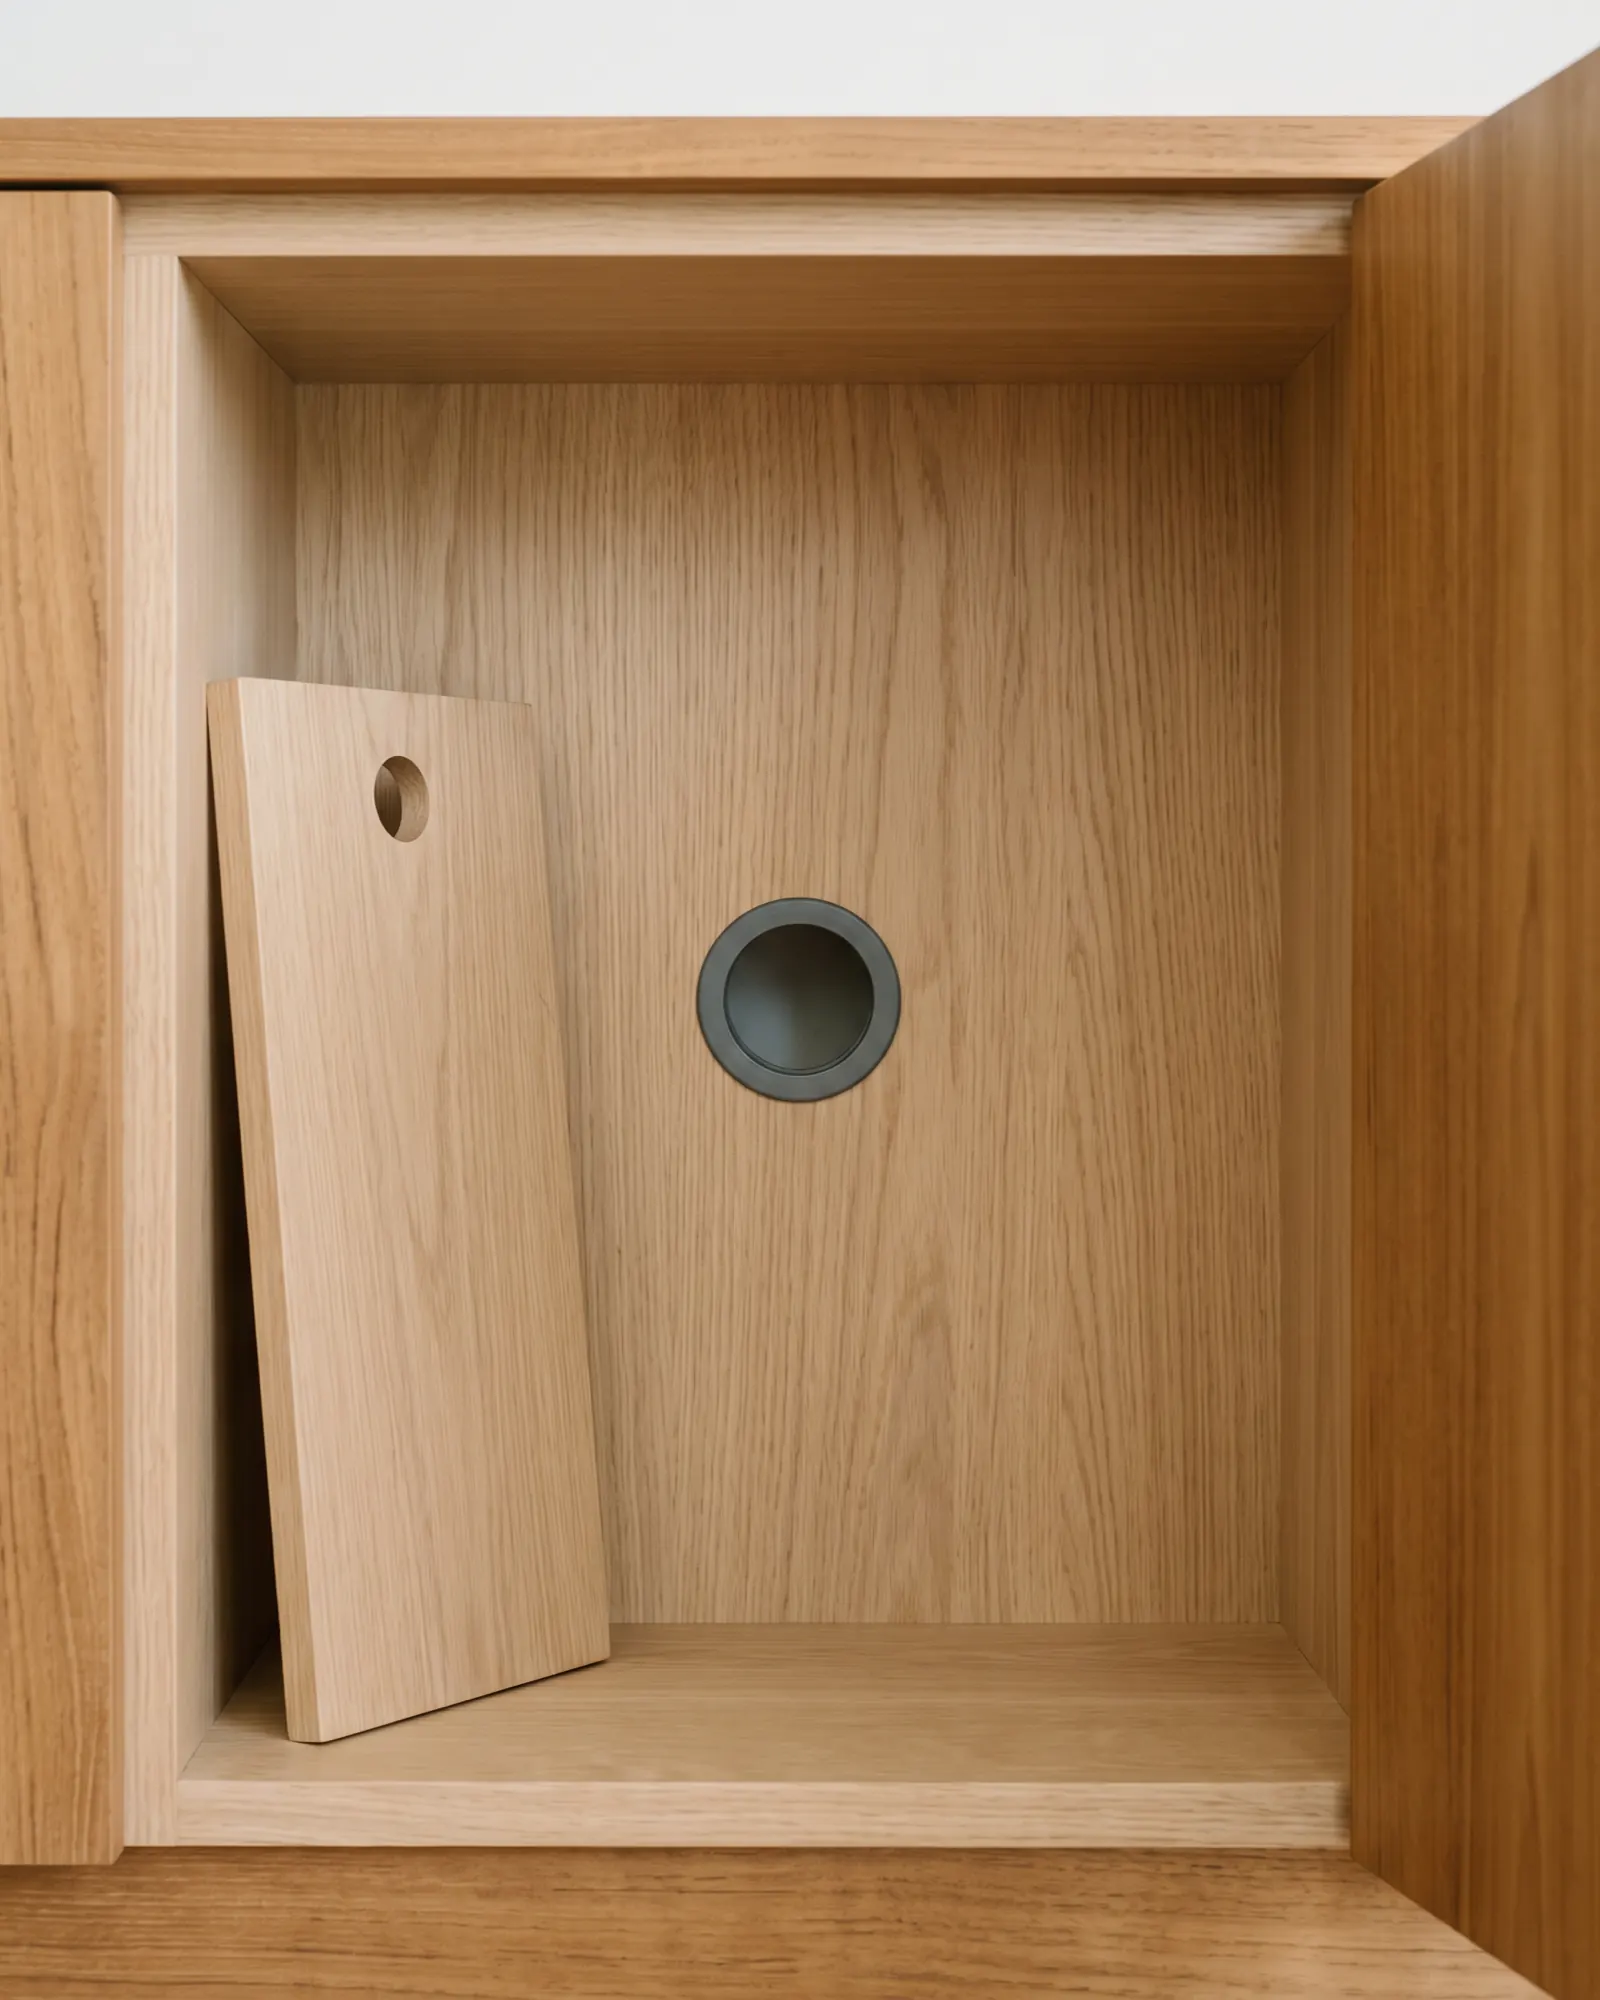
Every door and drawer in the plan is also a hardware decision. A push-to-open front keeps the wall handleless; a drawer for remotes and controllers near the seating earns its place within a week; and the hinges and runners those doors will live on are chosen by load and climate, not by the catalogue photo. None of that needs deciding tonight, but the fronts have to be drawn knowing which family of gear sits behind them.
Electronics make heat, and a closed box keeps it
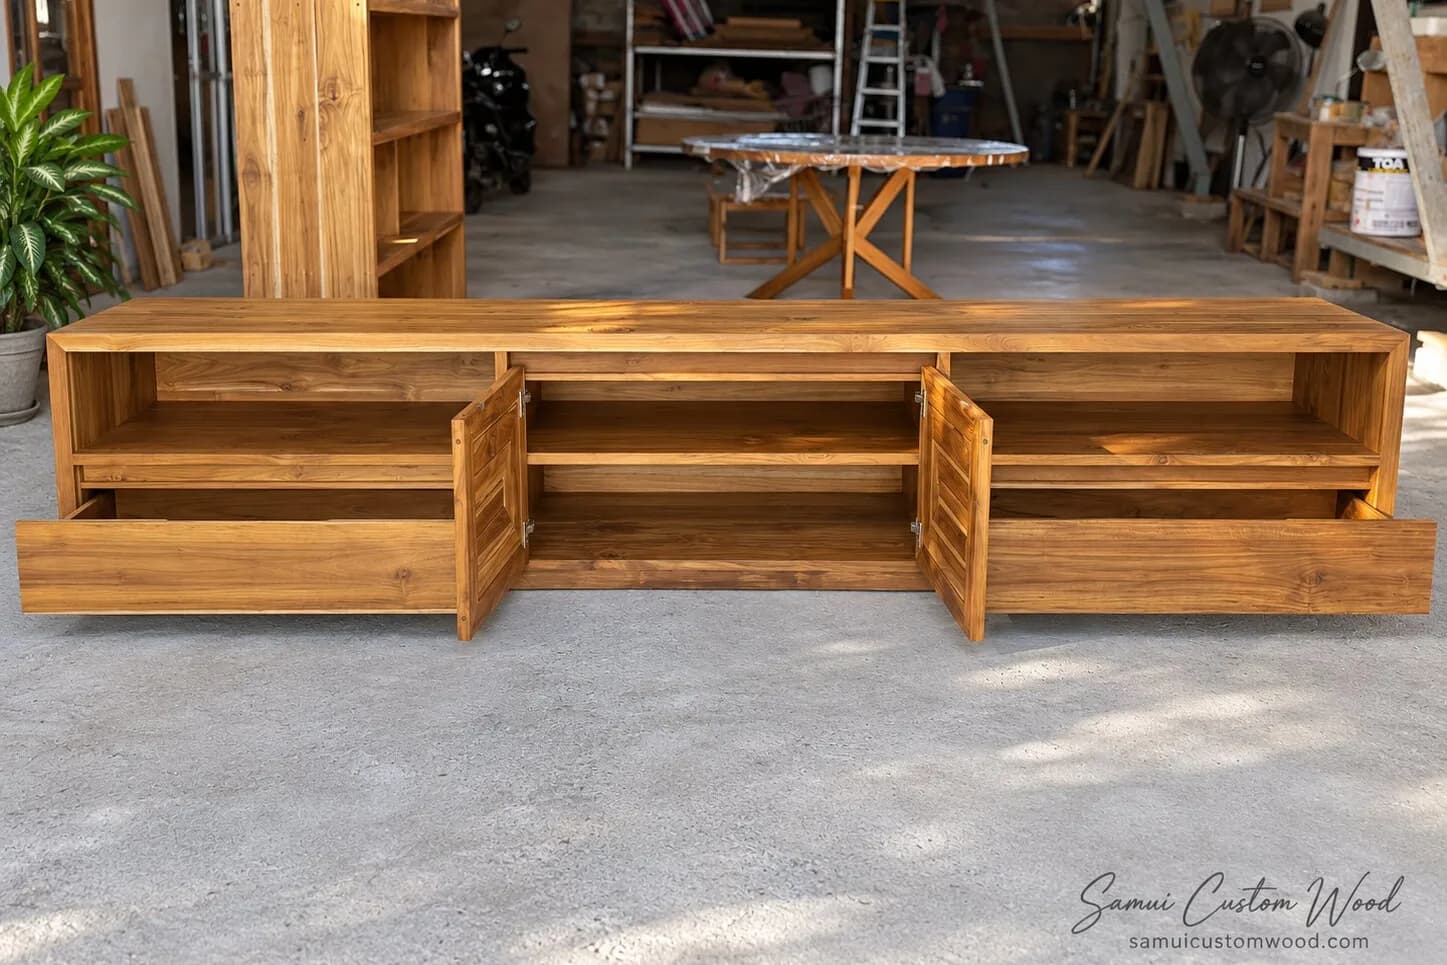
An amplifier, a console and a set-top box all run warm, and a sealed timber compartment is an oven with a nice door. Air has to move through the equipment bay, and movement needs a path, not a hole: an inlet low down and an outlet high up, so warm air leaves by itself. That means ventilation designed into the joinery — a shadow gap at the back of a shelf, a slotted panel, a grille in the plinth — placed on the drawing, because a hole drilled into a finished cabinet is always in the wrong place and always looks like an apology.
Heat is also why the device list matters before the fronts are chosen. A console that lives behind a solid closed door either gets designed ventilation or an early death, and a remote control that speaks infrared cannot see through timber at all — so the boxes it points at live in an open niche, behind a slatted or fabric panel, or they are the kind controlled over the network. Which of those applies is read off your actual equipment, not off a style photograph.
Sockets, cables and panels that come off
Write the equipment list before anyone draws a socket: screen, soundbar, console, set-top box, router, chargers, the lamp that will inevitably join them. Each needs power, and several need each other — an HDMI run from the screen down to the equipment bay, network to the television and the console, an aerial lead to the box. The sockets land in two groups, one behind the screen and one inside the bay, placed so plugs clear shelf backs and every one can be reached without dismantling joinery.
Between those groups runs the part nobody sees and everybody judges: a concealed route sized for connectors, not just cable. An HDMI plug is many times fatter than its lead, so the route is sized for the fattest head that will ever pass through it, with a draw cord left inside for the cable that has not been invented yet. Behind the screen sits a service void deep enough that nothing dangles, and the panels closing these zones are made to come away, so a new cable in year five is ten minutes, not carpentry.
All of this has a deadline earlier than most people expect: the electrician's first fix. Socket and outlet positions are agreed on one shared drawing before the walls close, the electrician runs and connects everything, and the carpenter builds the joinery around those runs — we never wire anything. Bring the media-wall drawing to that meeting and the wall is built once; bring it after second fix and something visible will be chased, trunked or forgiven forever.
Sound and light share the same wall
A soundbar needs a niche with air around it, not a slot it has to be forced into — speakers work by moving air, and timber pressed against a driver changes what you paid for. The niche sits in a planned relationship to the screen, sized from the actual unit with clearance for its connections, and it is never put behind a solid closed door: a soundbar behind timber is furniture. Separate speakers, where planned, join the services drawing like everything else, agreed with whoever installs the system.
Lighting on a media wall is planned like a building service, not an accessory. An LED strip needs its channel cut into the joinery, a diffuser if it will ever be seen edge-on, and a reachable home for its driver, because the transformer is the serviceable part and a glued-in strip with a buried driver is a demolition job wearing a halo. Positions are frozen on the drawing before production, and every strip gets a route by which it can one day leave.
Built-in wardrobes & cabinets
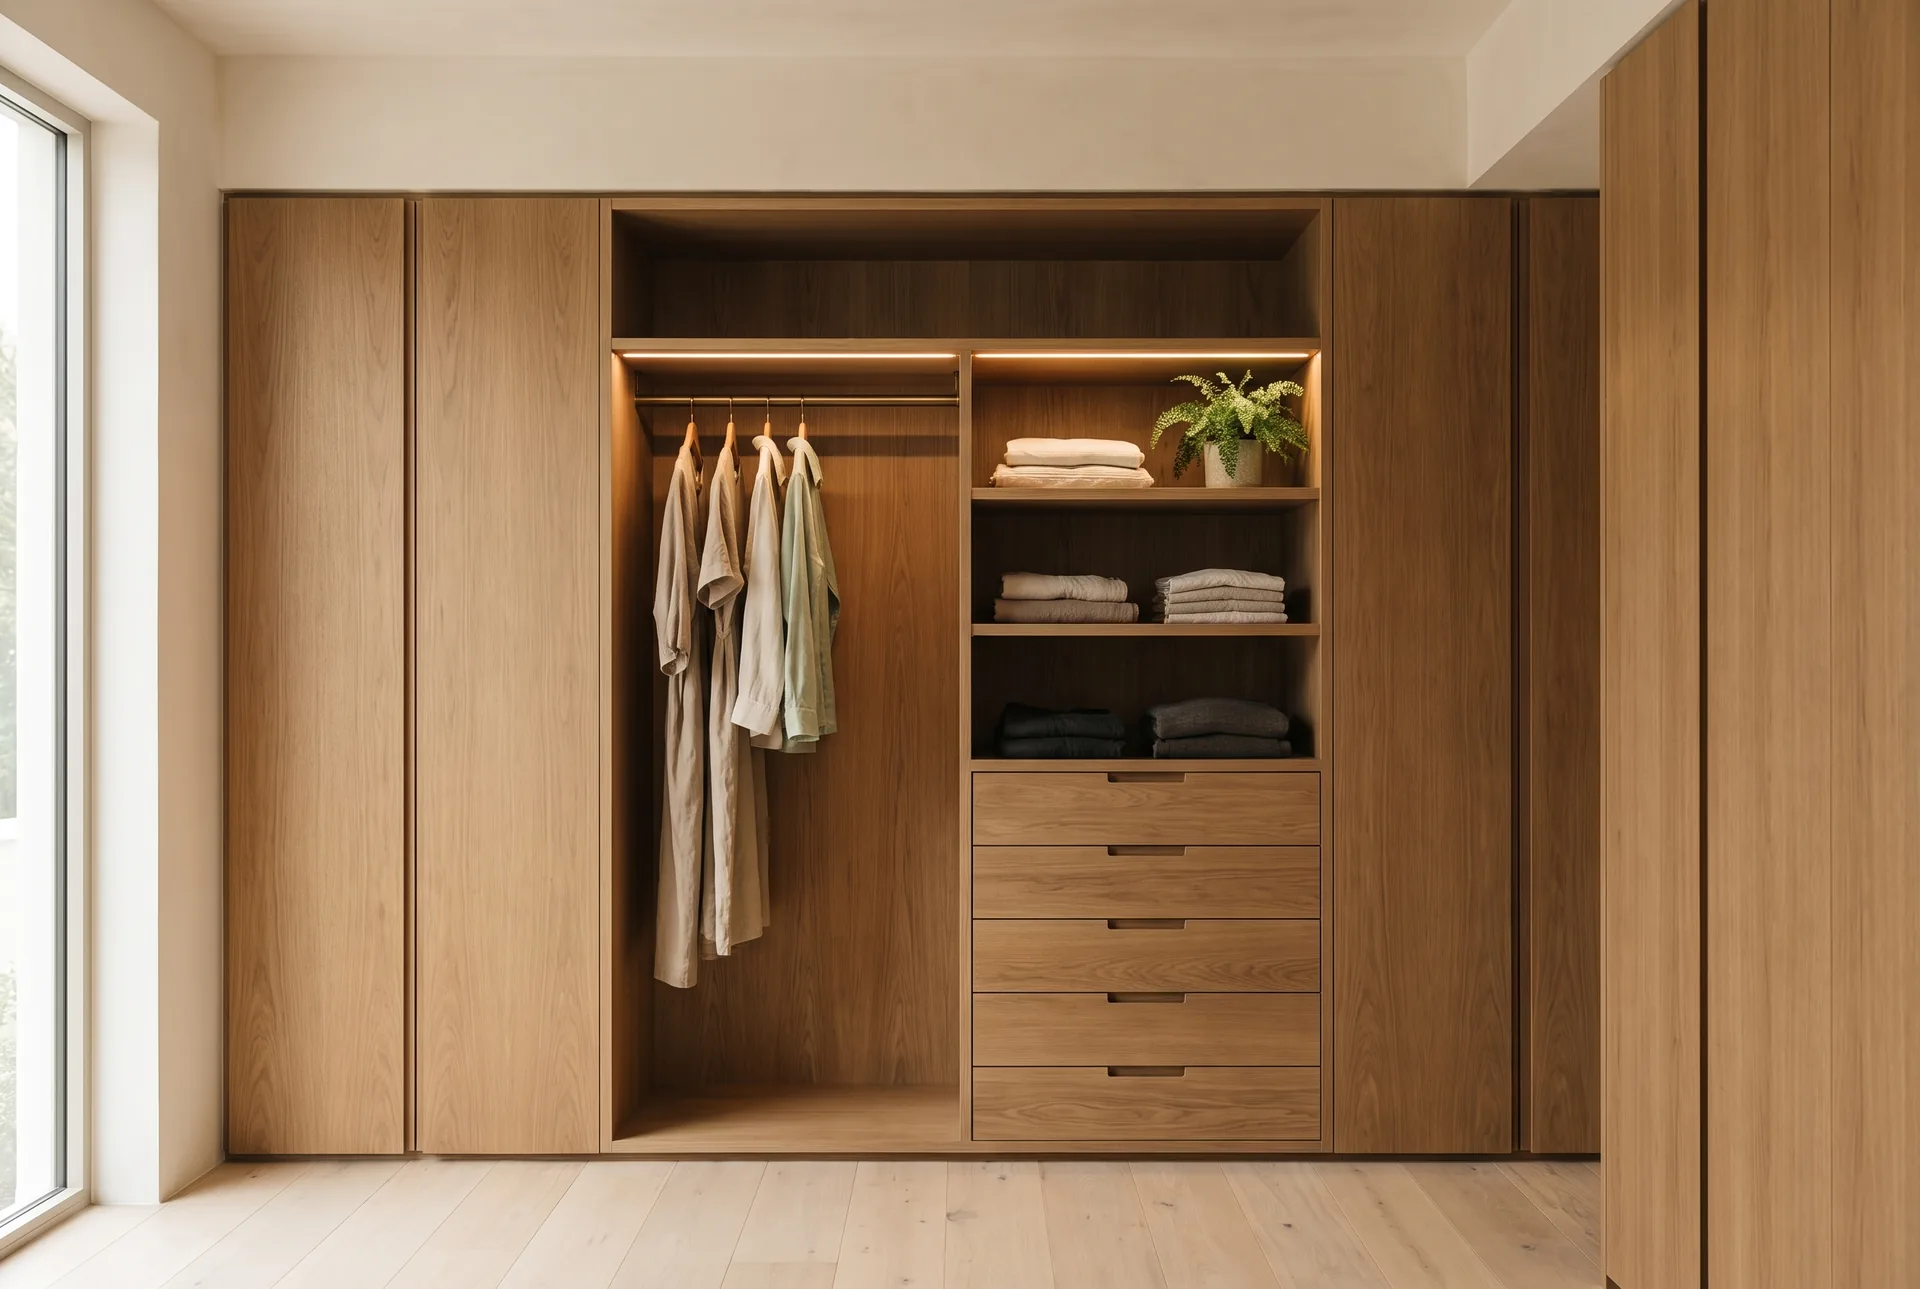
Built-in wardrobes, closets and storage cabinets that use every centimetre. Measured, built, and installed.
Explore serviceThe wall behind it, and a floor that is not level
Everything above hangs on a wall somebody built, and walls here come in two broad kinds. Block-and-render takes fixings almost anywhere and carries a floating cabinet without complaint, but it is never flat or plumb — render follows the trowel, not the laser. A stud-and-plasterboard wall is the opposite problem: straighter, but it carries real weight only at its structure or through anchors chosen for the board, and a floating cabinet full of books is real weight. The screen's own fixing goes back to something structural in either case. Which wall you have is not a guess; it is the first thing a surveyor knocks on.
The cure for both is the same discipline as any fitted run: a level datum line struck around the room, carcasses levelled to it on feet and packers, and scribed fillers closing the last few millimetres against the real wall and ceiling. None of it works without true site numbers, and taking a wall's measurements the way a fitter does covers the method — widths at several heights, levels along the run, corners checked rather than trusted. The unit is drawn from those numbers, not from the house plan.
One room's joinery, one climate
A media wall rarely stands alone. The same room often carries wall panelling, a ceiling in timber, a door, a shelf run — and the wall reads as designed only when it speaks the same language: the same species and finish tone, the same board widths, the same shadow gap where timber meets plaster. That discipline, and the order the trades arrive in to make it possible, is the subject of planning the villa's woodwork as one sequence; the media wall is simply the piece of it with the most services inside.
Climate is the quieter constraint. On Koh Samui the living room breathes humid, salty air every time the doors open, and a media wall answers it the same way the rest of the joinery does: every face and cut edge sealed, ventilation that serves the electronics doubling as moisture relief, and board and timber choices made for movement rather than looks — which boards and timbers stay flat in humid air owns that comparison. Open shelving will gather dust here as it does everywhere, so depth and reach are planned for the cloth that has to wipe them.
What to send your carpenter before asking for a quote
Most of a media wall can be read from a message, and the site visit gets sharper for it. Send the wall's width and height, and the ceiling height if they differ along the run; the television's model or the size you intend to buy; photographs of the wall and of the room taken from the seating; the equipment list, down to the router and the console; where sockets and aerial or network points sit today; what the wall has to store, honestly counted; and a few reference images of walls you like, which tell a maker more about proportion than any adjective.
What should come back is a read on what is buildable, then a drawing with the services layer marked — sockets, routes, vents, lighting — that your electrician can work from, and an itemized quote in which the cabinetry, the fronts and the installation are separate lines. The first conversation costs nothing: consultation on interior finishing work is free, and the measuring visit that follows is what turns the message thread into real numbers.
Quick answers to common media-wall questions
Three questions arrive with almost every media-wall enquiry, so here are the short versions, caveats included.
How do you hide the cables and the set-top boxes?
With routes, not with cleverness after the fact: a concealed run between the screen and the equipment bay sized for plug heads, a service void behind the television panel, and removable panels over both. The boxes themselves go into a ventilated bay — hiding equipment and sealing it in are different things, and only one of them ends well. All of it is drawn before the electrician's first fix.
How big a television can a built-in wall carry?
Bigger than the question fears, because the cabinetry is not what carries it — the screen's bracket fixes back to the building, and the joinery is composed around it. The real limits arrive from elsewhere first: the wall's construction and what its fixings can honestly hold, the viewing distance your seating allows, and the proportion of the wall itself. A survey answers the first; your tape-on-the-wall test answers the other two before any size is committed to.
Is a built-in media wall better than a freestanding TV cabinet?
It depends on whether the piece should touch the building. Full room height, services to hide, a line shared with panelling or a ceiling — that is built-in territory. A home you may reconfigure, a rented villa, a room still finding its layout — there, a freestanding TV cabinet made to measure does the same storage work and leaves with you. We build both, which is why this answer has no thumb on the scale.
Related guides
- Built-in wardrobes & cabinets
Planning built-in storage for humid island homes
How built-in cabinets turn awkward corners, niches and hallways into storage: planning depth, access, doors, lighting, and why millimetres decide the result.Read the guide - Built-in wardrobes & cabinets
Choosing hinges, drawer runners and hardware for custom furniture
A plain guide to cabinet hardware: hinge types, drawer runners, soft-close, handles and push-to-open — and which finishes and materials survive humid, salty air.Read the guide - Custom furniture & carpentry
How to measure a room for built-in furniture
Measure a room the way a workshop expects: the three-point rule, leaning walls and falling floors, services to note, and the brief a built-in needs.Read the guide
Related services
Built-in wardrobes & cabinets
Built-in wardrobes, closets and storage cabinets that use every centimetre. Measured, built, and installed.
Explore service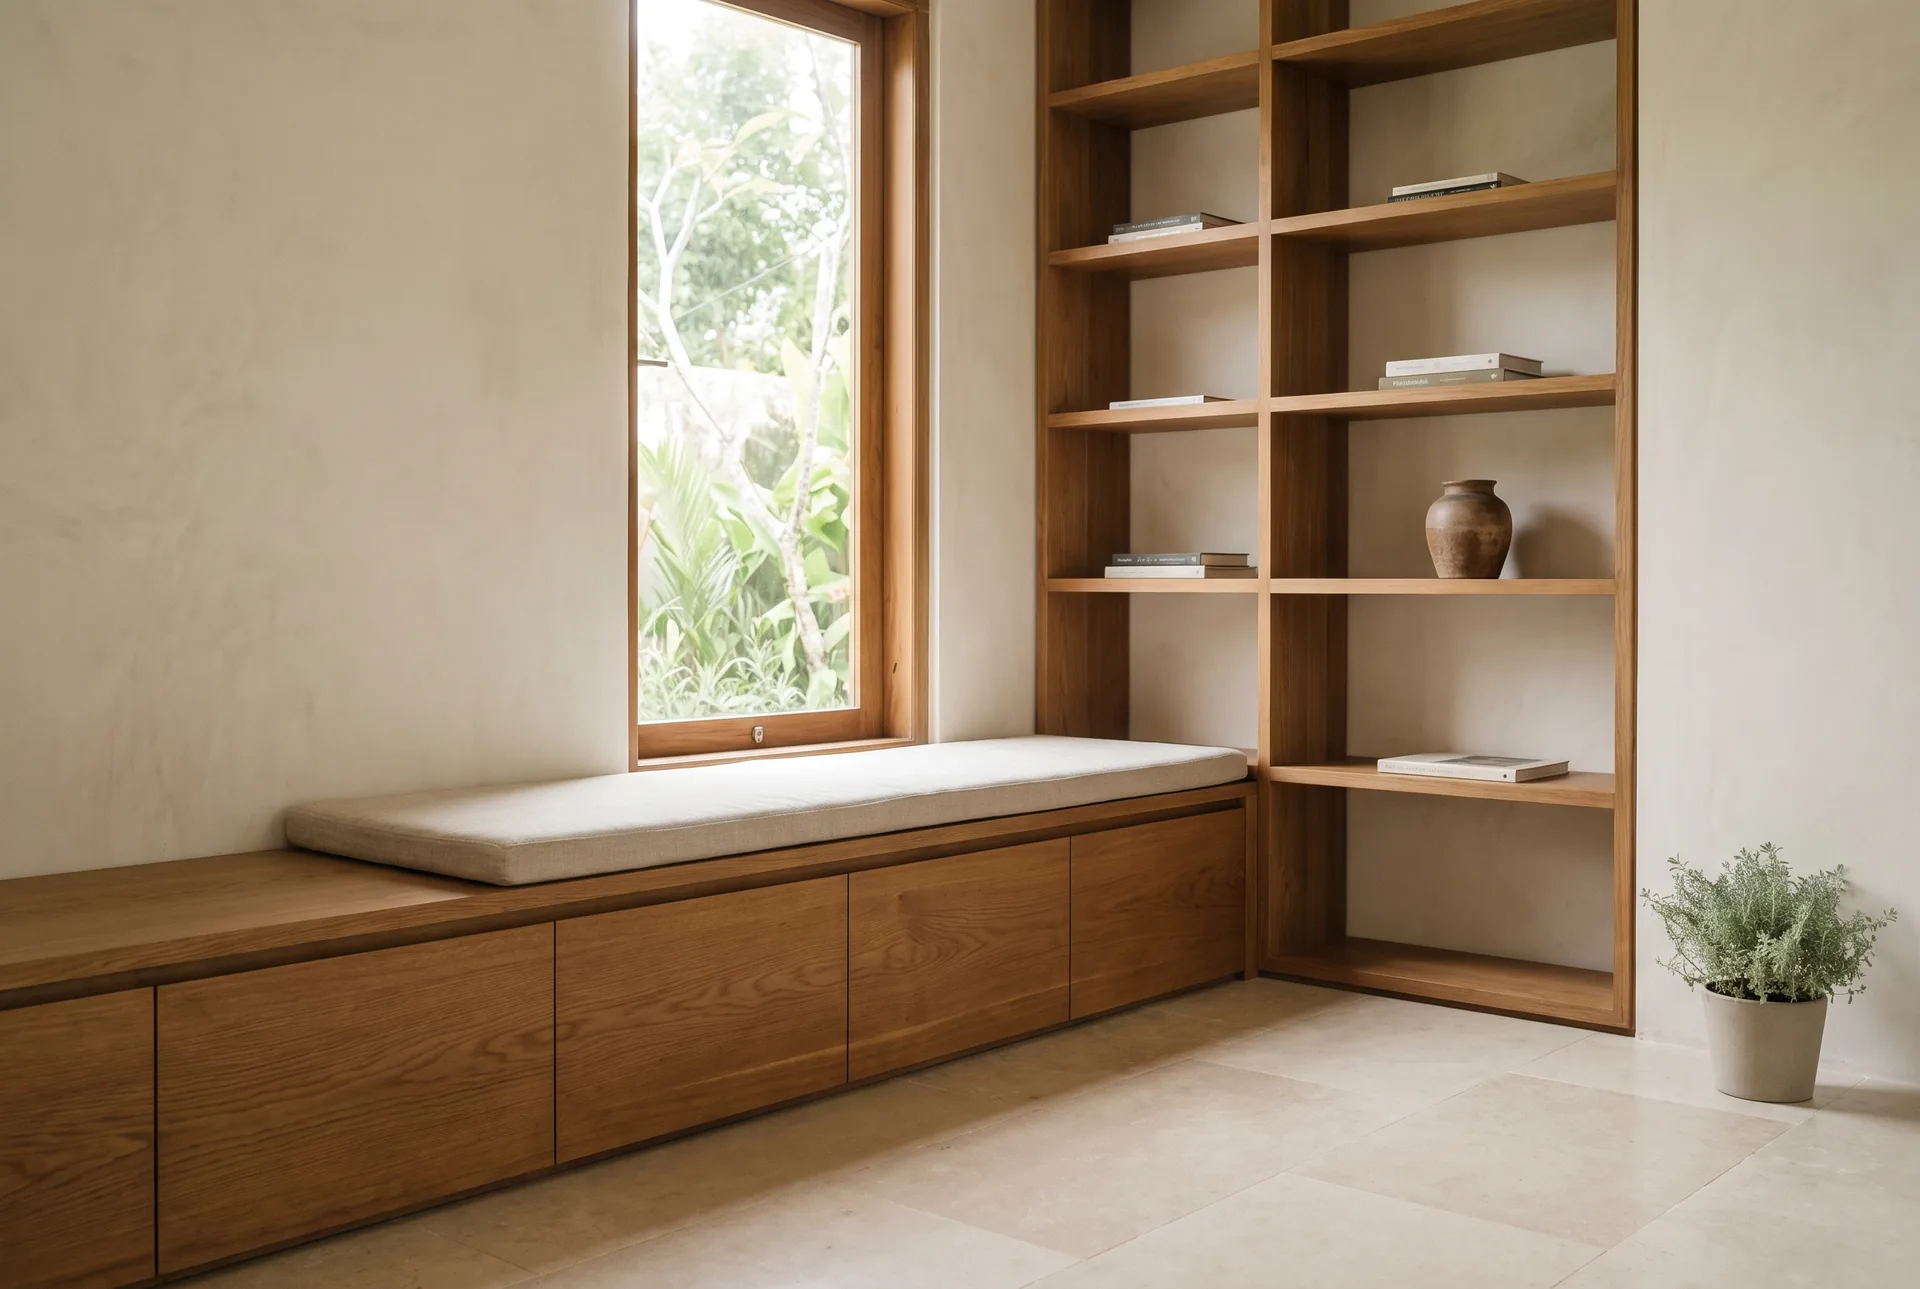
Custom furniture & carpentry
Made-to-measure furniture and woodwork designed and built for your space, from single pieces to full fit-outs.
Explore service
Tell us what you need built or installed.
Send a few photos and measurements — we'll get back to you with next steps.